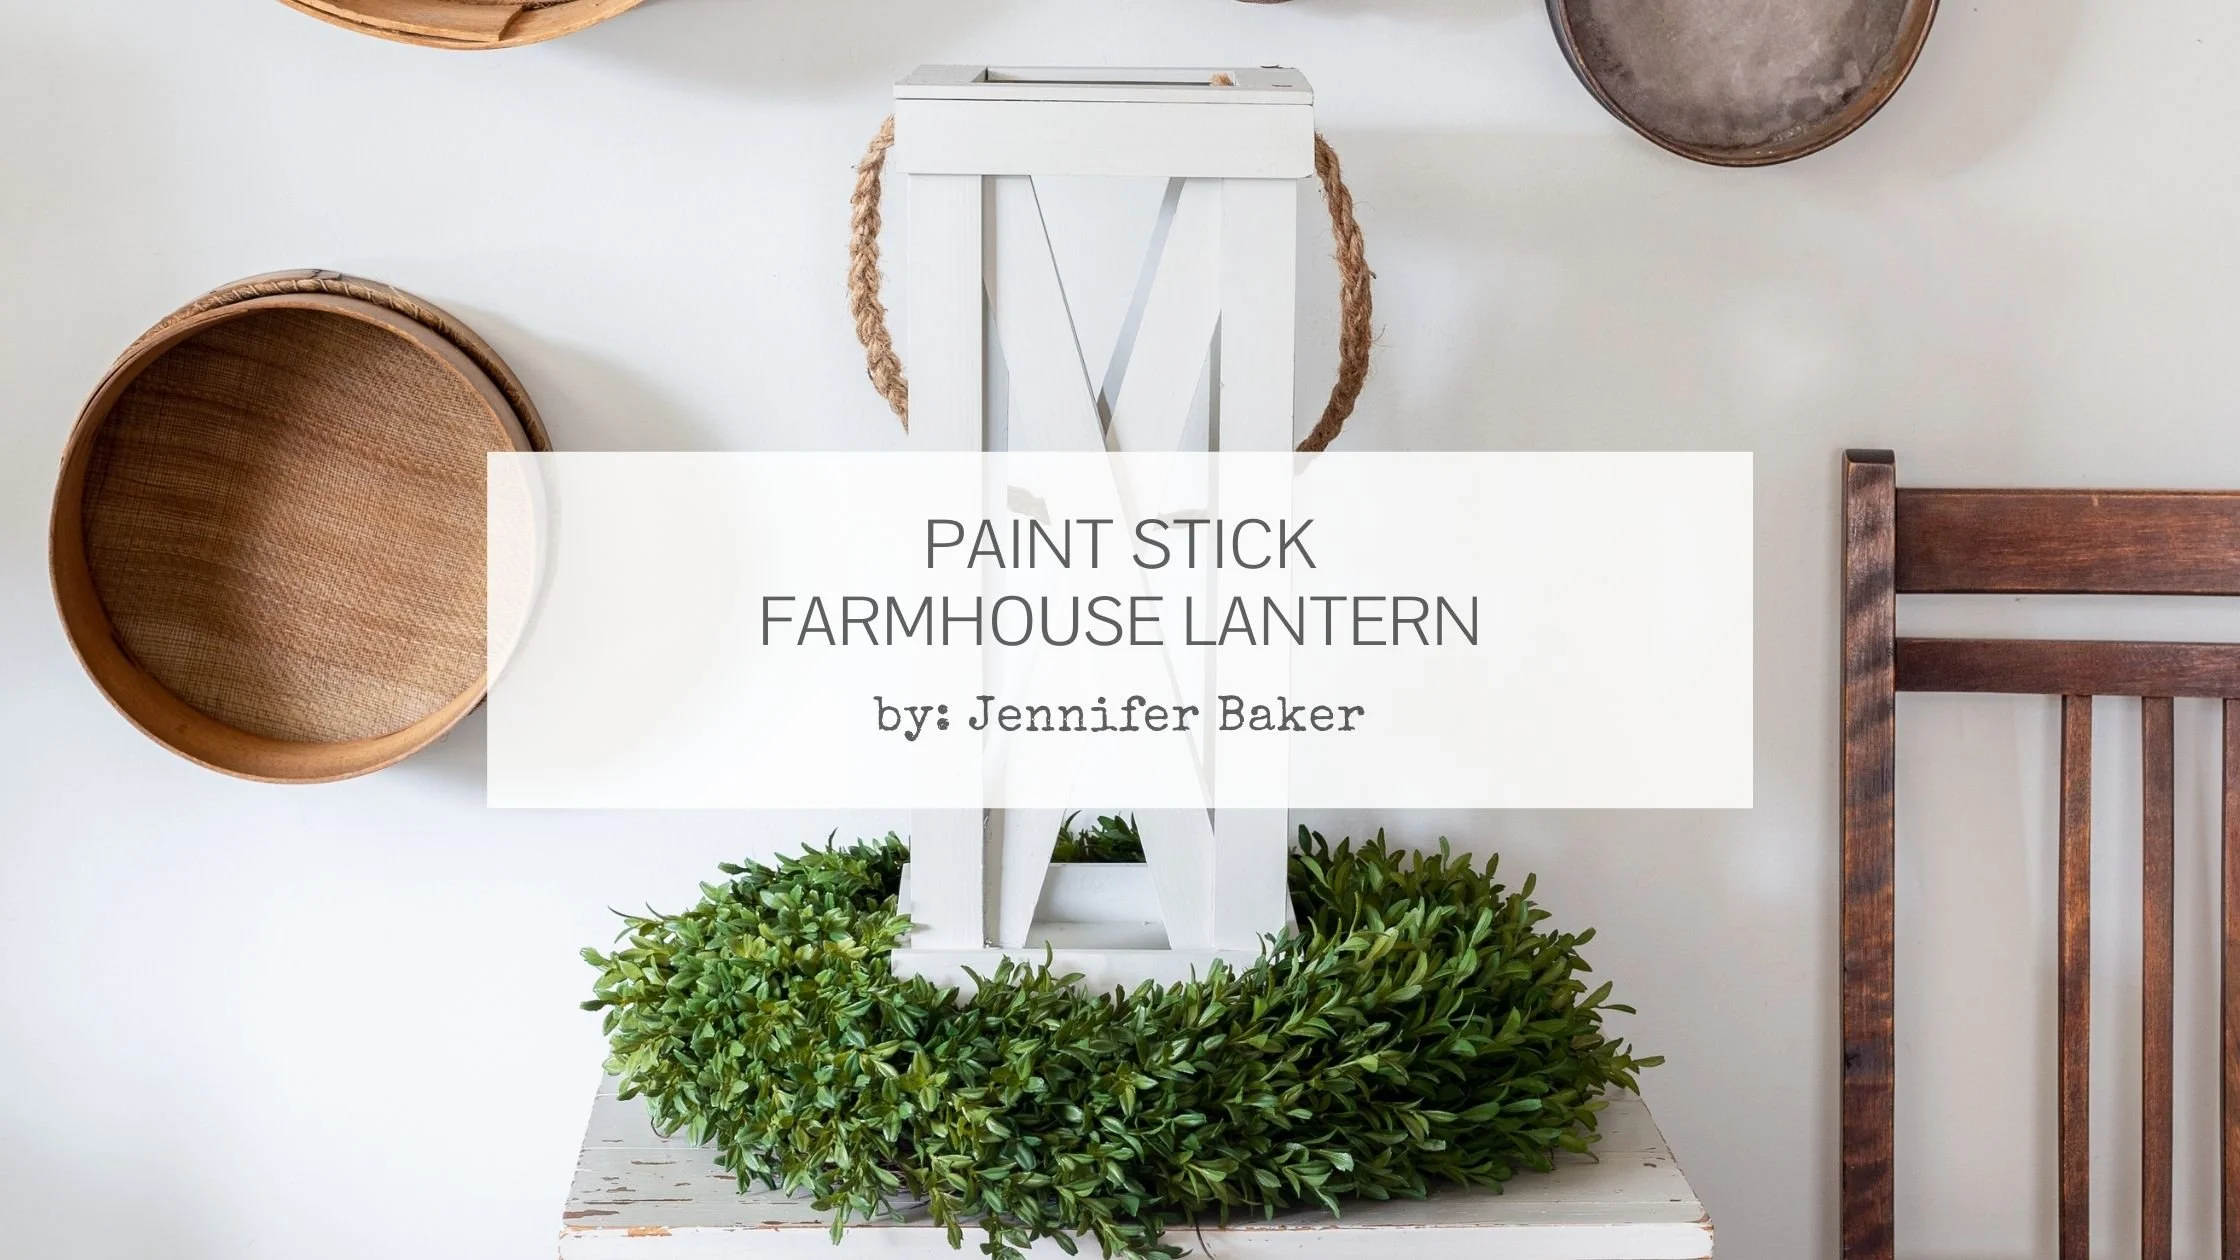
Paint Stick Farmhouse Lanterns
For the last month or so, I have been binge-watching BBC documentaries that detail what life was like on a working country farm. There are separate series covering the 400 year span of the Tudor, Stewart, Victorian and Edwardian periods. (Basically, the 1500’s through the early 1900’s.) A group of historians and archaeologists literally live the life of farmers for an entire calendar year.
Seriously though…it’s completely fascinating!
My biggest takeaway so far is that farmers used literally everything they had, whether it be food, animals or materials. Absolutely nothing went to waste (including ash from the wood stove). Impressively, if they didn’t have what they needed, they made it themselves using what they had on hand.
In the spirit of this make-do style of living, I set out to make a farmhouse lantern using what I had in my workshop - MMS MilkPaint™, a hot glue gun, some jute twine and of course, MMS MilkPaint™!
Supplies Needed
5 Gallon Paint Stir Sticks
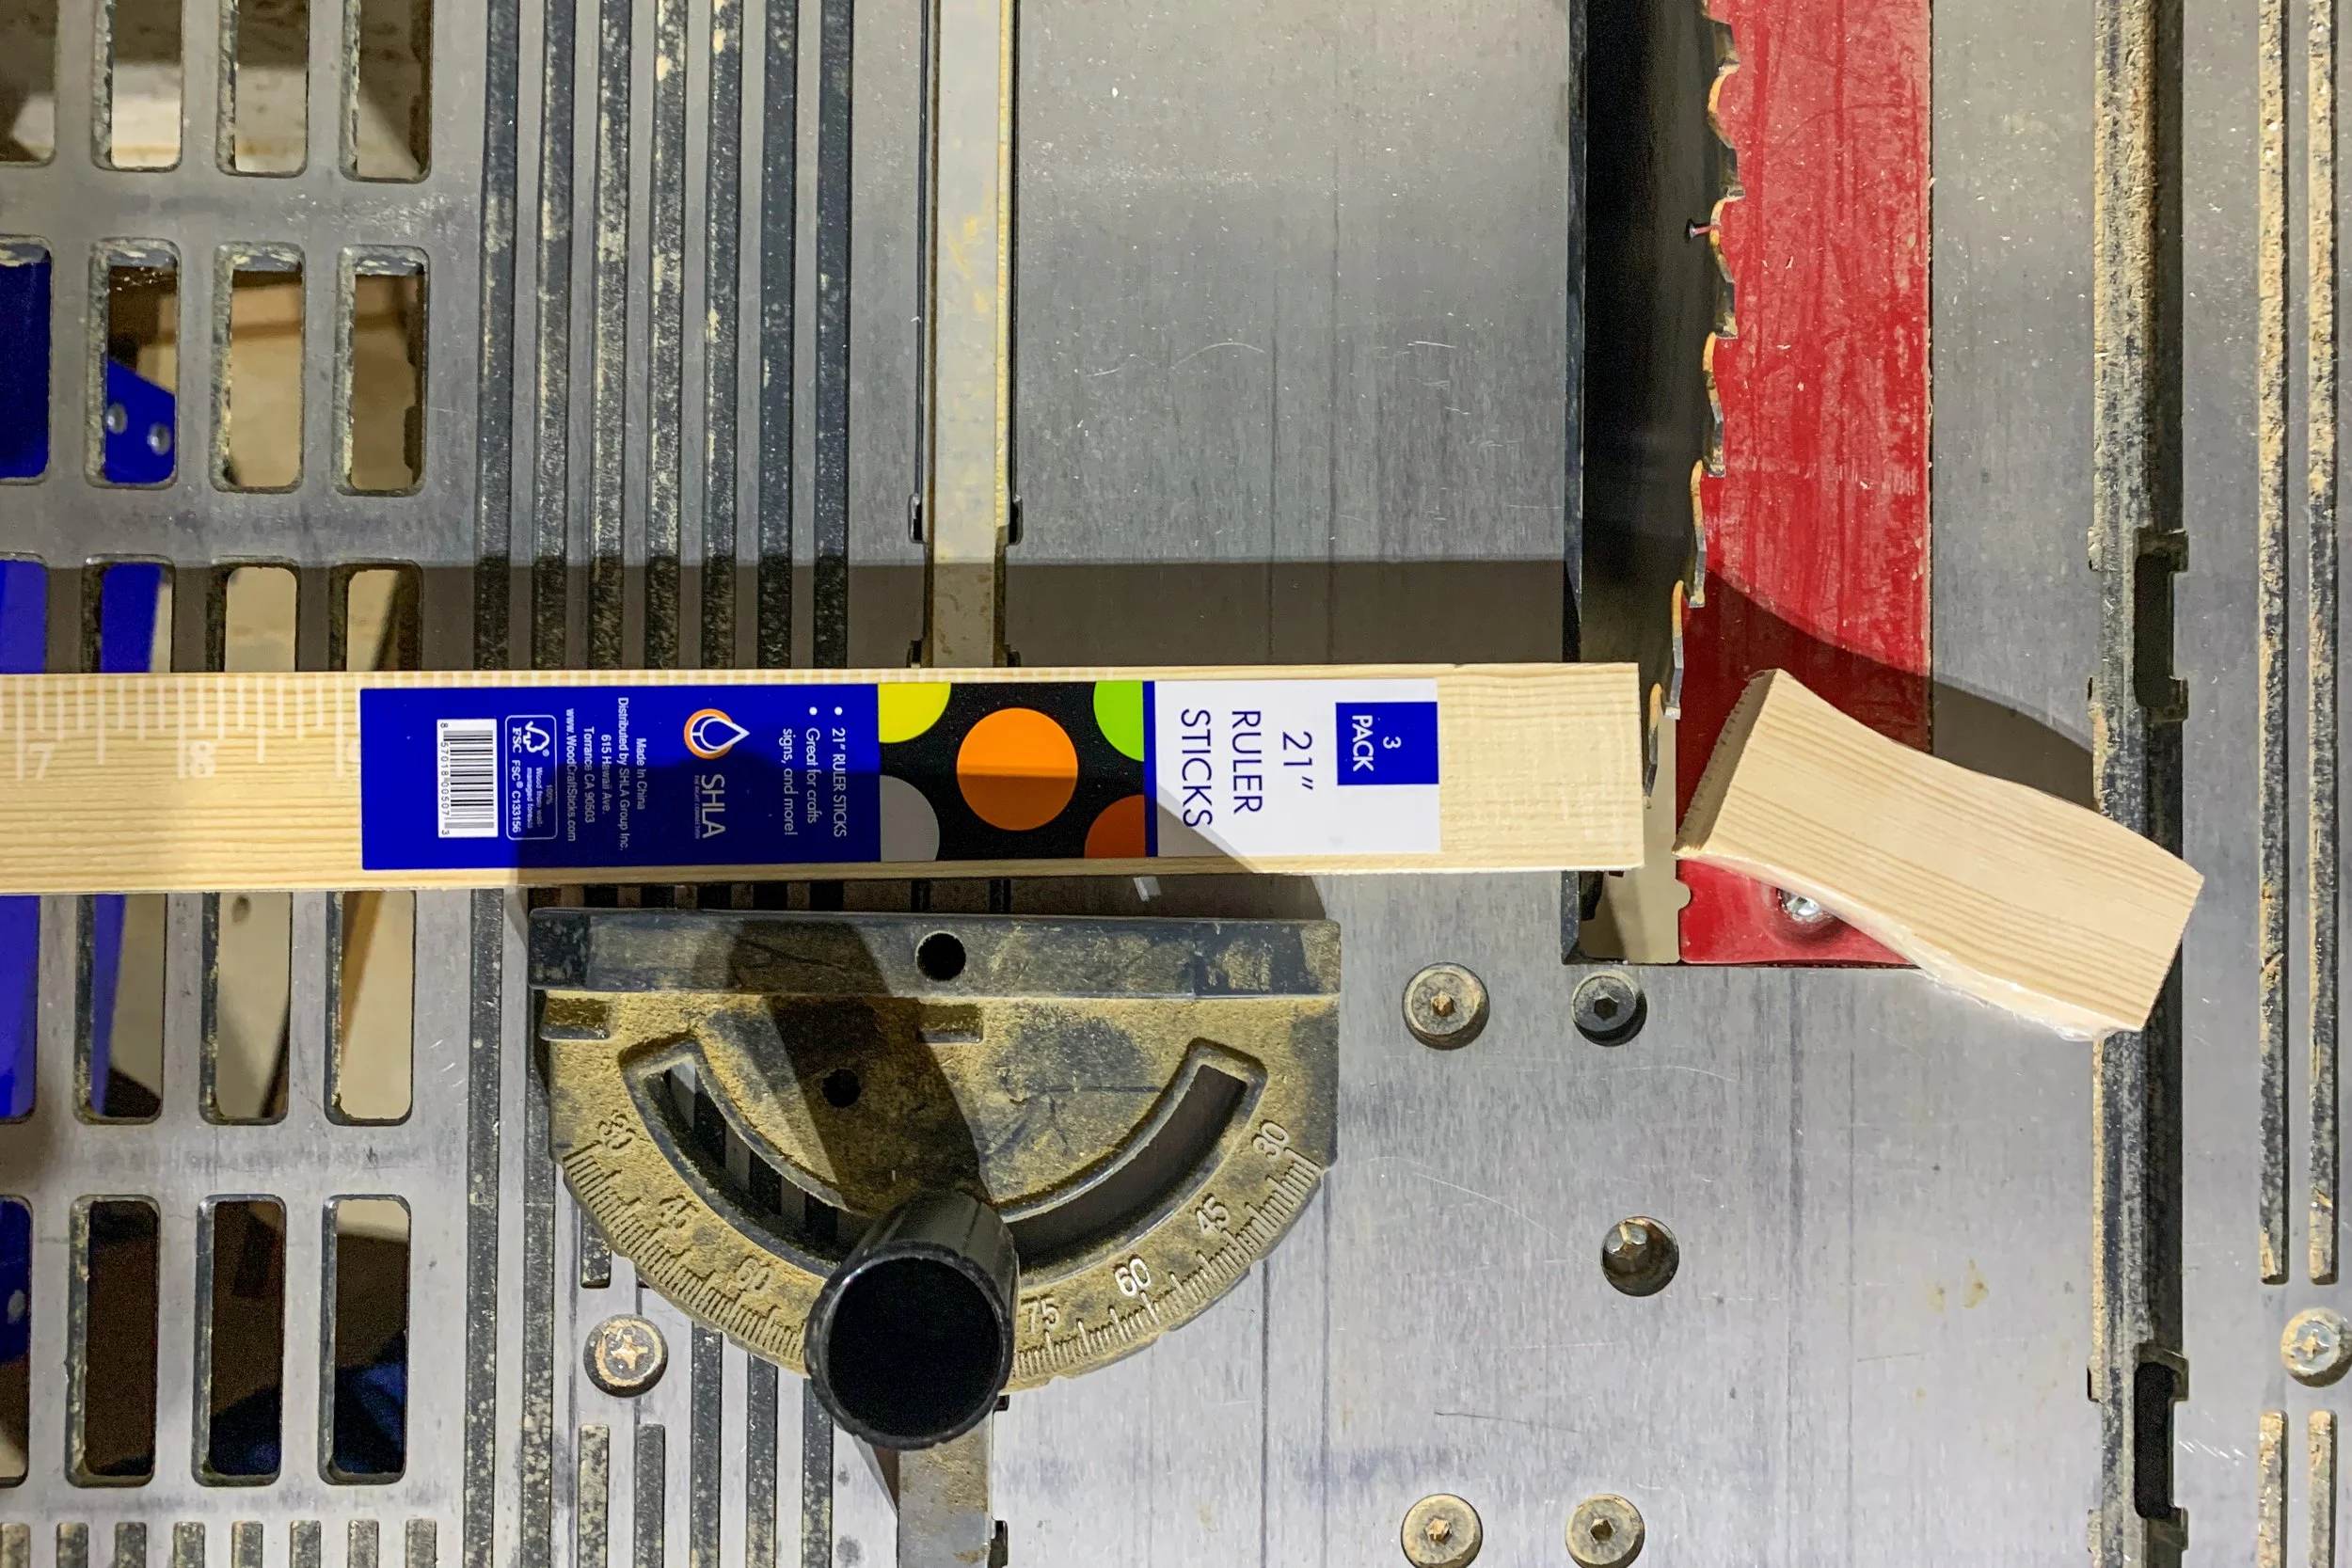
The lantern itself is made from 5 gallon paint stir sticks. I had them on hand from my paint stick table runner project, but you probably can get them for free at the paint counter in your local hardware store. You’ll need 24 total. There will be a few left over, but it’s good to have extras just in case!
Using 5 gallon stir sticks will create a lantern that is 18 inches tall. If this is too tall for your taste, feel free to use regular gallon stir sticks instead.
Whichever size you use, carefully cut the curved tops off with a table saw.
Wooden Box Sign
The base of our lantern will be built inside the back of a wooden box sign. I used this one from Hobby Lobby that’s 20 x 20 cm.
Normally, you’d paint the front and hang it up on a wall however, for this project, we’re not normal - we’re farmers!
Miss Mustard Seed’s® Milk Paint
Grab your favorite MMSMP color (which is almost impossible because they’re all gorgeous). I picked Mora, which is one of my go-to colors for my home. This soft blue/green/gray works so well with my decor, and it will be right at home in my dining room!
The rest of your supplies:
Hot Glue Gun w/ Glue Sticks
Jute Twine
Access to a Table Saw
220 Grit Sanding Pad or 400 Grit Sand Paper
Dust Brush, Vacuum or Microfiber Cloth
Small Paintbrushes
Tablespoon, Popsicle Stick, Lukwarm Water, Small Cup (For mixing MMSMP)
Clamps (If needed)
Tutorial Video
This extensive video tutorial will walk you through the entire process of making a farmhouse style lantern from paint stir sticks. Enjoy watching it because I had a ball making it for you!
How To Style Your Farmhouse Lantern Throughout The Year
Christmas/Winter
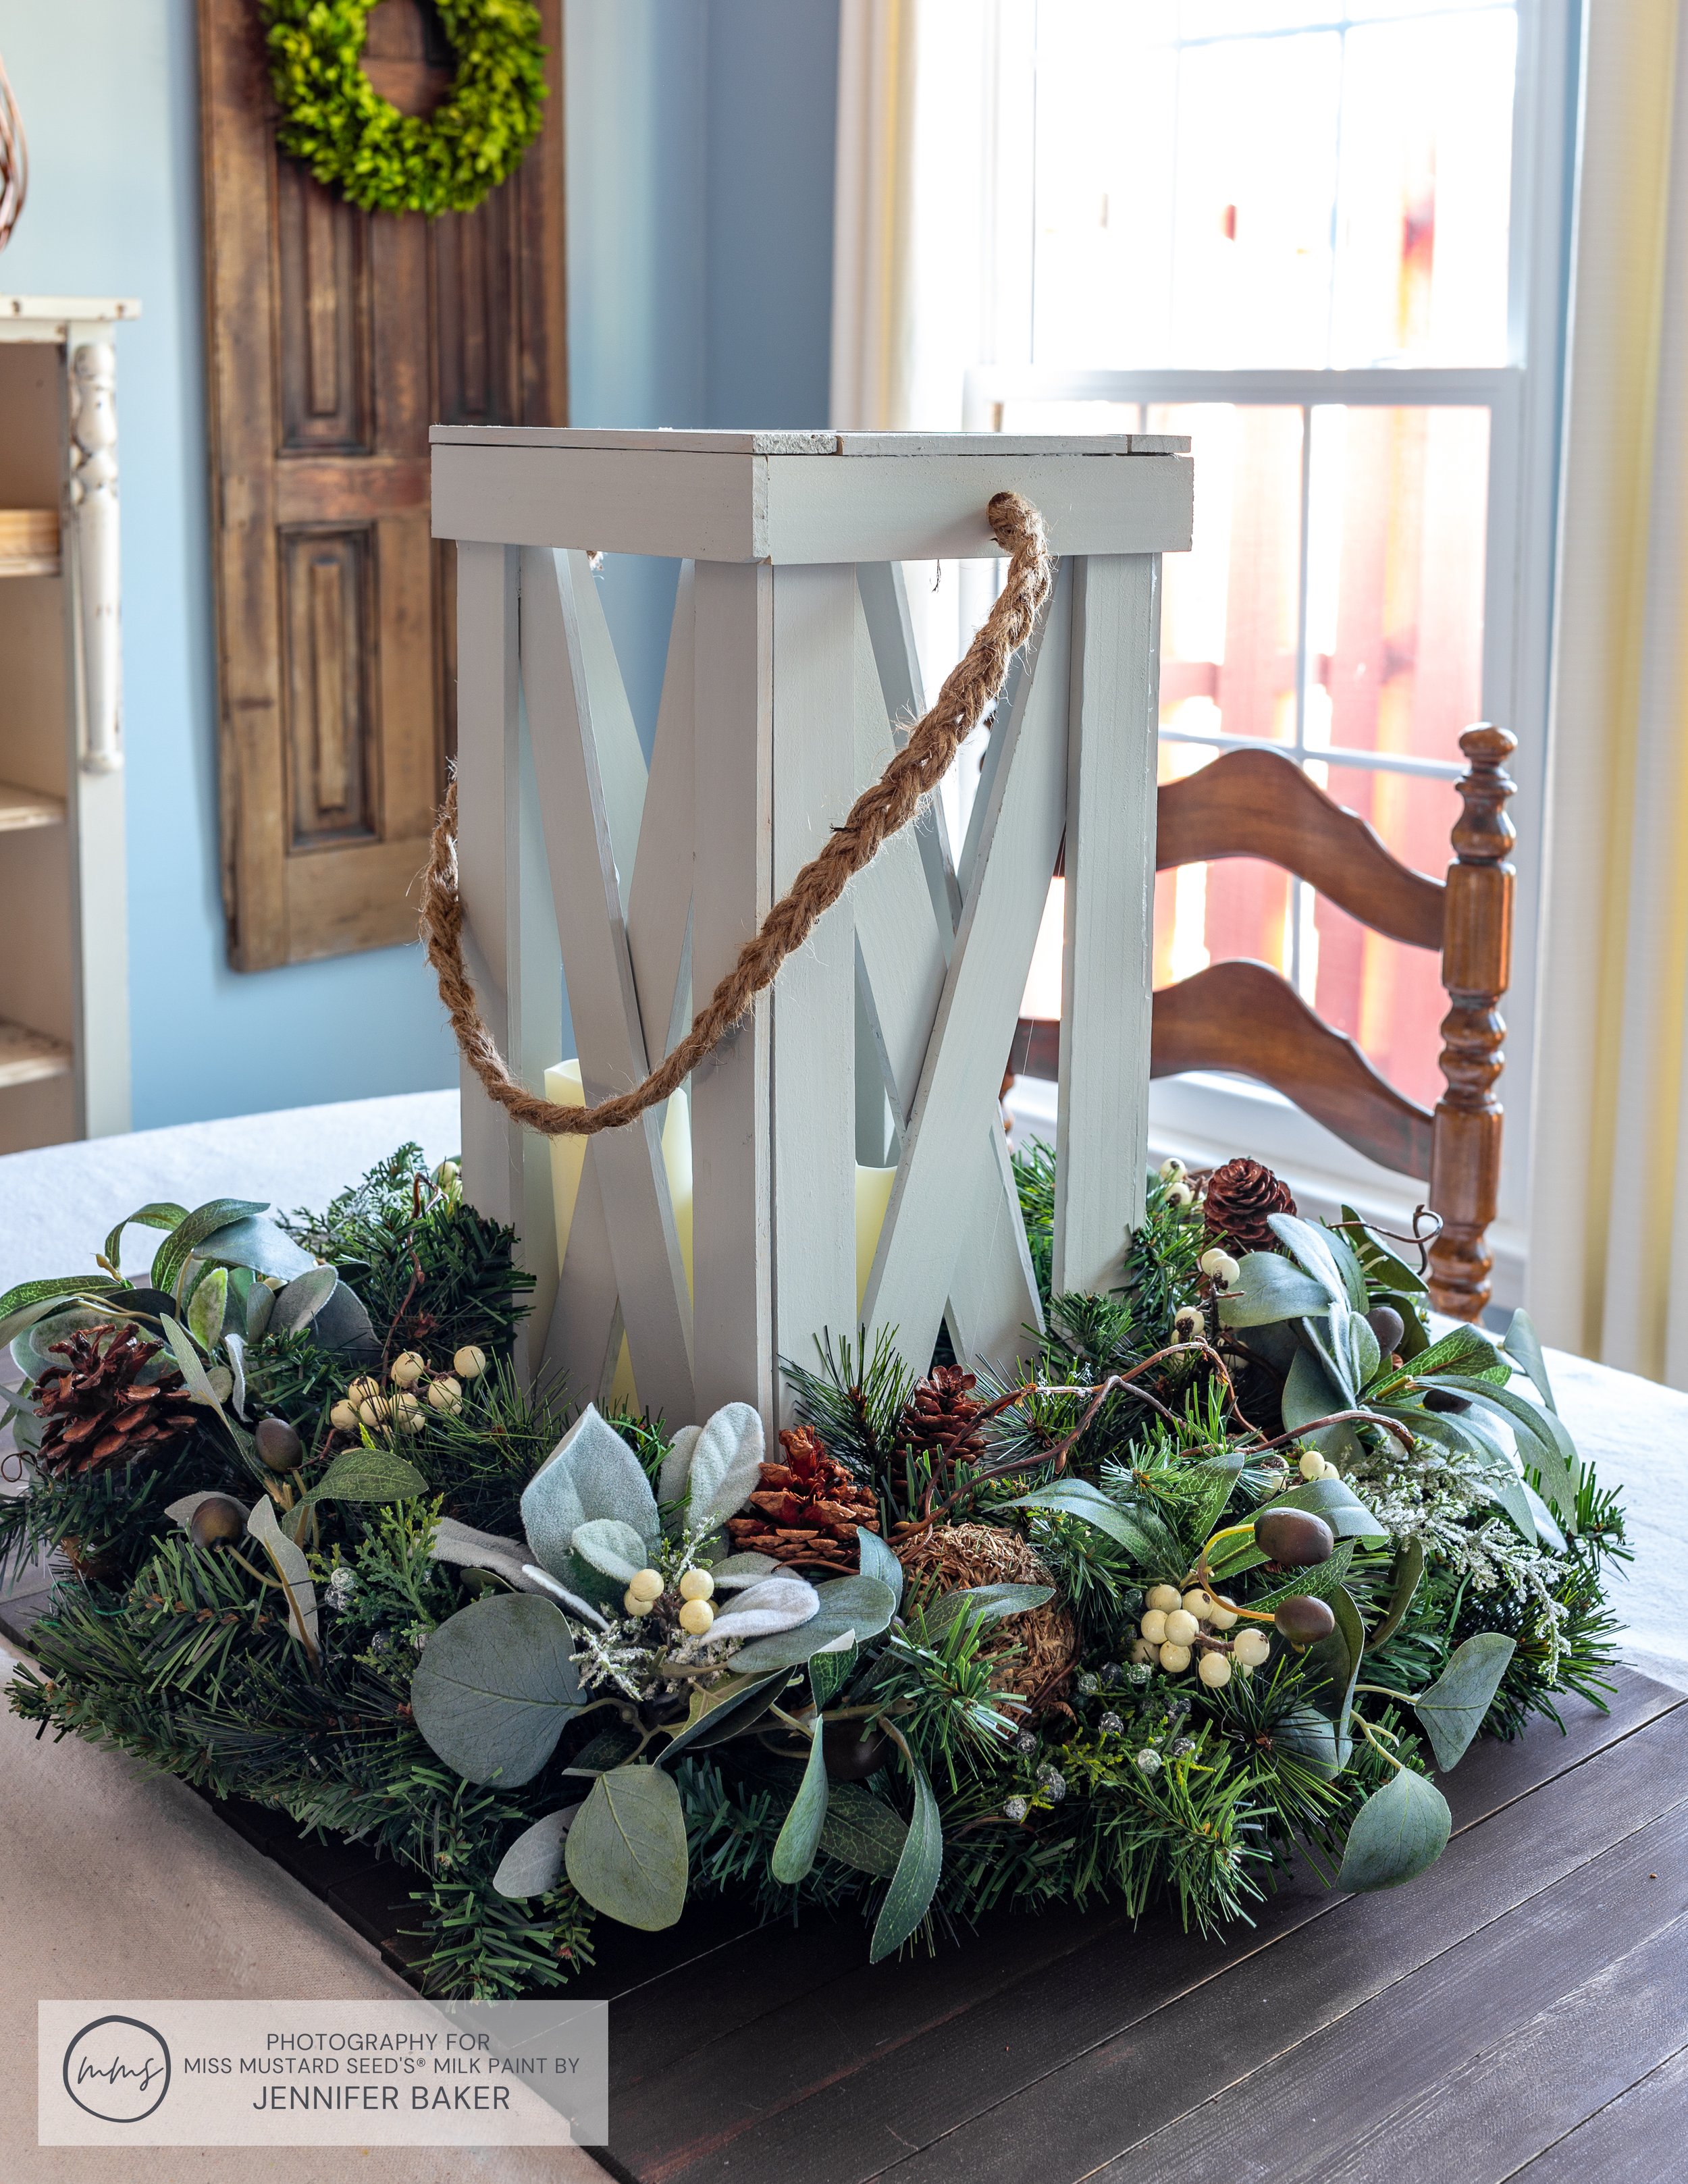
At the time of this tutorial, Christmas is just around the corner. Here’s how I styled my lantern on my dining room table. Notice how it fits right in with my paint stick table runner? It’s almost like I planned it that way! ;-)
When it comes to Christmas decorations, I try to pick those with a wintery feel as opposed to Christmas. I stay away from snowmen, Santas, sleighs, etc. because they’re Christmas-specific. This way, my decorations can stay up clear through the winter months and I don’t feel like I have to put them away so soon.
Here’s another alternative.
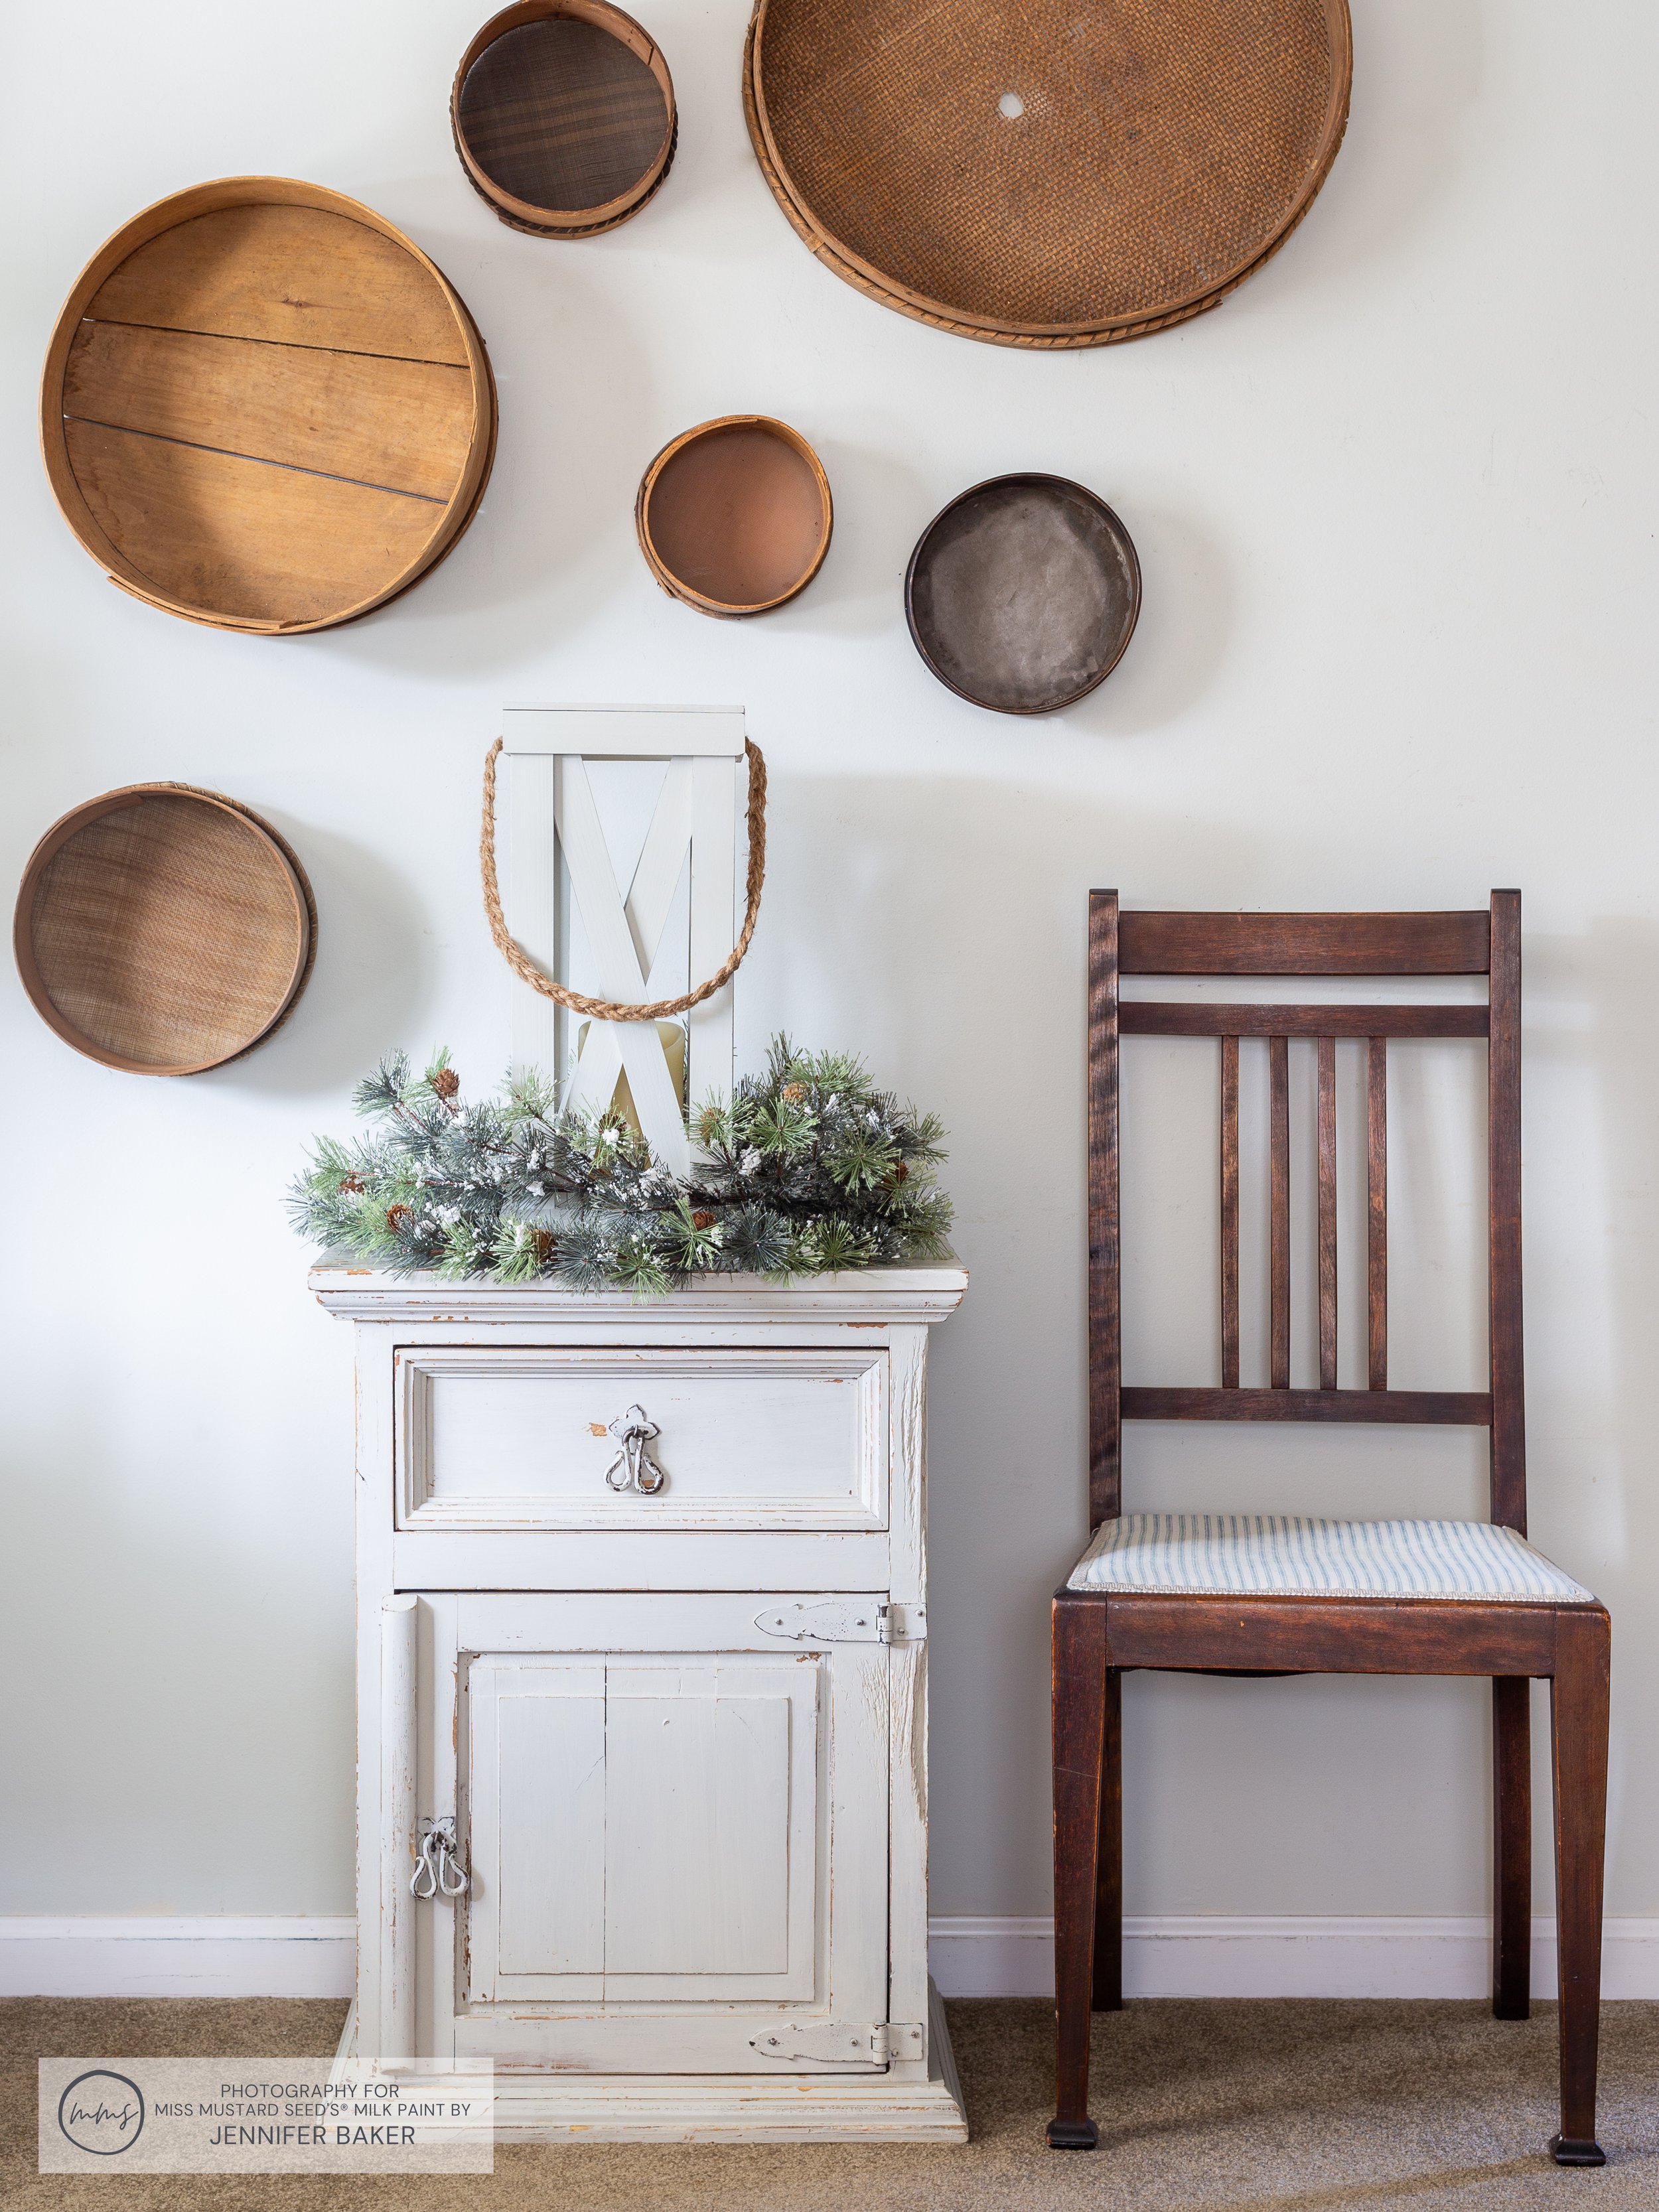
This time, I took the lantern over to my studio, which is where I work now. This side table is painted in Grain Sack, and it serves as a nightstand in the studio bedroom. (It’s perfect for those 2AM QVC airings!)
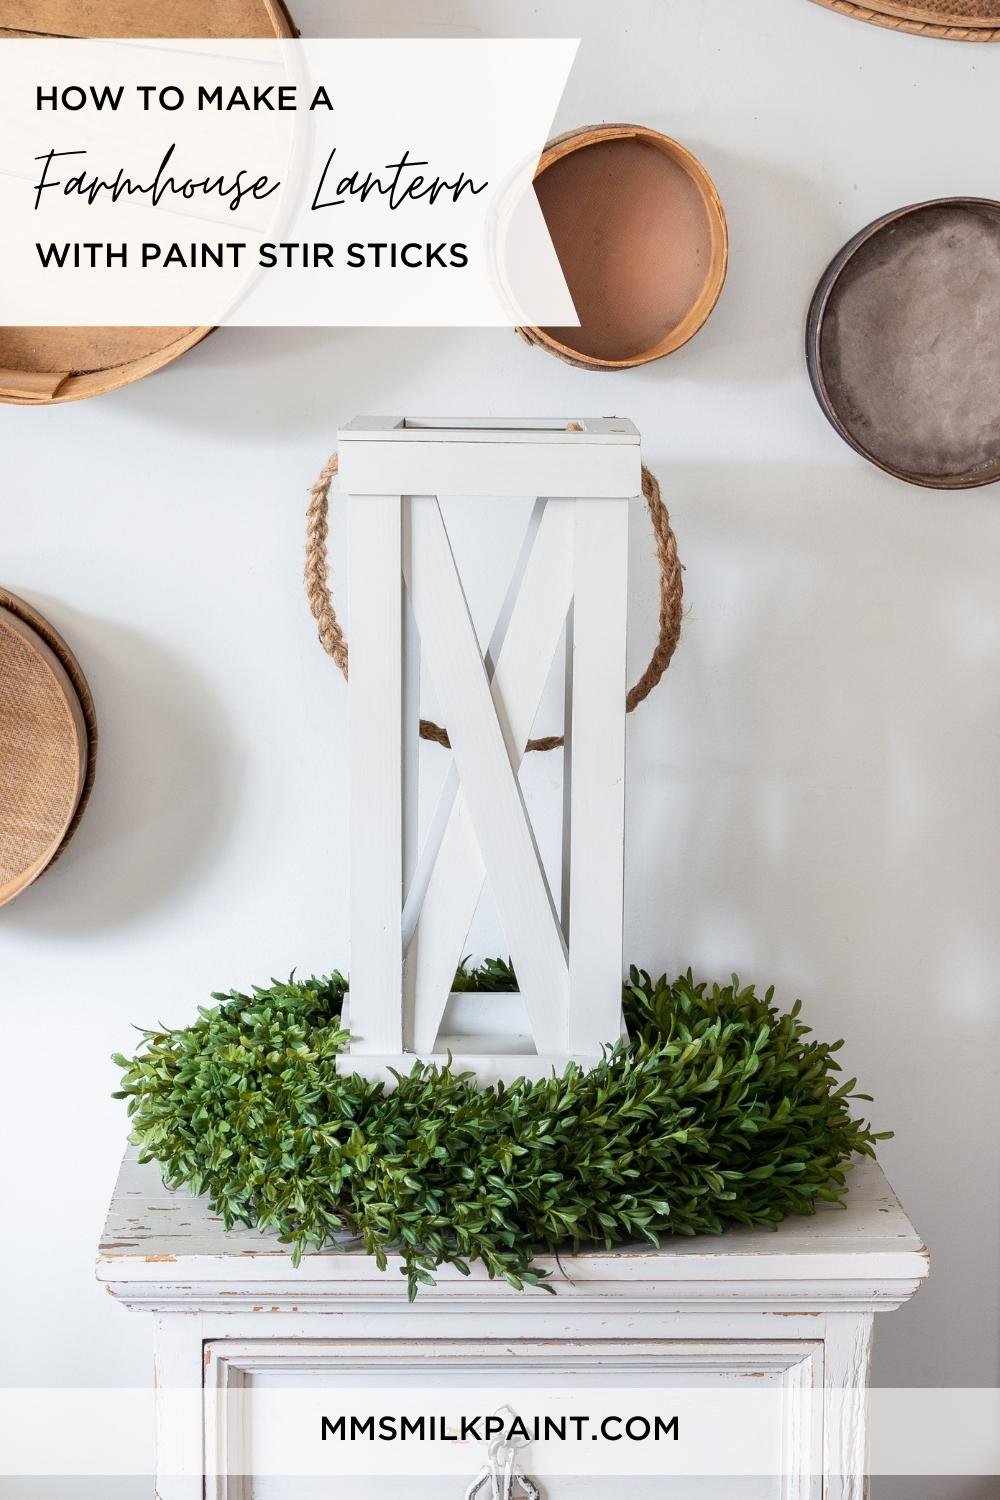
I put a double-layered pine wreath around the lantern and popped it under my collection of cheese moulds, presses and sifters. A battery operated flameless candle is set to turn on at night and provide that nighttime glow I love so much!
Now if you don’t want to put a wreath around your lantern, or even use it as a lantern at all, try this look:
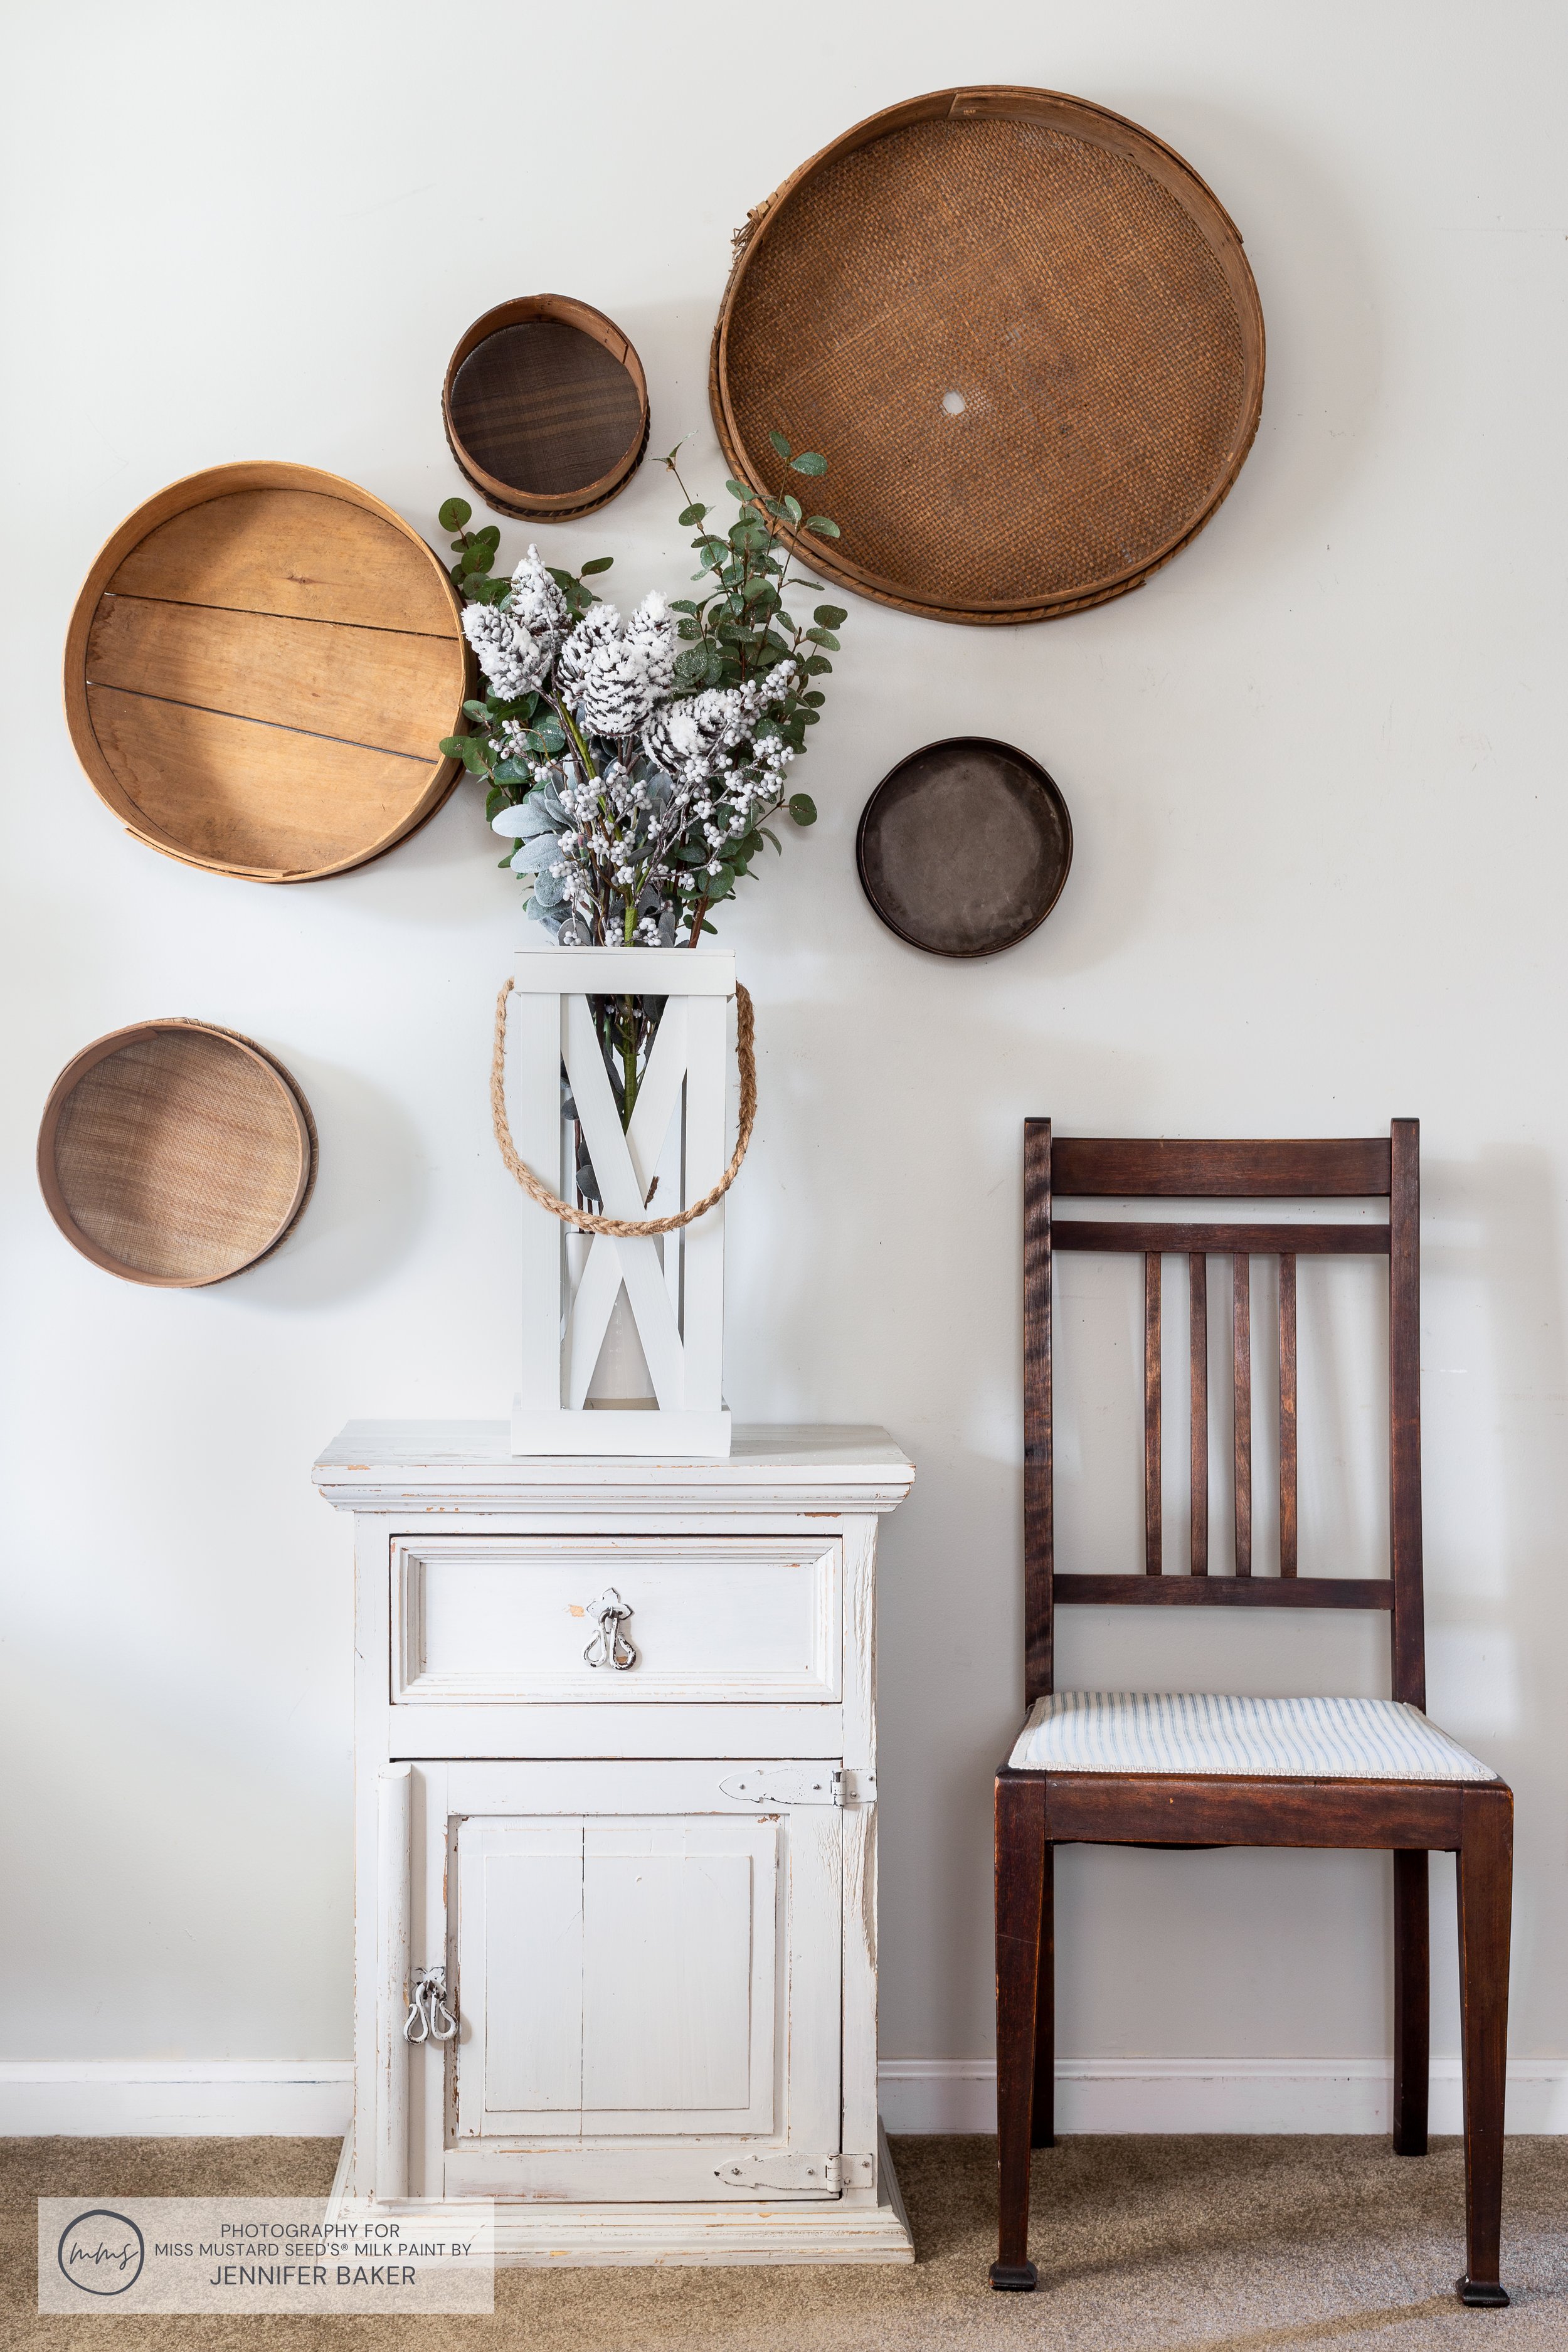
Because your lantern will be pretty tall (18 inches), you can put a small vase in the bottom and have sprigs of artificial (or real) greenery springing out from the top. These faux stems are sitting in a ceramic vase with sand inside.
Spring/Summer
Seeing as how Mora is one of the 6 colors in the pastel European collection, it fits right in with Spring decor! Swap out your wreath for a faux Boxwood or some pretty Easter garland. Heck, plop some milk painted speckled eggs in there and you’re all set!
MMSMP Shades Of Fall
When it comes to fall, you don’t have to go the traditional route with black and orange. See how our shades of sage green, orange and almond work SO WELL with Mora?
I have to chuckle because it’s no wonder these colors mesh so well - 4 of the 5 are in the European Collection!
Imperfect Farmhouse Charm
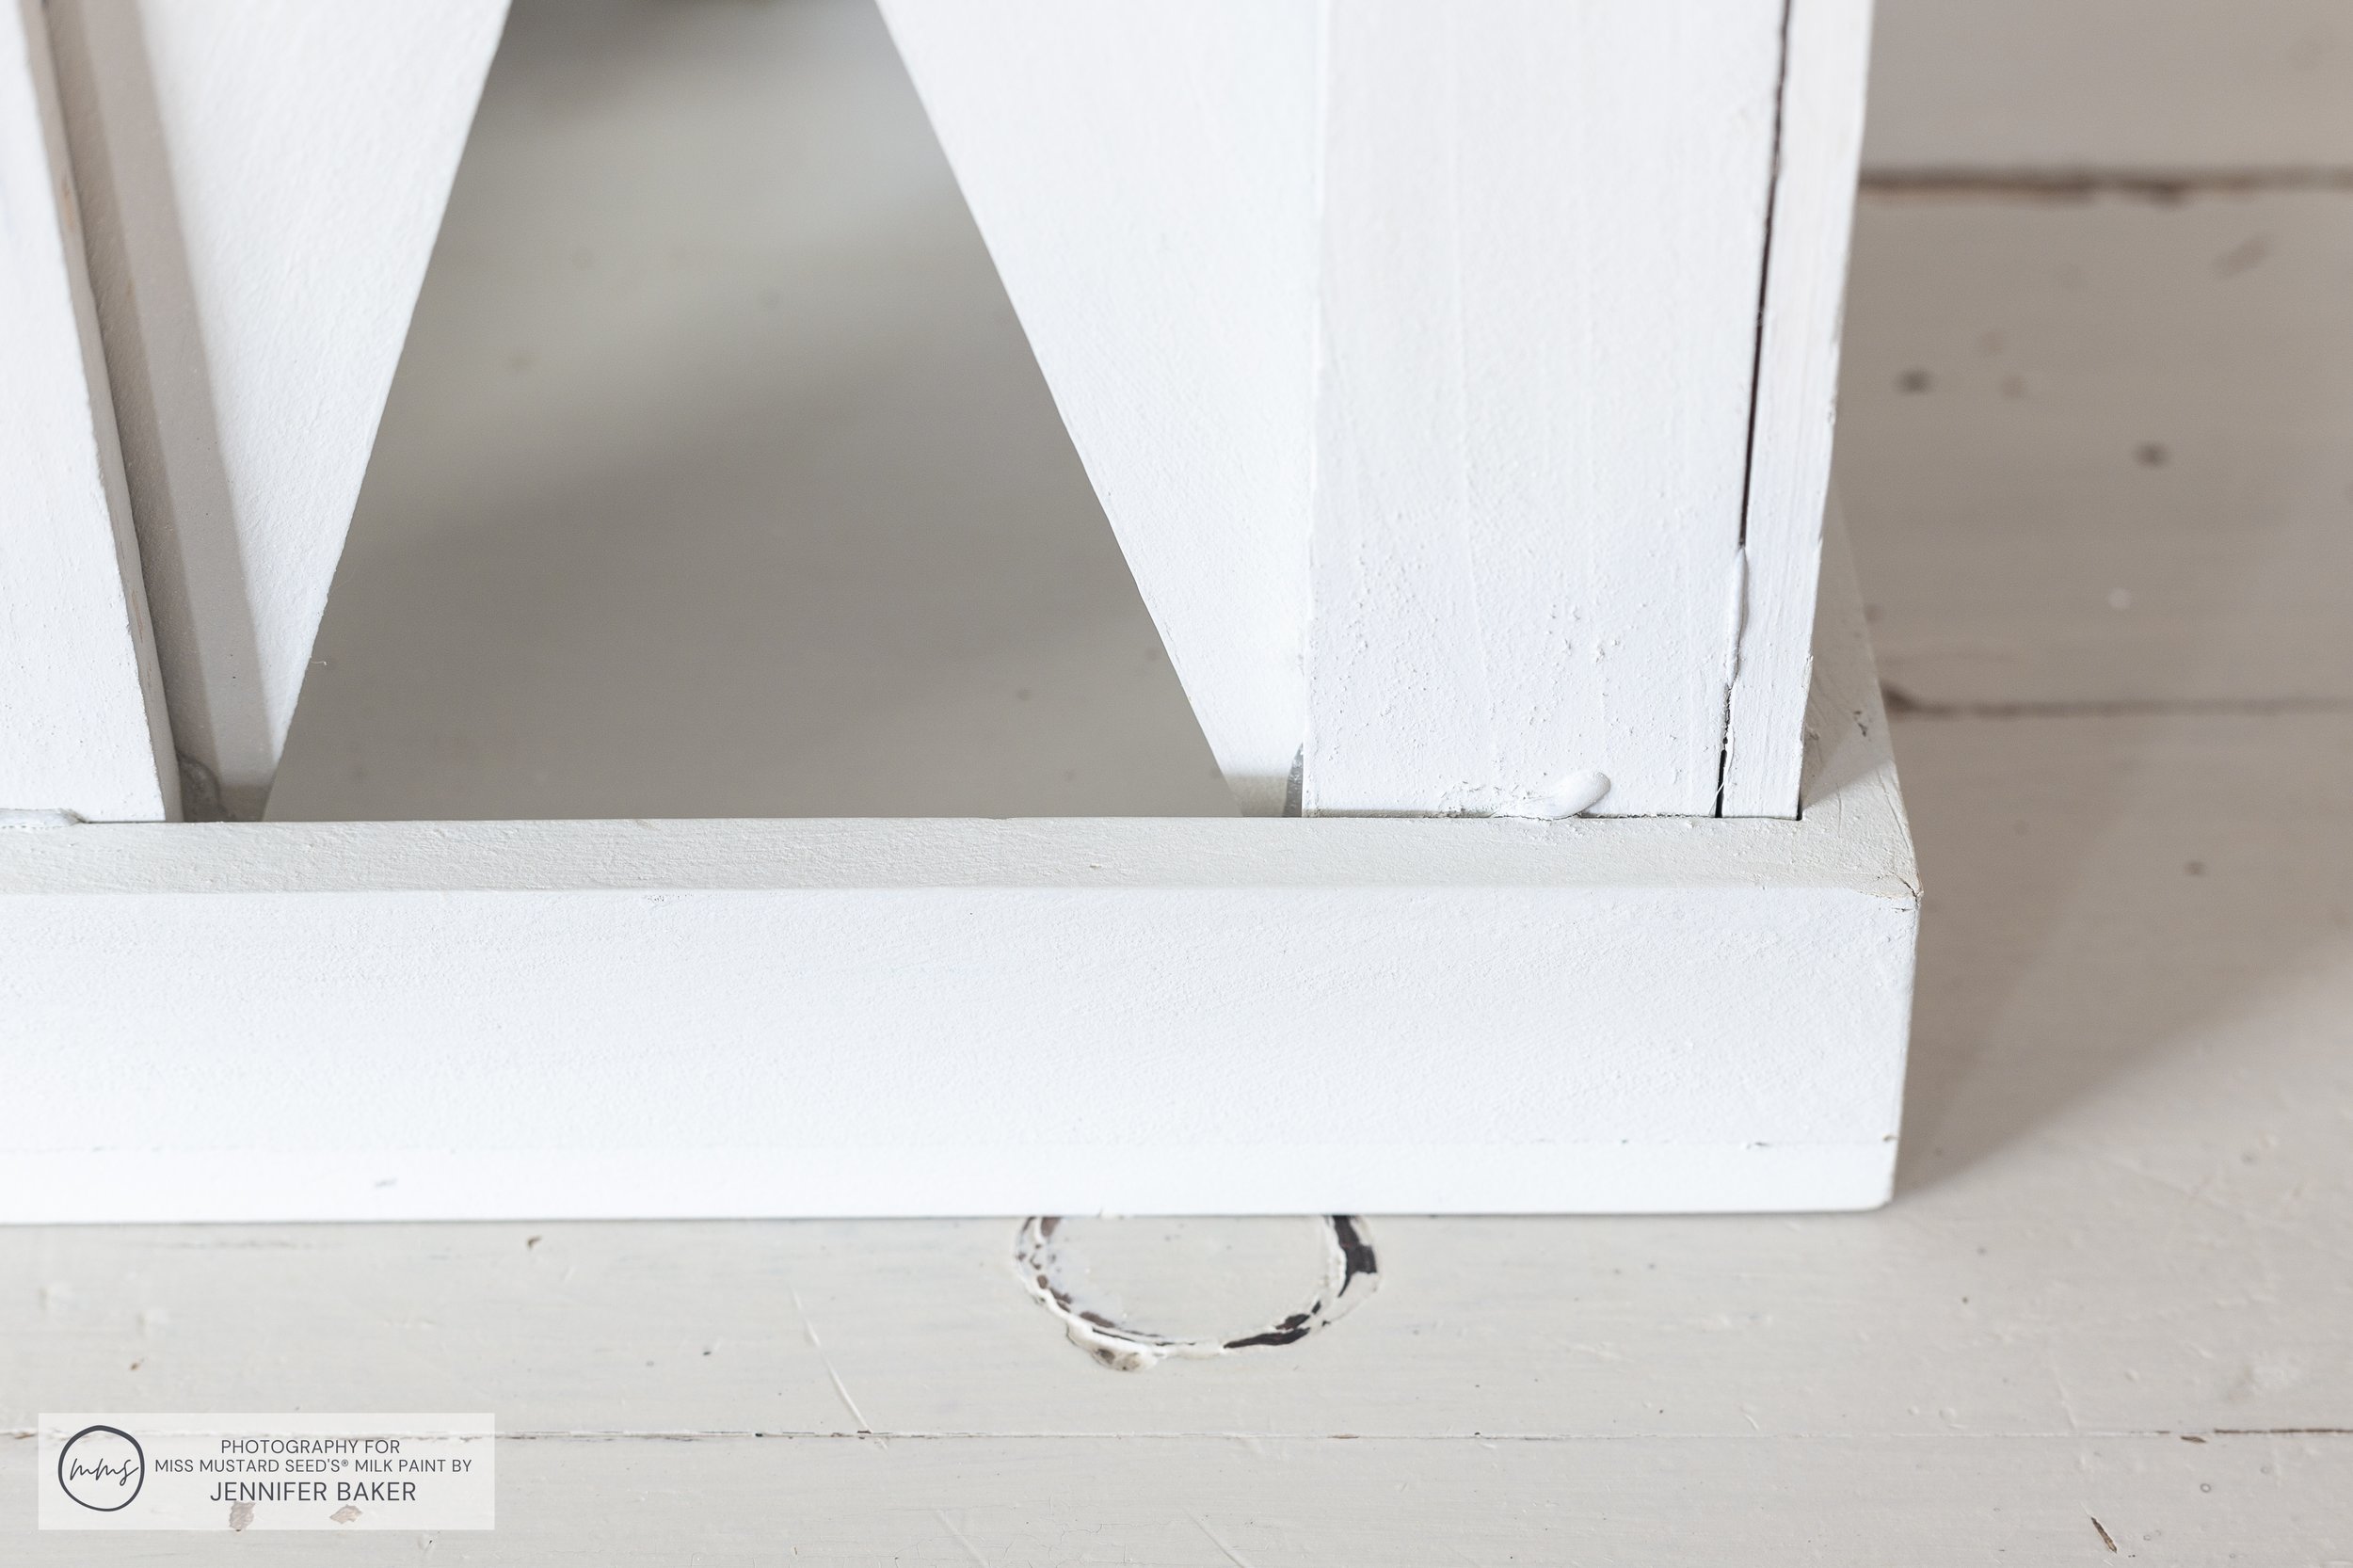
The best part about making these lanterns yourself is that they will be imperfect. Your final result may not be exactly square, and some of your paint sticks will be a bit crooked.
Heck, if you’re heavy-handed with the glue gun like I am, you may have a stray glue blob here and there. (Don’t worry though, MMSMP paints right over top.)
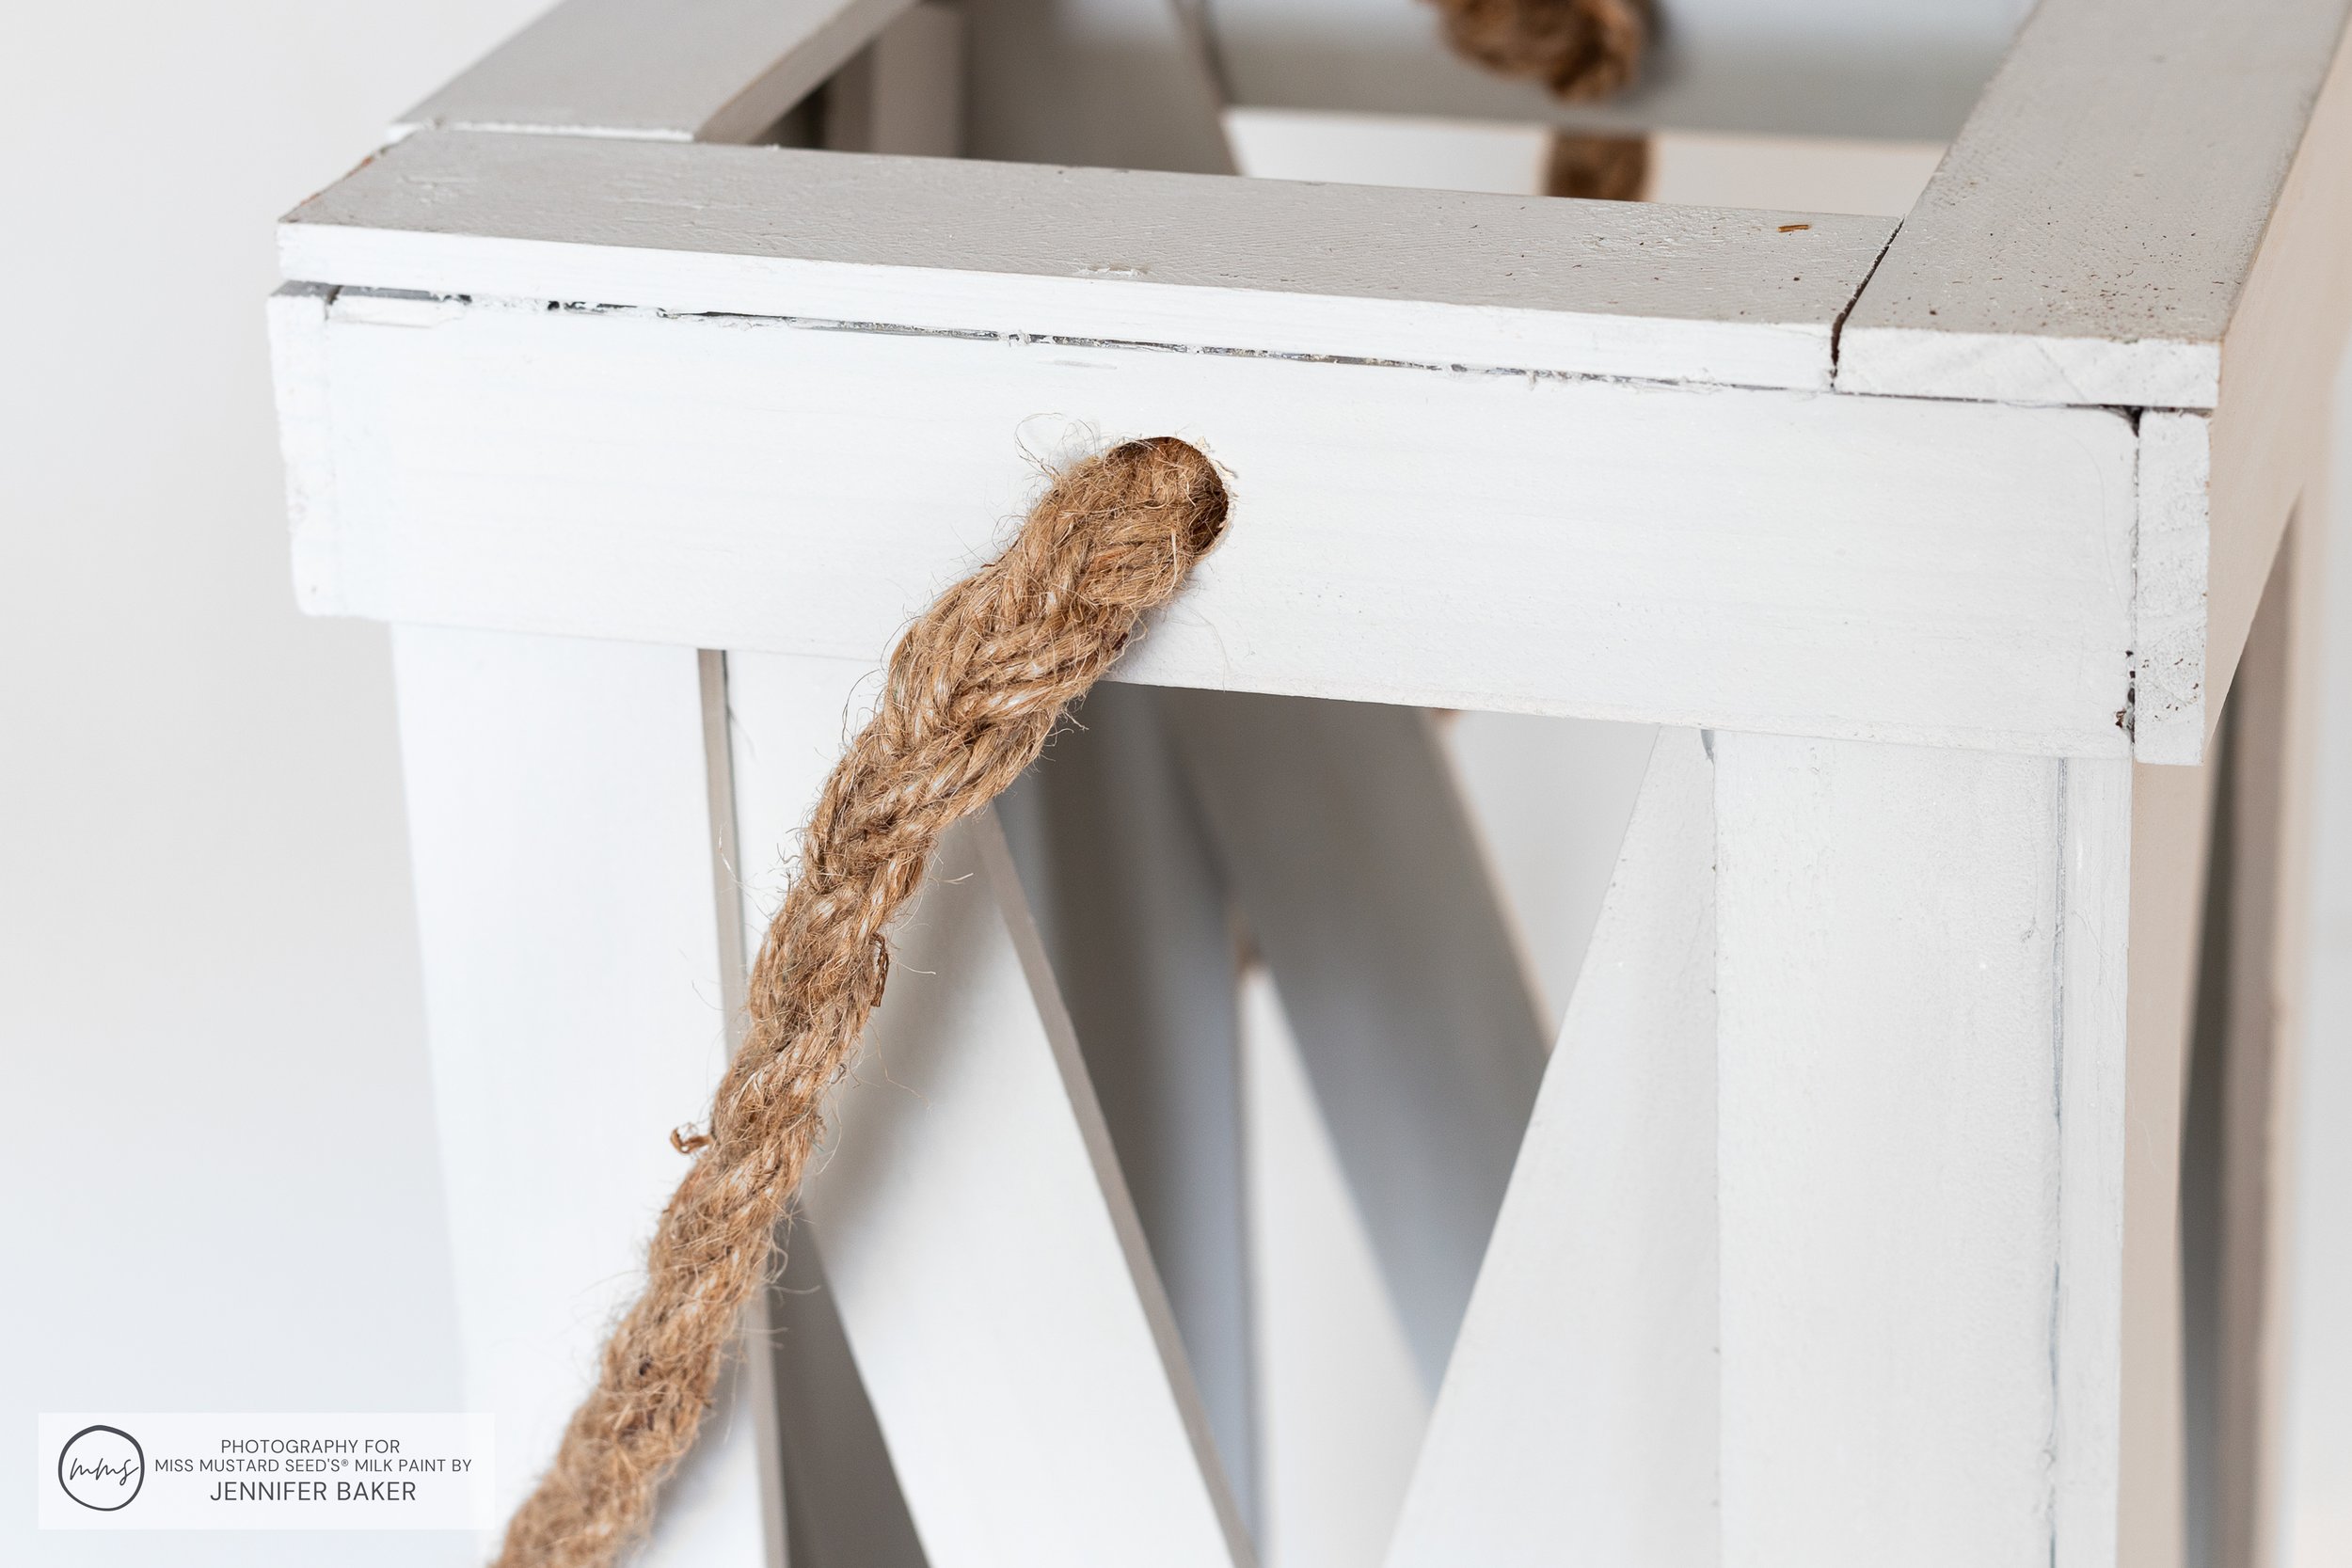
The original wood grain of the stir sticks is perfectly preserved thanks to the nature of MMS MilkPaint™. You can still see every saw mark and grain streak if you look close enough. That paired with the coarse texture of the jute handle makes these lanterns oh-so farmhouse!
(As a matter of fact, they look a bit coastal too, don’t they?)
I used the materials I had on hand, figured out the process as I went and trusted in the authentically aged beauty I’ve come to know and enjoy from using Miss Mustard Seed’s® Milk Paint!

