Milk Painting an Ikea Doormat
Sada of For The Love Creations is one of our talented retailers in Australia. She has a super fun craft project that will stir your creative juices (and make your pocketbook happy)! Let’s learn how to paint an Ikea doormat using MMS Milk Paint!
This project is perfect for 4th of July, Christmas and even Valentine’s Day!
Gathering Materials
Sada started with the SINDAL coir doormat. It’s made of coconut fiber which is durable for keeping your shoes clean. It’s also absorbent, which is PERFECT for MMS Milk Paint!
Photo Credit: For The Love Creations
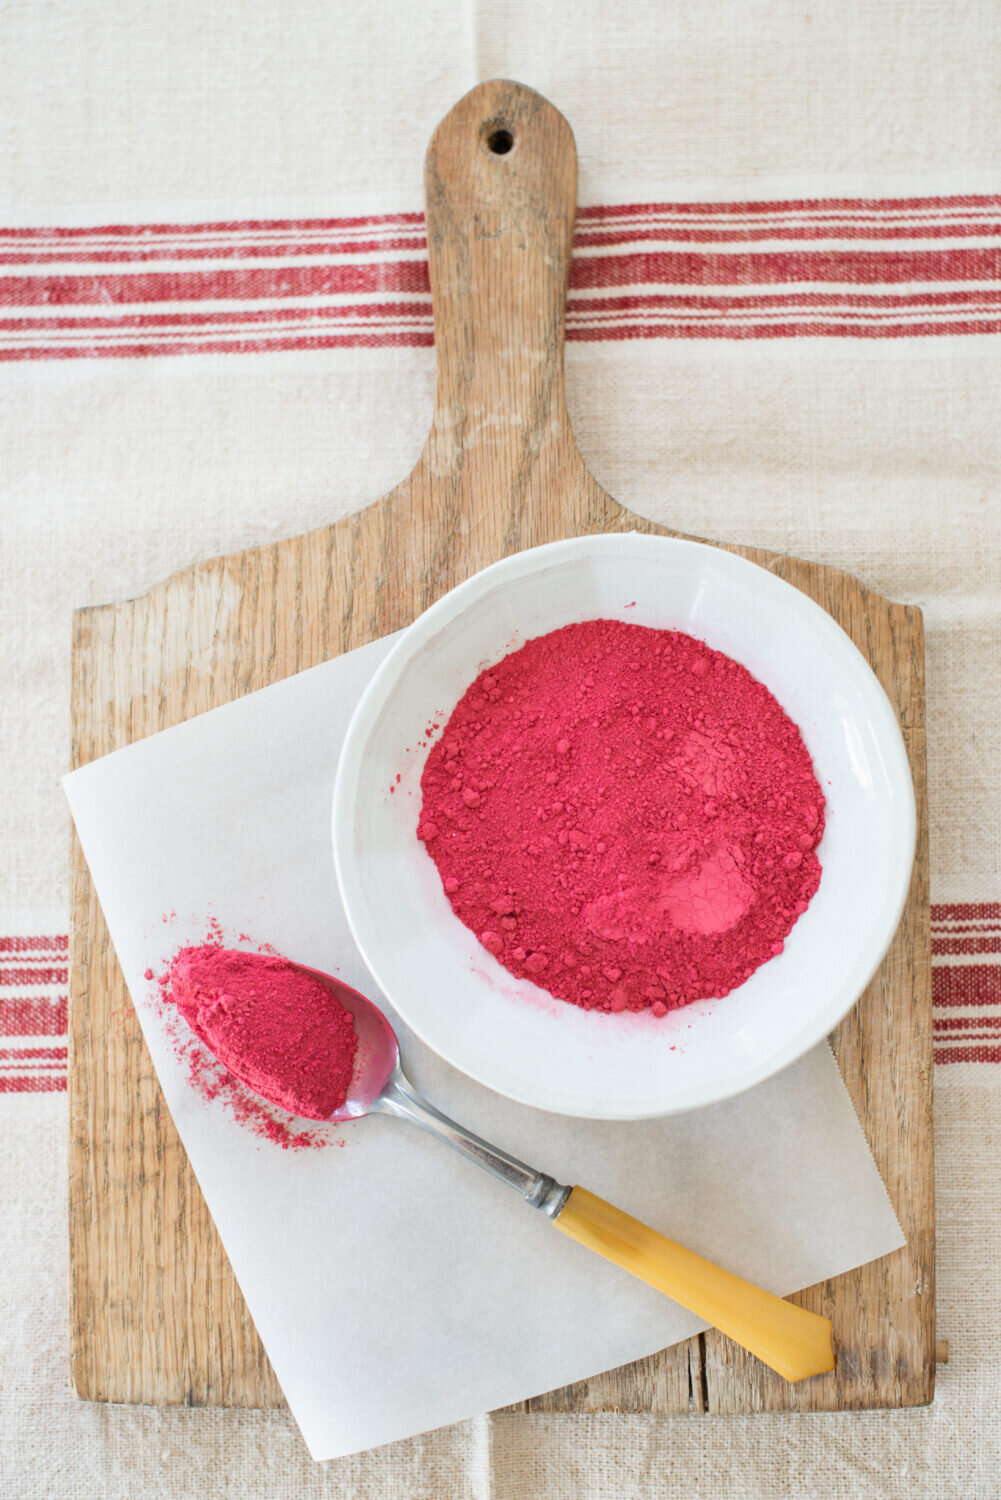
Sada wanted to create a simple striped pattern using our vibrant and saturated Tricycle.
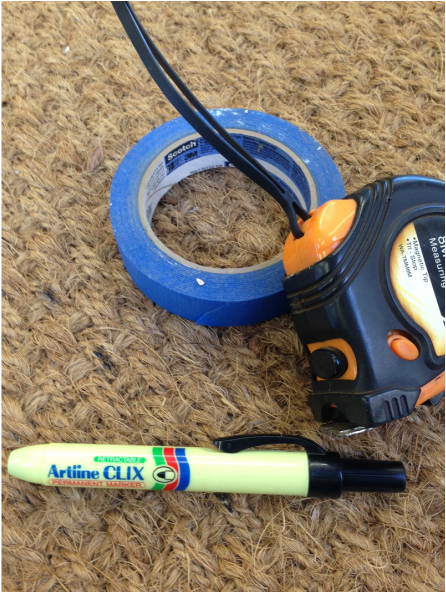
Sada also grabbed a thick marker, blue painter’s tape and a measuring tape to make a striped pattern.
Photo Credit: For The Love Creations
Creating Stripes
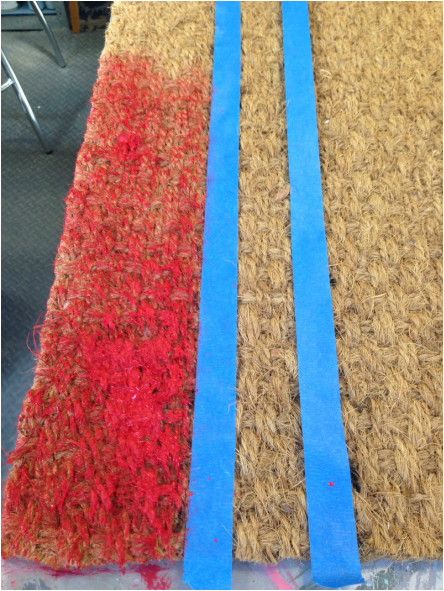
Sada measured and taped off a striped pattern resembling that of antique toweling.
You can use whatever kind of pattern your little heart desires! Consider doing some geometric shapes, a chevron motif or a checkerboard pattern. The ideas are endless!
Mixing MMS Milk Paint in the Color Tricycle
Once her doormat was taped up, it was time to get to painting! Sada mixed up a batch of our Tricycle in a small mason jar and used a handheld mixer to combine everything.
If you like mixing this way, we recommend pouncing your mixer up and down in short bursts to avoid frothing your Milk Paint like a latte! If it gets too foamy, don’t panic. Let it settle for about 30 minutes to an hour and use a stir stick to help pop some of the bubbles.
If you need some help mixing our Milk Paint, check out our video tutorial:
B.T. Dubs - You should subscribe to our YouTube channel so you never miss a video!
Painting the Doormat with MMS Milk Paint
Since coir mats are made of coconut fiber, and are rather absorbent, Sada didn’t need our Bonding Agent to help our Milk Paint adhere. It would almost “dye” the fibers.
Photo Credit: For The Love Creations
Because coir mats tend to shed, Sada recommends using an inexpensive paintbrush. The cheap chip brushes at your local hardware store are great for this! The black foam brushes would make good applicators too.
As she worked, Milk Paint splattered everywhere as the bristles caught in the fibers. (Hey, sometimes painting can be messy!) The stripes required a bit of horizontal and vertical brushing, but wasn’t as time-consuming as Sada expected.
Any splotchy patches evened out as she worked, creating a uniform look.
Photo Credit: For The Love Creations
Feel free to paint multiple layers of Milk Paint to achieve the coverage you want. You can also mix your paint a bit watery for easy absorption.
Quick & Easy
After letting her Milk Paint dry thoroughly, Sada’s mat looked like this:
Photo Credit: For The Love Creations
To preserve the color and protect it from the elements, we recommend placing your mat under a covered porch or inside a mud room.
4th of July Potential
Now as we’re sharing this blog post with you, it’s July in the United States. It’s 4th of July season, and patriotic decor is everywhere. Can’t you imagine using this technique to create an American flag? Heck, you can create any flag you wish!
This project is quick, easy and would make a super fun kid’s craft. Best of all, it takes very little MMS Milk Paint to do a doormat like this one. Sada used roughly 2-4 tablespoons of Tricycle to create her stripes. That combined with the low cost of the doormat itself makes this an inexpensive way to add personality to your home.
Photo Credit: For The Love Creations
How about a round of applause for Sada’s creative ideas? [clap, clap, clap]


