Miss Mustard Seed’s Milk Paint Guide to Prep Work
Our Essential Guide to Prepare any Surface for a MMS Milk Paint Makeover!
Knowing how to prep your surface for a Miss Mustard Seed’s® Milk Paint makeover is essential for creating the finish you want. Whether you're creating the chippy look over an existing finish, aiming for a full-coverage finish over glass or desiring a layered look on raw wood, our guide to prep work will help you every step of the way!
Do You Have to Prep Before You Paint?
In this day and age where no sanding, priming or prep is the trend, there is an assumption that you don’t have to prep anything before painting it. We are huge advocates of prep cleaning and sanding surfaces with an existing finish. Spending the extra 5-10 minutes prepping your project will prevent hours of troubleshooting down the road. An ounce of prevention is worth a pound of cure!
How to Prep Raw Wood Projects
Milk paint is the absolute best paint for raw wood. You can read more about how it will soak in like an opaque stain (as opposed to drying on top like modern paints) in this blog post.

If you have a raw wood project, you do not need to do much prep work. If your wood is a bit rough, use a medium grit sandpaper (120-150) to smooth out any rough spots. After all, no one wants a splinter when they’re painting!
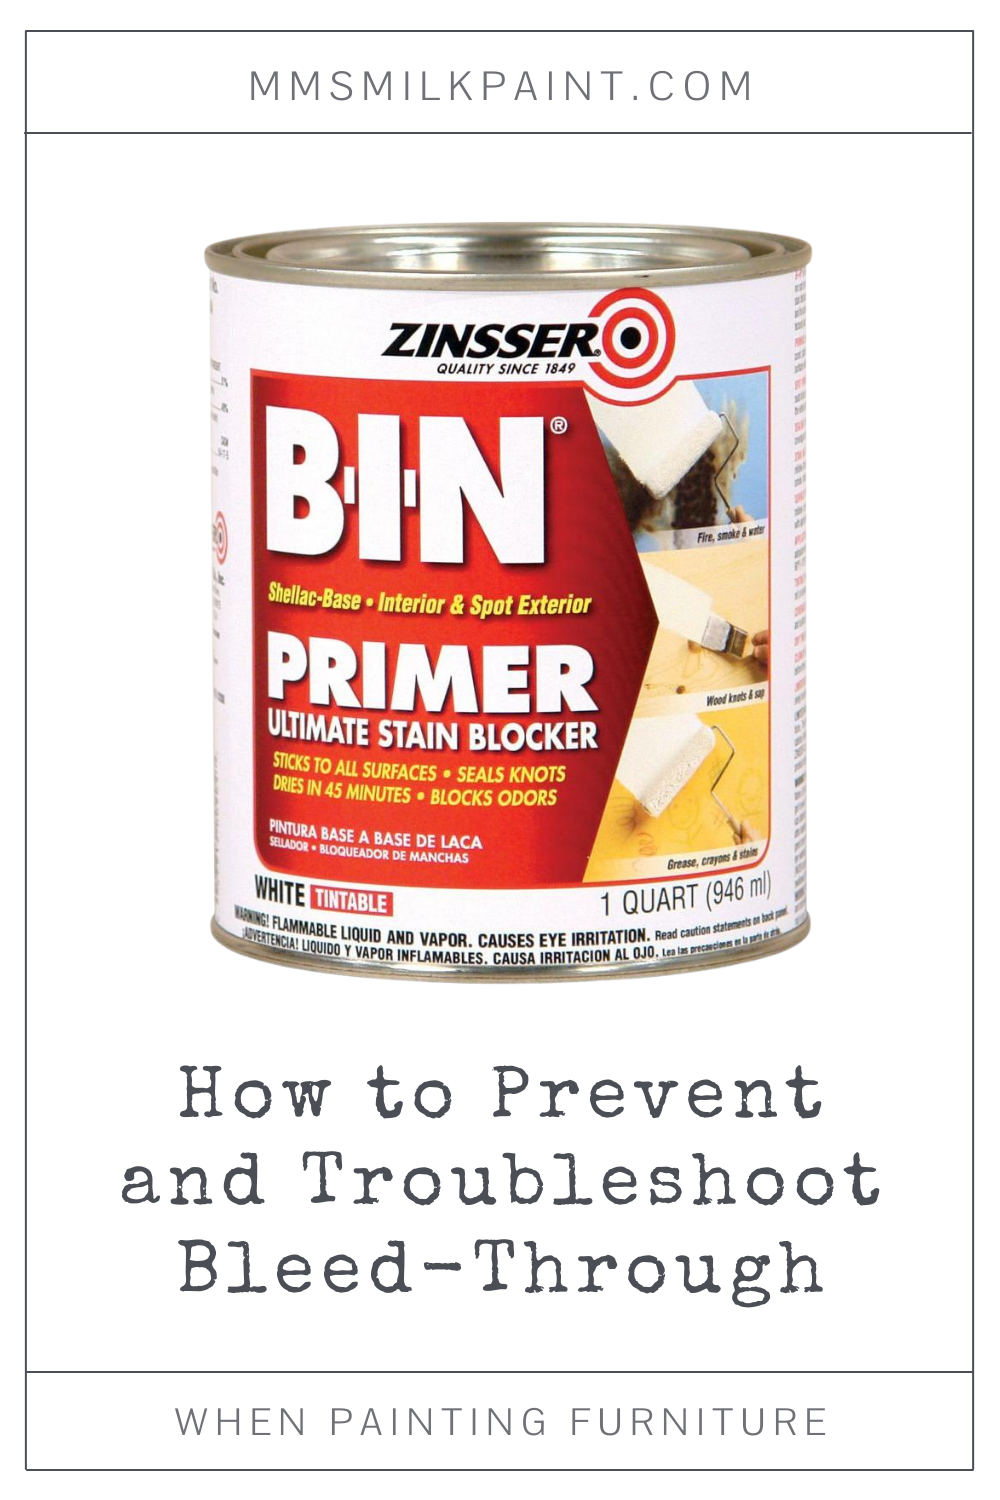
You may need to seal knots in wood species like pine or hickory with a quality stain-blocking primer or shellac. To read more about how to prevent bleed-through, read this blog post:
If you’re mixing your MMS Milk Paint on the thinner side to act as a translucent stain, then allowing knots to show through won’t matter.

Sharon of I Restore Stuff is one of our Australian retailers, and she has a fabulous video tutorial and blog post demonstrating how to make a stain using MMS Milk Paint. You can read all about that here.
How to Prep Pieces with a Pre-Existing Finish
Most furniture we work on isn’t brand new. It either came from your grandmother, the side of the road, a dirty barn or an estate sale. There are oodles of contaminants that are on the surface of your piece, both seen and unseen. Cleaning an existing finish prior to painting is a no-brainer way to remove common contaminants like dirt, grease, hair and general grime.

Photo Credit: Miss Mustard Seed
Step 1 - Prep Clean
We recommend using a mix of equal parts Denatured Alcohol and water as your cleaning solution. You can find this product in the paint aisle of your local hardware store or online.

Use a green or maroon Scotch-Brite pad to scrub your piece clean. Wipe it dry with a shop towel. You may need to repeat this process a few times until your piece is clean.
Denatured Alcohol is a great cleaning product because it doesn’t have any phosphates, is inexpensive and easy to find, and doesn’t require extra rinsing, like TSP.
You can use a commercial furniture cleaner, like TSP (Trisodium Phosphate), but check the label for phosphates - they will leave a residue behind that requires extra rinsing. If you’d rather skip this extra rinsing, opt for the Denatured Alcohol/water mix.
Don’t use Mineral Spirits to clean your furniture if you’re following up with a water-based product, like Milk Paint. Mineral Spirits (or White Spirits) is a petroleum-derived product that is incompatible with water-based products. Oil and water don’t mix.

For your extra grungy or heavily-used pieces, like cabinets or those finds that were buried in an old barn for 20 years, we recommend scrubbing with a degreaser/detergent like Spic and Span or blue Dawn dish soap. Rinse well, then follow up with a 50|50 mix of Denatured Alcohol and water.
Let the piece dry completely before you move on to prep sanding.
Step 2 - Prep Sand
Prep sanding is just as important as prep cleaning. Not only does it prepare the surface to accept a new finish, but it further cleans the piece from surface contaminants.
We recommend using a maroon synthetic steel wool pad, 220-320 sanding pad, or 150 grit sandpaper to scuff sand your piece. Make sure you wear a respirator or mask to protect your lungs.
Remove the dust with a shop vac.
You may hear some furniture painters say that they don’t prep their pieces before they paint them, and everything turns out fine. That may be the case with some projects, but that practice won’t provide consistent, reliable and durable results. Eventually, there’s going to be a piece that will give you a run for your money if you’re a prep-skipper. We prefer you not take that gamble and waste your time and money troubleshooting issues that could have been prevented with proper prep work.
If you follow the guidelines listed above, you’ll be in a much better position to have a smooth-sailing makeover.
Step 3 (Optional) - Apply a Primer to Prevent Bleed-Through
Primers are products that are applied under paint to prevent stains and wood tannins from wiggling through the finish. Think of them like the bouncer at a nightclub who won’t allow any stains to come to the party!
The priming product you choose depends on the final finish you want to achieve on your project.
Chippy or Distressed Finishes - Dewaxed Shellac
If you would like your piece to be distressed and have wood peeking through, we recommend applying 2 light coats of Dewaxed Shellac on your project. As the name implies, it doesn’t contain any wax.

Dewaxed Shellac can be applied with a quality bristle brush. As you apply it, don’t back brush. Shellac gets tacky and starts to dry quickly, so lay it down and keep moving forward. If you miss a spot, let your dewaxed shellac dry, then hit it with another application. Work under good light so you can see what you’re doing. Use the reflection of the shellac in the light to see any spots you may have missed. You may look funny when you’re doing it, but it totally works!
Shellac is cleaned up with Denatured Alcohol (which you should already have on hand from the prep cleaning step). Make sure you have good ventilation and wear a respirator to protect your lungs.
Did you know that shellac is actually a natural product made from combining a resin that is secreted by the female Lac Bug with a solvent like Denatured Alcohol? Fun (albeit slightly gross), right?
Solid, Opaque, Full Coverage - BIN Shellac-Based White Primer
If you want your final piece to have a full-coverage, non-chippy, opaque finish, then choose BIN Shellac-Based White Tinted Primer.

Priming with this product is a 2 step process. The first coat draws out potential stains and the second coat seals them. Aim for as opaque of a coat as you can with each application while still maintaining control over the product. You don’t want your project to turn into a runny mess, but you also don’t want your coats to be paper thin and translucent. After all, you’re trying to cover up and prevent stains, remember? Primer is the bouncer of a nightclub keeping stains from coming to the party!
BIN is FANTASTIC at blocking bleed-through. It’s tinted white, which helps you easily see where it has been applied. It cleans up with Denatured Alcohol and again, make sure you wear a respirator and have good ventilation.
Preventing Crackling Caused By Shellac
Sometimes, shellac can cause your paint to crackle and craze like this:
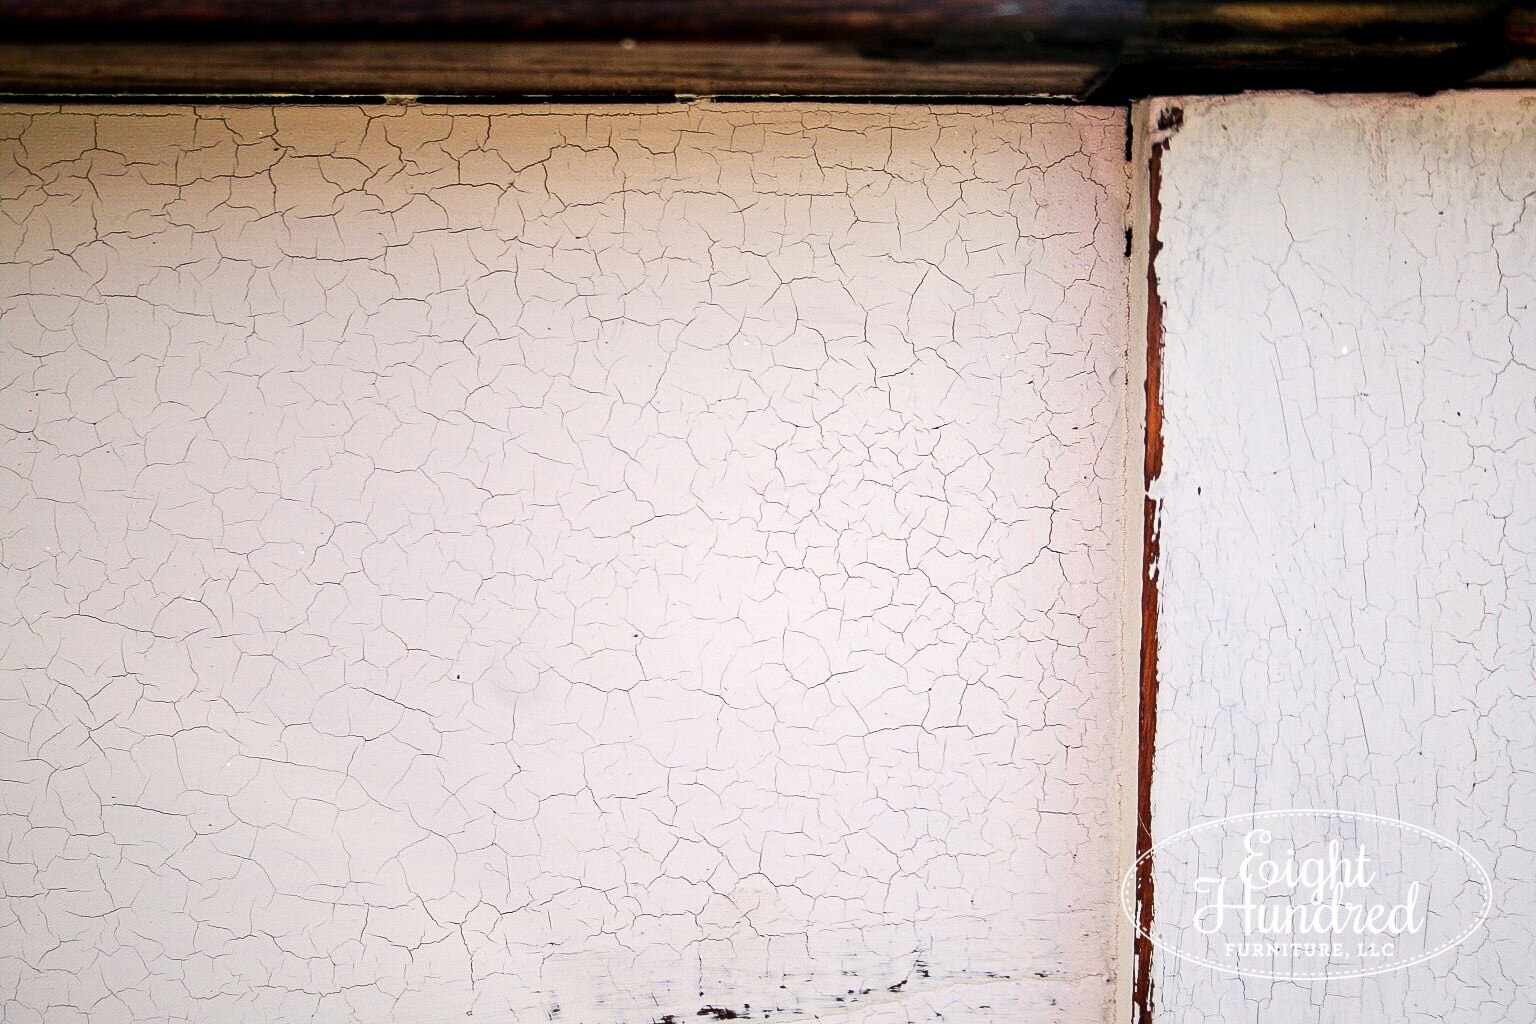
This look can be quite charming on antique pieces! If you’re aiming for a finish that’s more full-coverage with no crackling, chipping or distressing, then we’ve got a tip for preventing this crackling from happening.
Gently scuff your shellacked piece with a maroon synthetic steel wool pad. This will give the shellacked surface some “tooth”, which will help your Milk Paint adhere. You may want to mix in a squirt or two of our Bonding Agent for good measure.
Troubleshooting Bleed Through in the Middle of a Project
If you’re in the middle of a paint project and you start to experience bleed-through, here are a few tips and suggestions to try:
Stop painting and let your piece dry completely.
Apply 1-2 coats of Dewaxed Shellac or BIN Shellac Based Primer over the bleed-through. Let it dry completely.
Gently scuff sand with the maroon pad again to create tooth, and keep moving through your project.
If you’ve already applied a topcoat…
Wax Topcoats:
Remove wax topcoats with 0000 steel wool or a maroon pad and Mineral Spirits. You may need to do multiple rounds. Let the piece dry for 24 hours to give the Mineral Spirits a chance to dry.
Prep clean and sand according to our directions in the previous sections above.
Apply 1-2 coats of Dewaxed Shellac or BIN Shellac Based Primer over the bleed-through. Let it dry completely.
Gently scuff sand with the maroon pad again to create tooth, and keep moving through your project.
Tough Coat Topcoat:
Scuff sand Tough Coat with maroon pad.
Apply 1-2 coats of Dewaxed Shellac or BIN Shellac Based Primer over the bleed-through. Let it dry completely.
Gently scuff sand with the maroon pad again to create tooth, and keep moving through your project.
Hemp Oil Topcoat:
You’ll need to wait 20-30 days for Hemp Oil to cure before you can begin correcting and fixing the bleed-through. Our Hemp Oil can act as a resist and create a chippy look, so you want to make sure it’s cured before you apply anything on top of it.
Apply 1-2 coats of Dewaxed Shellac or BIN Shellac Based Primer over the bleed-through. Let it dry completely.
Gently scuff sand with the maroon pad again to create tooth, and keep moving through your project.
Other Tips:
Stay away from water-based sealers. Water is actually what’s causing the bleed-through in the first place. Water makes the surface of your project wet and activates dyes and tannins. One of the few water-based primers we recommend is General Finishes Stain Blocker. This is a fantastic water-based, high solid content stain blocking primer that is tough as nails. It’s expensive though, so you may want to opt for a more affordable shellac-based option.
Be open to the possibility that some pieces may not stop bleeding no matter what you do. Remember, wood is a natural product that has oils, natural colors and knots. You may need to adjust your makeover if the piece won’t cooperate. Not every project will accept a new paint finish. If you’re someone who refinishes furniture for a living, make sure you explain this to your customers and educate them. This will help set realistic expectations.