Creating the Chippy Look on Raw Wood
Using a Resist to Force the Chippy Look on Raw Wood Projects
Here at Miss Mustard Seed’s Milk Paint, we love a good chippy finish! It’s one of our signature looks that can be created using our Milk Paint. While the chippy look is relatively easy to produce on a surface that has an existing finish i.e. polyurethane, shellac, lacquer, etc. it doesn’t happen naturally on raw wood.
The trick for getting our Milk Paint to chip on raw wood is creating something called a resist.
Why Won’t Milk Paint Chip on Raw Wood?
As we’ve explained in this blog post, Milk Paint’s thin consistency allows it to soak into raw wood like an opaque stain. It doesn’t sit on the surface and dry in a thick layer like modern paints.
This trait of Milk Paint is ideal if you’re aiming to create a non-chippy finish on raw wood. If you’d prefer a chippy finish however, you’ll need to do a bit of “trickery” to force chipping to occur. That trickery is also known as creating a resist.
What is a Resist?
Creating a resist is essentially applying a product to the surface of your project that will not allow Milk Paint to soak in and adhere. This is especially important if your surface is raw wood. Your product of choice will create a barrier that will resist adhesion.
Make sense?
We have three fabulous products that will do the job nicely!
Resist Technique 1 - Beeswax
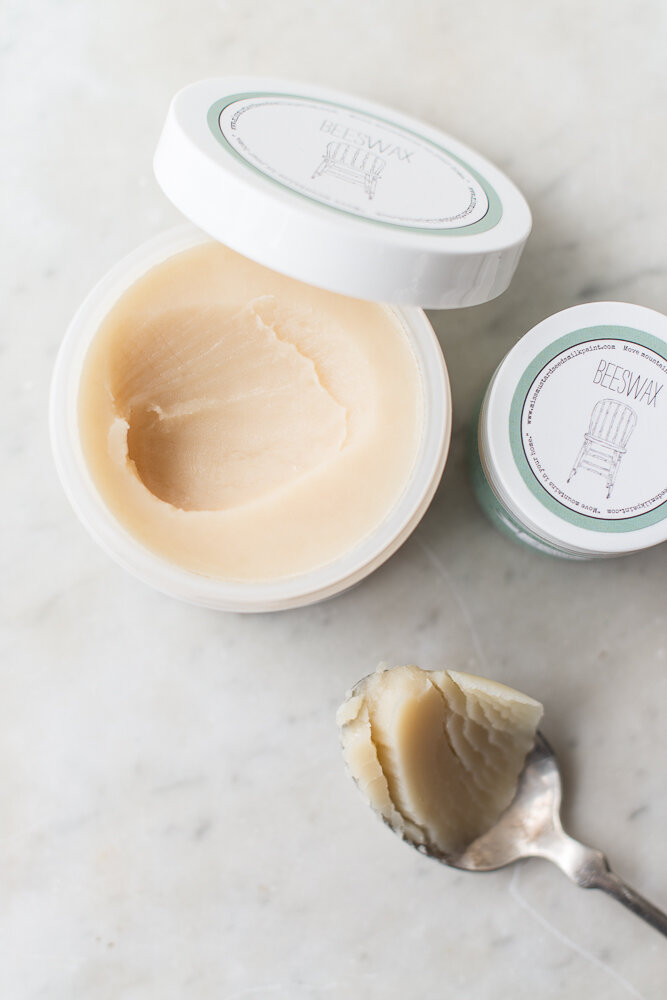
Our Beeswax finish is the best product to use if you want to create a traditionally chippy look on raw wood. The pattern it creates is circular and patchy.
Follow these steps to create a resist using Beeswax:
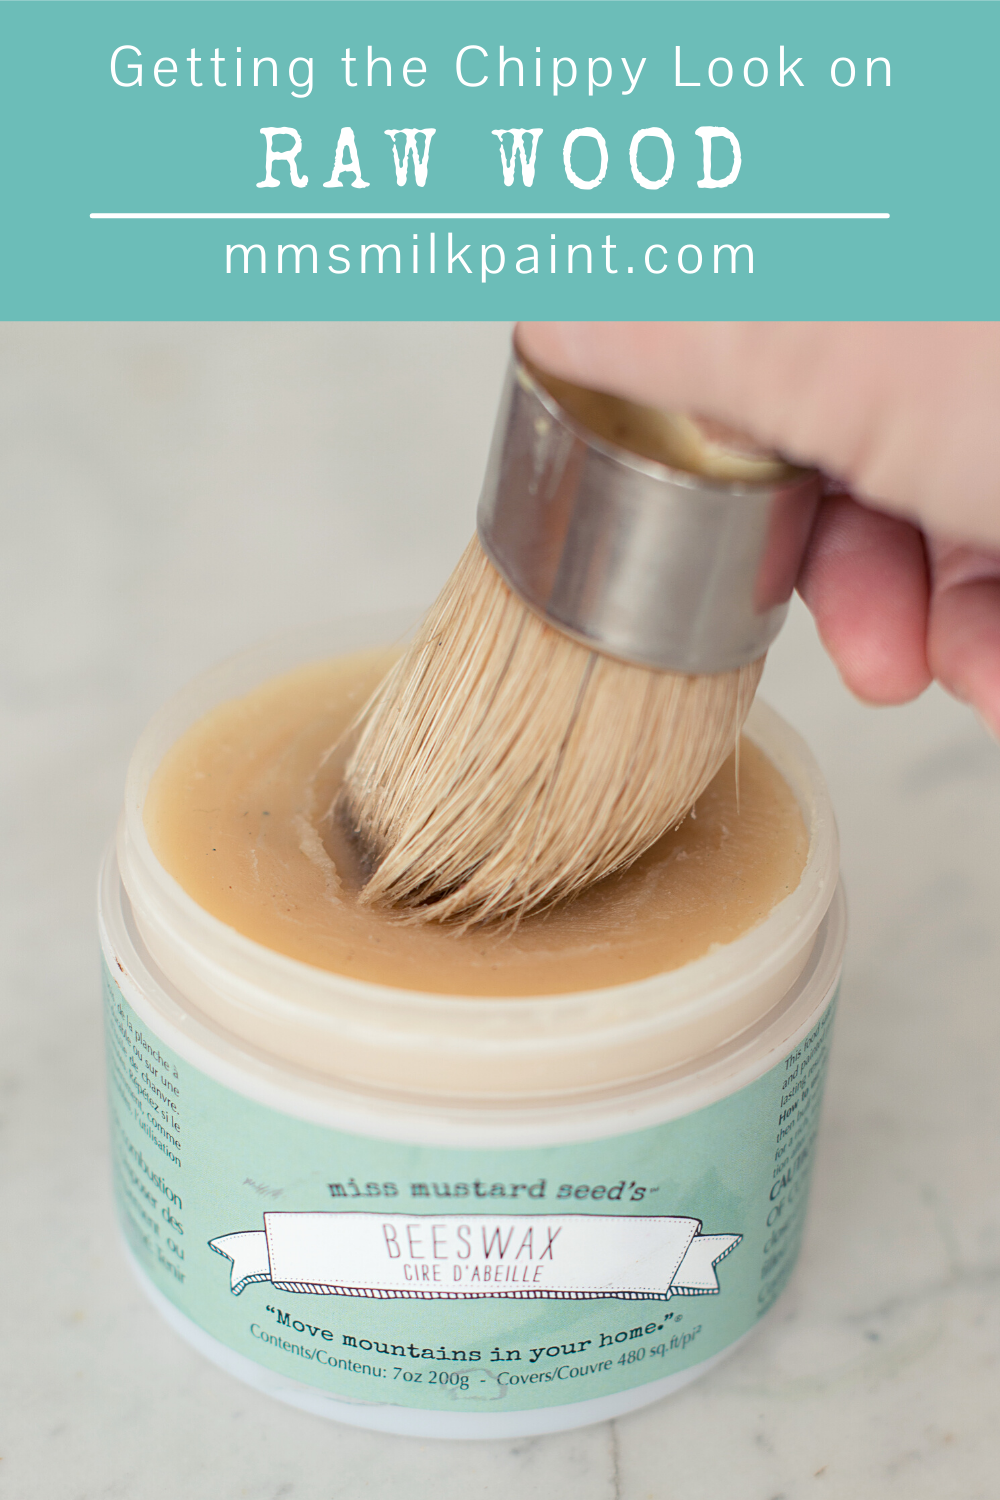
Use a wax brush or a soft cloth and dab a bit of Beeswax where you would like chipping to occur. We recommend edges, near handles, over keyholes, on legs and in the corners. Don’t use too little or too much. The “Goldilocks” amount is perfect - a medium amount that’s juuuust right! You can apply Beeswax over a stain, bare raw wood or an existing color of MMS Milk Paint.
Mix up a batch of your desired color of MMS Milk Paint. We have oodles of gorgeous shades for you to enjoy! Paint your color on, taking care not to press your paint brush hard into the areas where you’ve applied Beeswax. Glide the paint over your Beeswax and simply let it rest on top. Pressing too hard into the wax will mix your paint and wax together.
Allow your Milk Paint to dry (30 minutes - 1 hour).
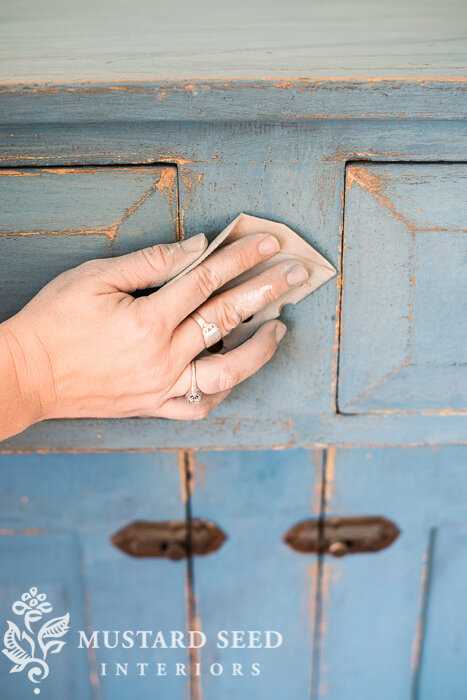
Using sandpaper (120-150 grit), gently distress the areas where you applied the Beeswax. It will chip and flake away in a desirable and aesthetically pleasing pattern that looks like it’s always been there!
You can repeat these steps to build up layers of colors to create a gorgeous rustic look!
This industrial cart is a great example of using a resist to create a layered Milk Paint finish. It needed to have its top boards replaced since the originals were too far gone. They were new wood and didn’t match the age of the base, so Miss Mustard Seed beat up the top with chains and a hammer to add dents and dings.
Then, the boards were painted in Lucketts Green, a layer of Beeswax and two coats of Boxwood. The paint flaked up, due to the Beeswax resist. Once she distressed the edges and sealed it, Miss Mustard Seed had the perfect chippy look on raw wood!
Resist Technique 2 - Hemp Oil
Our Hemp Oil is like a Swiss Army Knife! It has so many practical uses, including creating a resist on raw wood.
One of our talented retailers in Australia, Sharon of I Restore Stuff, has a wonderful tutorial video on her YouTube channel that demonstrates this technique perfectly! You can also read her accompanying blog post for more tips.
The trick for using Hemp Oil as a resist is to work in small sections. Because it soaks into raw wood relatively quickly, you need to apply it then paint over it within a few minutes. If you wait too long, it may not work properly.
Resist Technique 3 - Wax Puck
If you’re looking for a more subtle chippy finish, then a Wax Puck will be the perfect tool for you!
Our Wax Pucks are palm-sized discs of 100% pure Beeswax. They’re not as spreadable or soft as our Beeswax Finish that comes in a tin, so they are rubbed on the surface as opposed to being dabbed.
Using a Wax Puck as a resist creates a very subtle effect. The resist pattern it produces isn’t really chippy at all. Instead, it’s more linear and gentle.
Here’s a good example:
Miss Mustard Seed used a Wax Puck resist to refinish this gorgeous antique jelly cupboard.
She started by painting a base coat of Artissimo, which is our deep midnight blue. After it was dry, she rubbed a Wax Puck over the surface to create a resist.
Then, she painted on a layer of Flow Blue, let it dry and distressed the piece.
The piece was finished with our Antiquing Wax, resulting in a beautiful layered look.
You can read more about using Wax Pucks to create a resist in this post by our team member, Jenn Baker. It includes a helpful video tutorial!
Shop for Beeswax, Hemp Oil and Wax Pucks
However you decide to create a resist over raw wood, our dedicated retailers are ready and waiting to assist! Check out our retailer map to find one in your neighborhood. Don’t have a local retailer nearby? Many of our retailers have online shops and are happy to ship to your door!


