
Furniture Repair Tips
Imagine you’re walking around your favorite antique shop and you spy a GORGEOUS piece that’s perfect for a Miss Mustard Seed’s® Milk Paint makeover. You carefully haul it home, roll up your sleeves and get ready to make some Milk Paint magic.
After yanking on the drawers to get them open, you notice an odd smell. The piece wobbles back and forth. The hardware is completely tarnished and the back is hanging on by a few old nails.
Have no fear, fellow Milk Painter! MMSMP Team Member, Jenn Baker, is sharing a few of her favorite furniture repair tips. Keep these in your back pocket the next time you come across a piece that needs a little (or a lot of) TLC.

Well hey there, fellow Milk Painters! I’m Jenn Baker, and I’m a super proud member of the MMSMP Team. You’ll find me behind the keyboard, writing our weekly newsletter and creating blog posts here on the website.
I’m a creative business owner, and have painted quite a few pieces over the years using MMS Milk Paint. Some of them were total dreams to refinish. Others required a LOT of repair work!
It’s my pleasure to share my favorite furniture repair tips with all of you. By taking care of these common problems, you’ll be giving your furniture project a whole new lease on life. These repair tips are especially important if you’re someone who sells your refinished furniture!

Tip 1 - Repairing Drawers
Drawers are the part of furniture where I find the most damage. They can be crooked, broken, smelly or stained.
Sticky Drawers
Ever tried to open a drawer and it refuses to budge? Yeah, I’ve been there too.

My go-to way for getting sticky drawers to slide like butter is by using our Wax Puck. Rub it along the runners (bottom part) of your drawers. On particularly old pieces of furniture, the drawers are set on wooden guides. The system is essentially wood-on-wood. By rubbing the Wax Puck on the runners, you’re creating a lubricated surface that will help ease the wear and tear on your drawers.

Replacing Drawer Bottoms
It’s not uncommon to open a drawer only to find out that the bottom is either stained, partially missing or smells terribly. (We’ll get to smells a little later on in this post.)
Replacing drawer bottoms is a cinch!
Most drawers are pinned in place with glue blocks or small nails. Gently pry them off and slide the bottom out. (Now this process may differ depending on how your piece is constructed.)
Cut a piece of plywood to the dimensions of your drawer, slide it back in and gently nail and/or glue it back in place. If you’d like to add an extra special touch, add some decorative paper or fabric for a pop of color!

Tip 2 - Fixing Wobbles
It’s no surprise that antique pieces of furniture become wobbly over time. (Even people become wobbly as they approach 100 years old!)
Wobbles can sometimes be fixed with wood glue and clamps. My favorite way to secure and shore up pieces is to use L shaped corner braces, and straight mending braces.


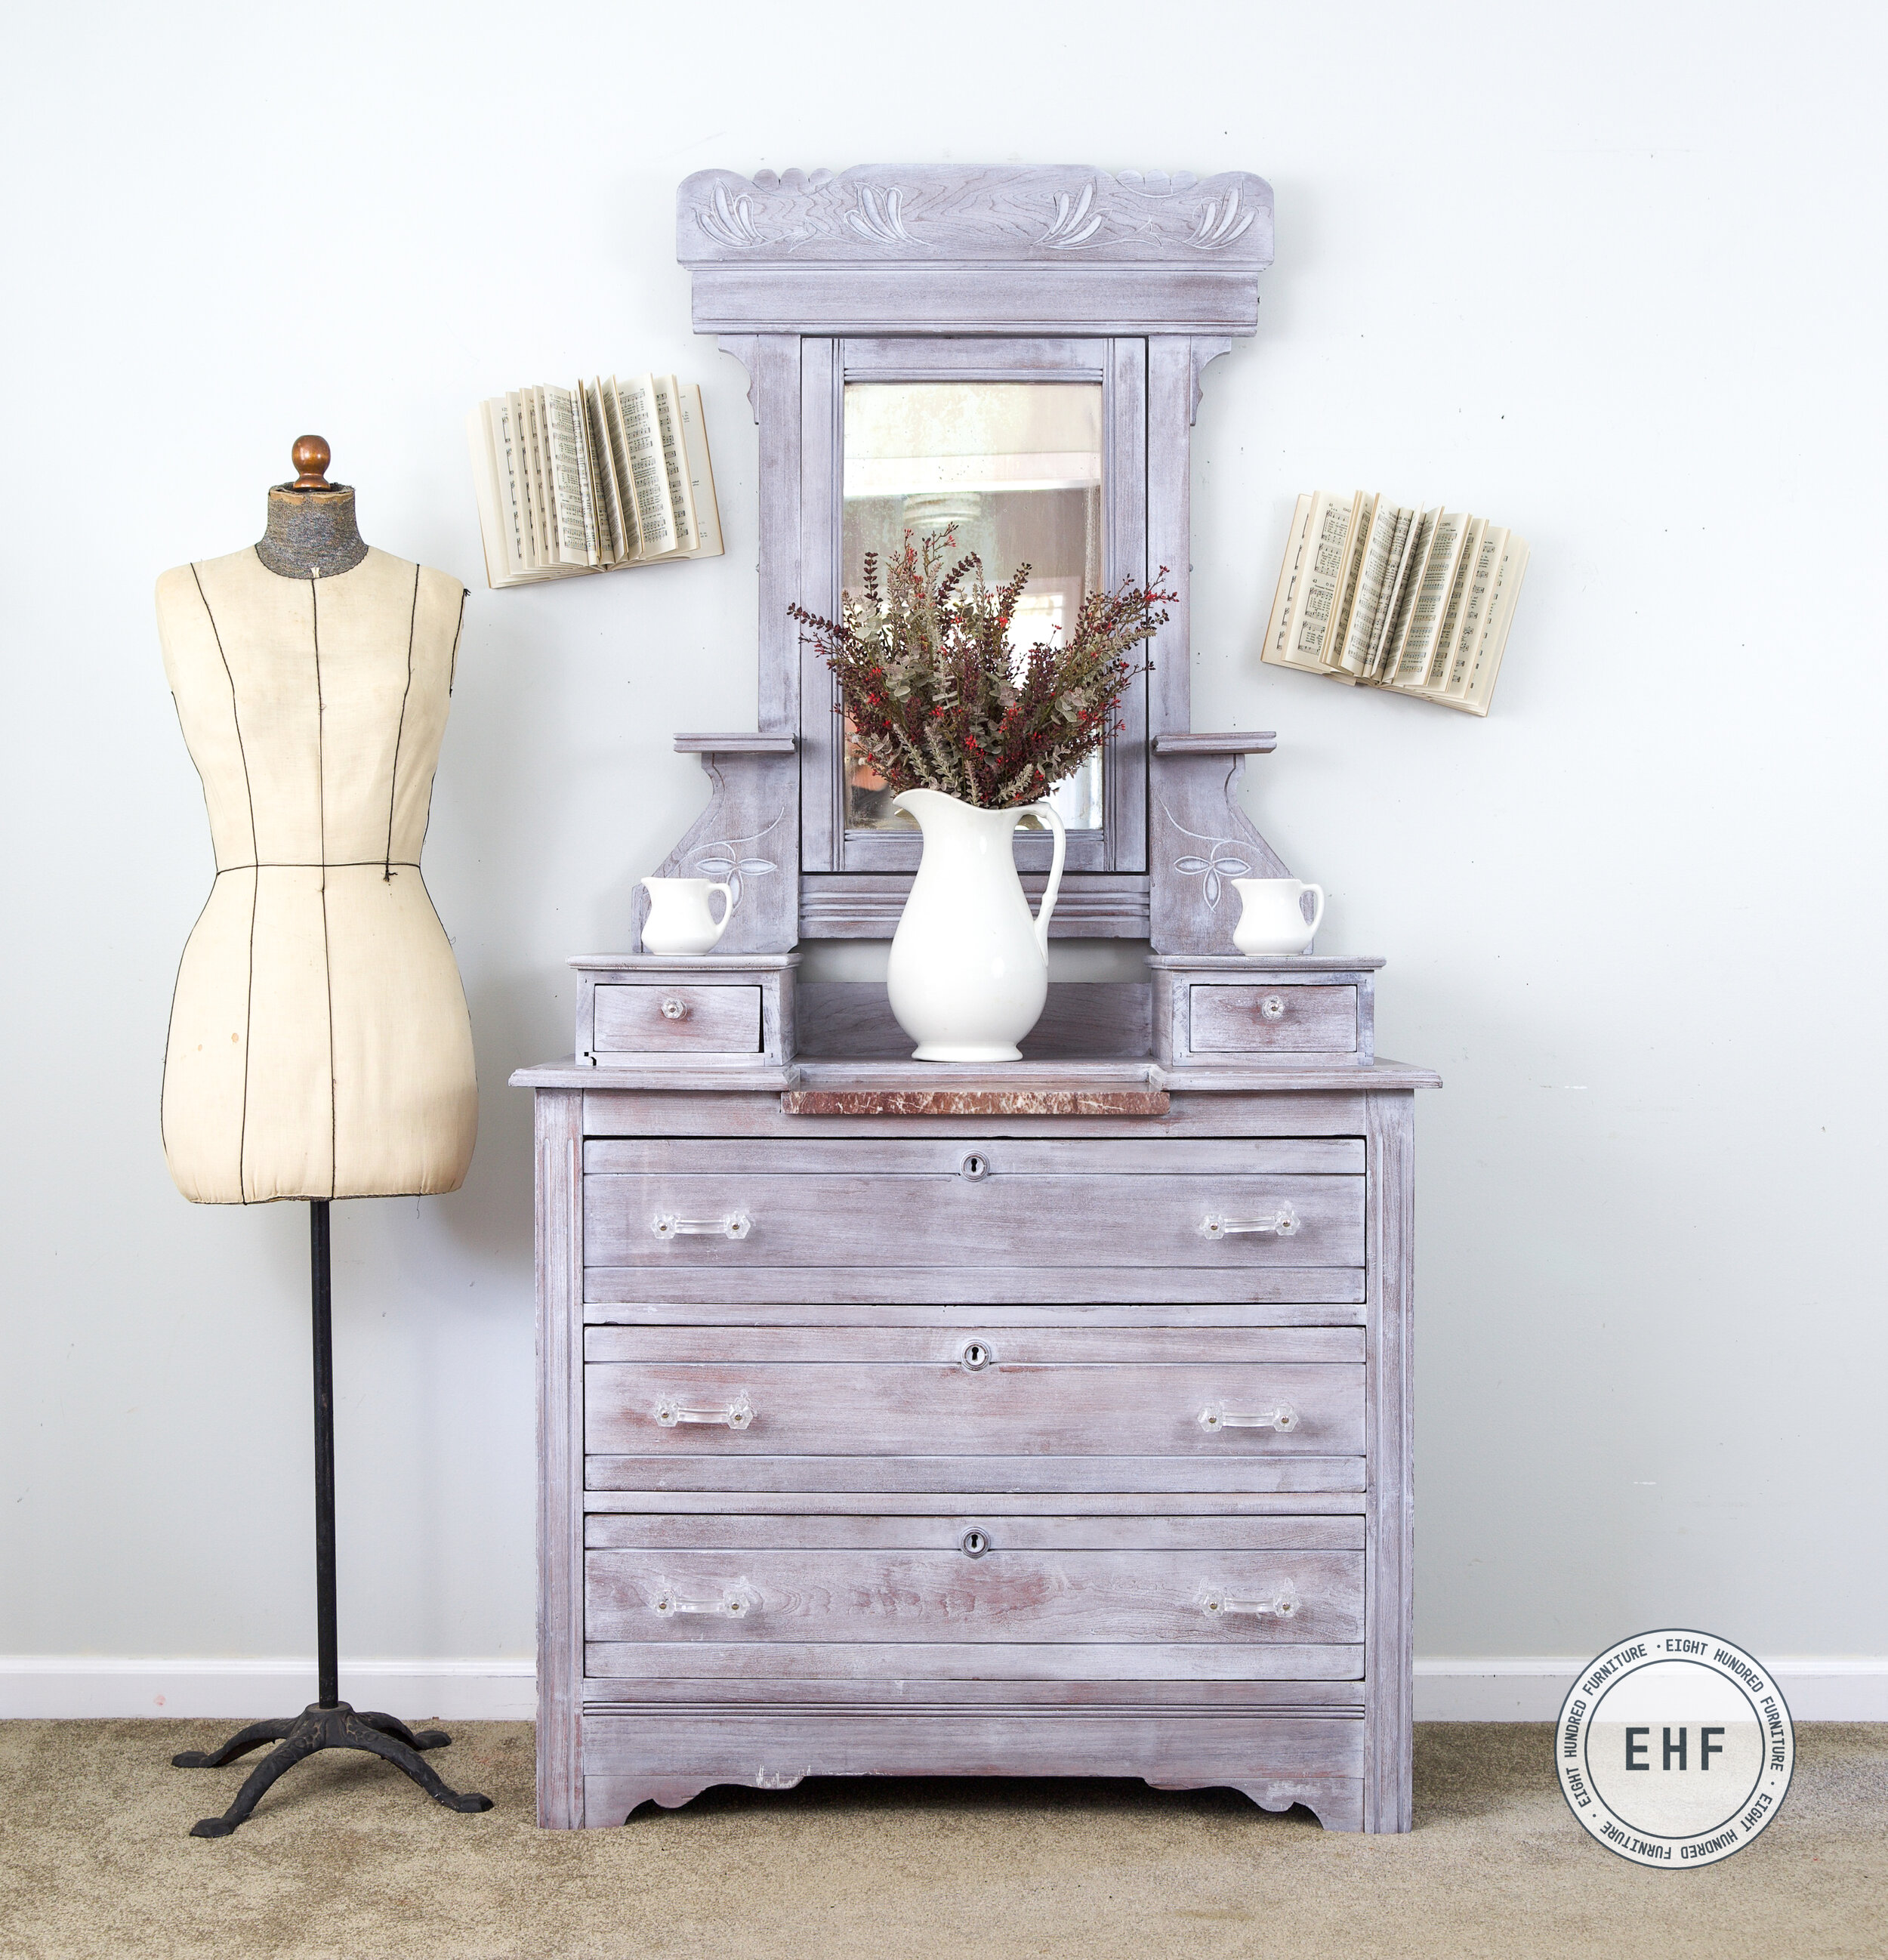
These are especially handy when you come across pieces that have a mirror. This Eastlake chest of drawers had a very heavy swivel mirror. I used several braces across the back to ensure it was sturdy. This was plain wood when I found it, and I added two coats of White Wax to achieve this look.
Tip 3 - Removing Odors From Furniture
Wood is a porous material which easily absorbs odors (be they pleasant or offensive). I know you have come across particularly stinky pieces in your travels too! I have a few different tricks you can try out on your smelliest finds.
Removing Animal Odors
Before I get into this tip, let me say that I love cats. We have 2 of our own at home. Unfortunately, they aren’t always well taken care of, and can take their angst out on furniture.
The same can be true for dogs, squirrels, mice, etc.
Using an enzymatic cleanser is a great way to remove smells. What makes these types of cleaners different than others is the addition of enzymes, which eat bacteria - the source of most animal odors.
For cat odors in particular, I use Nature’s Miracle. It works WONDERS on cat odors, leaving your piece daisy fresh.
Seriously…no joke!

A quick Google search will yield other enzymatic cleaners you can try. Just make sure they contain enzymes - that’s the magic trick!
Removing Smoke And Tobacco Odors From Furniture
Several of my family members have been smokers, and I have inherited some pieces from them that have offensive tobacco stains and smoke odors. It’s a total bummer when a potentially amazing piece smells like a pack of cigars.
I’ve got a few tricks up my sleeve for getting rid of tobacco stains and smoke odors.
Use Dawn Dish Detergent
For removing tobacco stains, I recommend scrubbing the surface with Dawn dish detergent. (You know, the blue stuff with the little ducks on the front.) Dawn cuts through all sorts of stains, and it’s a degreaser. Use a green Scotch-Brite pad, wear gloves and rinse well. You may need to do multiple rounds of cleaning, but this is a great place to start.
Ozium Sanitizer
Ozium Sanitizer is a spray that can be used on particularly smelly pieces. It attacks odors at their source and eats away at the bacteria that cause them. You can purchase Ozium from Walmart, Amazon, etc.

Let Your Pieces Air Out
Sometimes the simplest solutions are often the most effective. If you take your piece outside, or in a garage, and let it air out, the smells may work themselves out! The best times are during a stretch of sunny days. Take out those drawers, open those doors and let the sun bake the smells away!
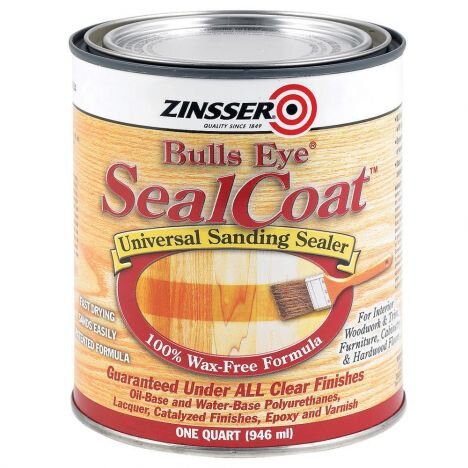
Use Dewaxed Shellac
Shellac is a fablous solution for locking in particularly smelly odors. As a matter of fact, I have a gorgeous Victorian era chest of drawers sitting next to my computer with a can of Shellac on top. The drawers smell musty, so I’m going to apply a coat or two of Dewaxed Shellac all over the inside, the drawers and on the outside.
Tip - Use Shellac in a well-ventilated area. Wear a respirator to protect your lungs from strong fumes.
Tip 4 - Replacing a Back
Cupboards, bookshelves and buffets usually have a thin panel for a back. If the back panel of your piece is damaged and needs to be replaced, the solution is quite easy!

Most big box hardware stores sell MDF paneling. It can come in a bead board design or plain. You can ask the folks there to cut it to size for you, and easily nail it to the back of your piece. This will also help maintain the structural integrity of your furniture project.
Tip 5 - Cleaning Hardware
Found a piece with amazing original hardware? Shine it up with these simple cleaning solutions!
Barkeepers Friend
Barkeepers Friend is a soft, non-scratching abrasive cleaner. It’s fantastic for cleaning up porcelain knobs!
This particular set of knobs was crackled and gorgeous! The only problem was that they were streaked with black stain.

Using Barkeepers Friend and a soft toothbrush, I gently coaxed the stains off the surface.

It worked like a charm! Here’s the before and after.

Brasso
If your hardware is metal, consider opting for Brasso!

Use a soft cloth and buff away years of tarnish and buildup, revealing the original shine of your favorite antique handles, knobs and latches.

For More Tips, Find a MMS Milk Paint Retailer Near You!
We hope that Jenn’s tips and suggestions will prove themselves to be helpful when you run into repair work on your furniture projects. Our MMS Milk Paint Retailers have TONS of tricks and tips to share with you as well!
Find a retailer near you using our Retailer Locator Map. Make sure you use our filters to narrow your results. You can search for brick-and-mortar locations or online, or both!

Are you interested in carrying MMS Milk Paint in your shop? Apply here, and we’ll be in touch.