French Provincial Side Table in Colonial Blue
A Step-by-Step Furniture Painting Tutorial by Brick House Vintage
Have you ever seen a gorgeous painted piece of furniture on social media and wondered, “How did the artisan do that?”
We’ve been there!
Fortunately for you (and us), Heather and Ethan of Brick House Vintage recently shared an easy-to-follow VIDEO tutorial in our Facebook group! In it, they show you each step they took to transform this sweet French Provincial side table using a custom color they whipped up in their workshop.
Settle in and go along for the ride as Heather and Ethan inspire you to pick up a brush and get painting!
About Brick House Vintage
Before we dive into this makeover, we wanted to introduce you to the two creatives behind Brick House Vintage - Ethan and Heather.
Photo Credit: Brick House Vintage
This husband and wife team are based in central Pennsylvania, and have been running vintage booth businesses (The Rustic Quill & Brick House Vintage) for almost 6 years.
You can follow Ethan and Heather on their blog or their Facebook page.
Prepping the Side Table
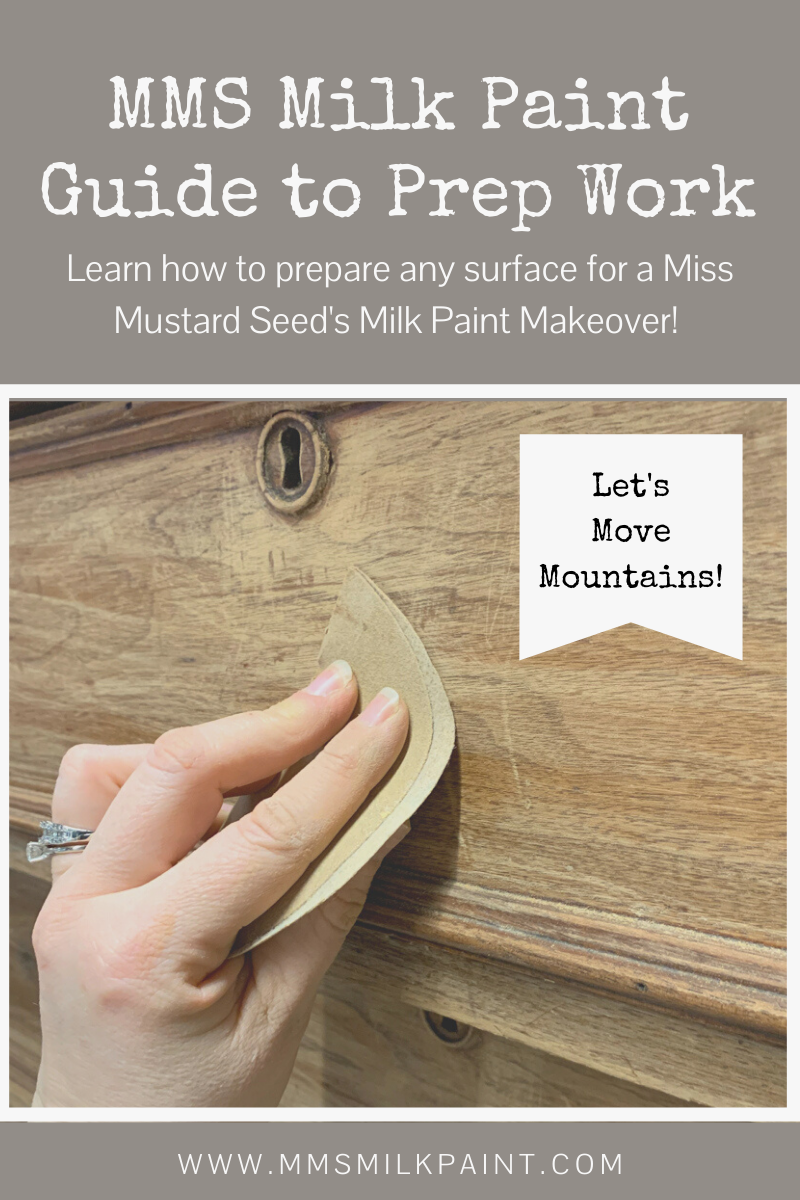
Before you start any MMS Milk Paint makeover, we strongly encourage you to prep your project.
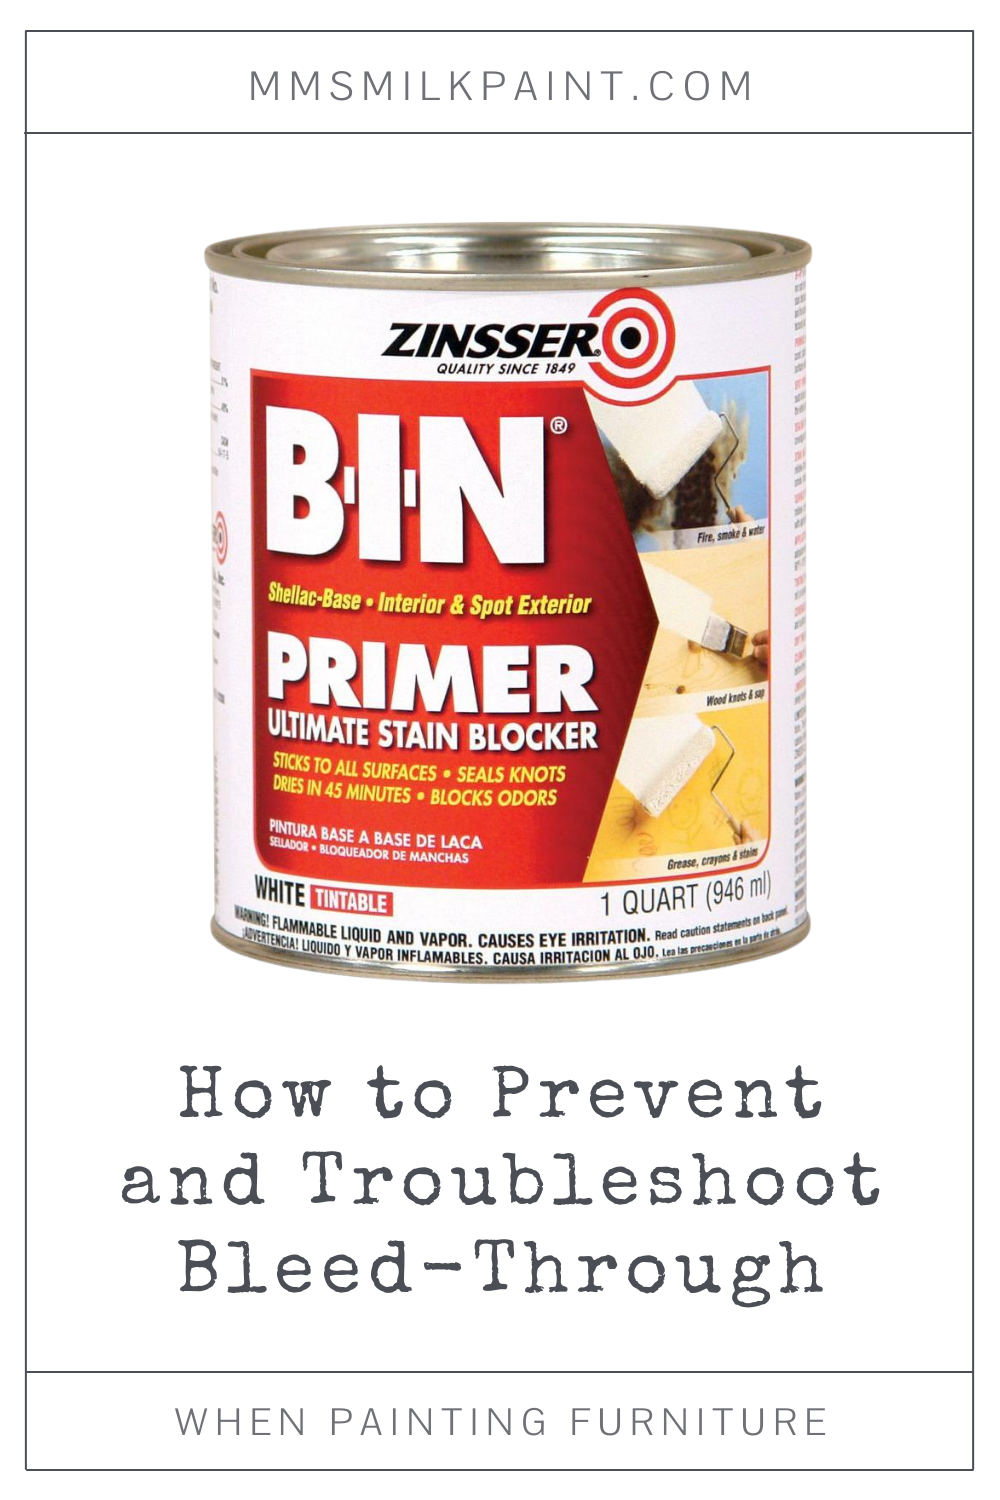
We’ve written extensive blog posts detailing how to repair furniture and prep it, which you can check out here:
At the moment, we are getting ready to relaunch our brand. There are lots of new colors coming your way too! Some are completely new recipes, and some of our current colors will have new names.
Shutter Gray is one of them!
It will soon be known as “Colonial Blue”. So as this blog post continues on, we’ll be referring to Shutter Gray as Colonial Blue.
Sound good?
Okay…back to the side table makeover!
Mixing a Custom Shade of Blue/Gray
To get her dreamy custom shade of blue/gray, Heather mixed up a batch of Colonial Blue (remember, this is the new name for Shutter Gray) and a “smidge” of Typewriter. The addition of a bit of Typewriter darkened the Colonial Blue slightly, giving it a beautiful muted quality.
She followed our recommended ratio of 1 part water to 1 part powder, stirred it thoroughly, and allowed it to rest.
Need help mixing MMS Milk Paint? Watch our tutorial here —>
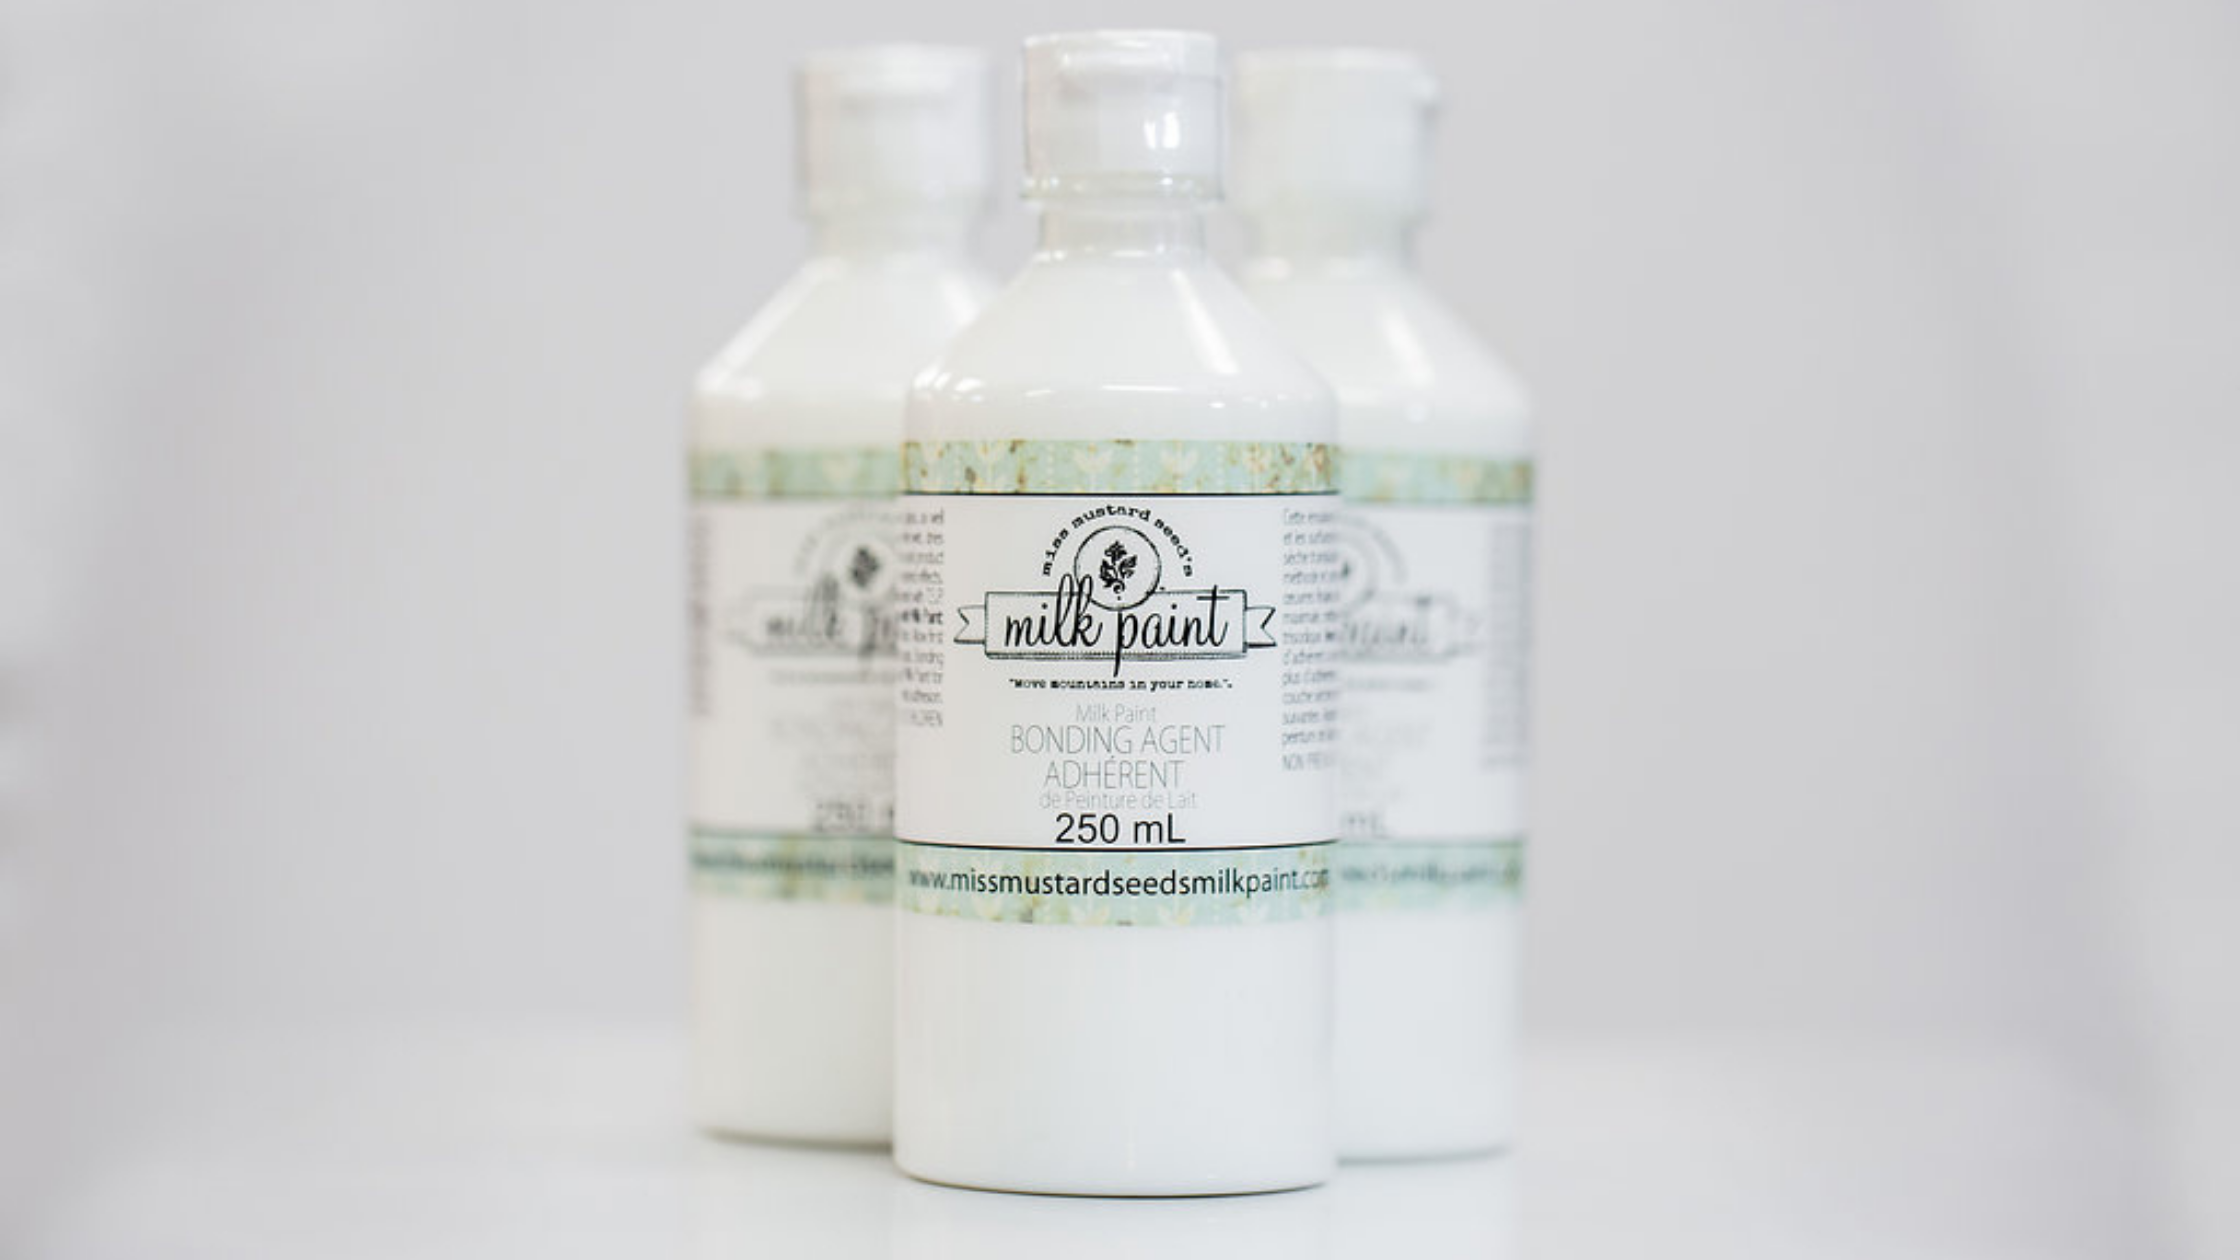
To ensure her paint didn’t chip too much once it was dry, Heather added a little bit of Bonding Agent into her mixture.
Painting the French Provincial Side Table
Once it was time to start painting, Heather laid down a drop cloth and started brushing her custom color out on the table.
If you’re new to MMS Milk Paint, she has some words of wisdom for you:
The nice thing about Milk Paint is you don't have to be super precise when you're painting. You do have to get a feel for it...but it doesn't take long to get used to."
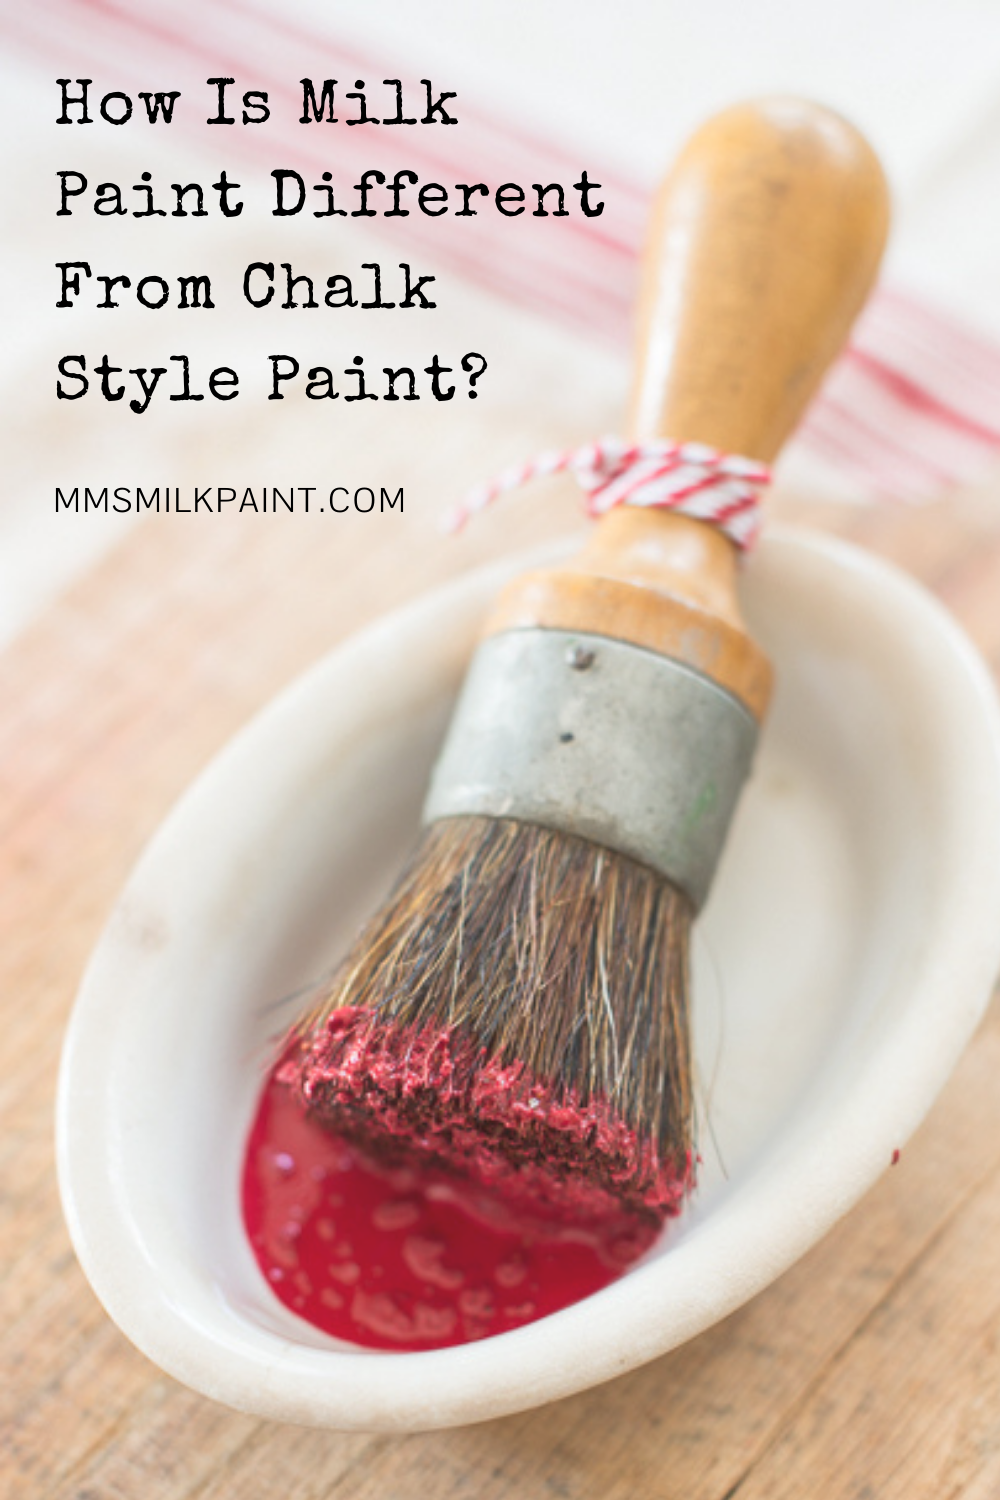
We thought that was a really good point! Milk Paint is not like most modern paints that you have used in the past. If you’d like to read more about how it’s different from chalk type paints, check out this comparison:
A Tip for Storing Your Brush in Between Coats of Milk Paint
Heather applied 2 coats of her custom blue/gray Milk Paint mix on her side table.
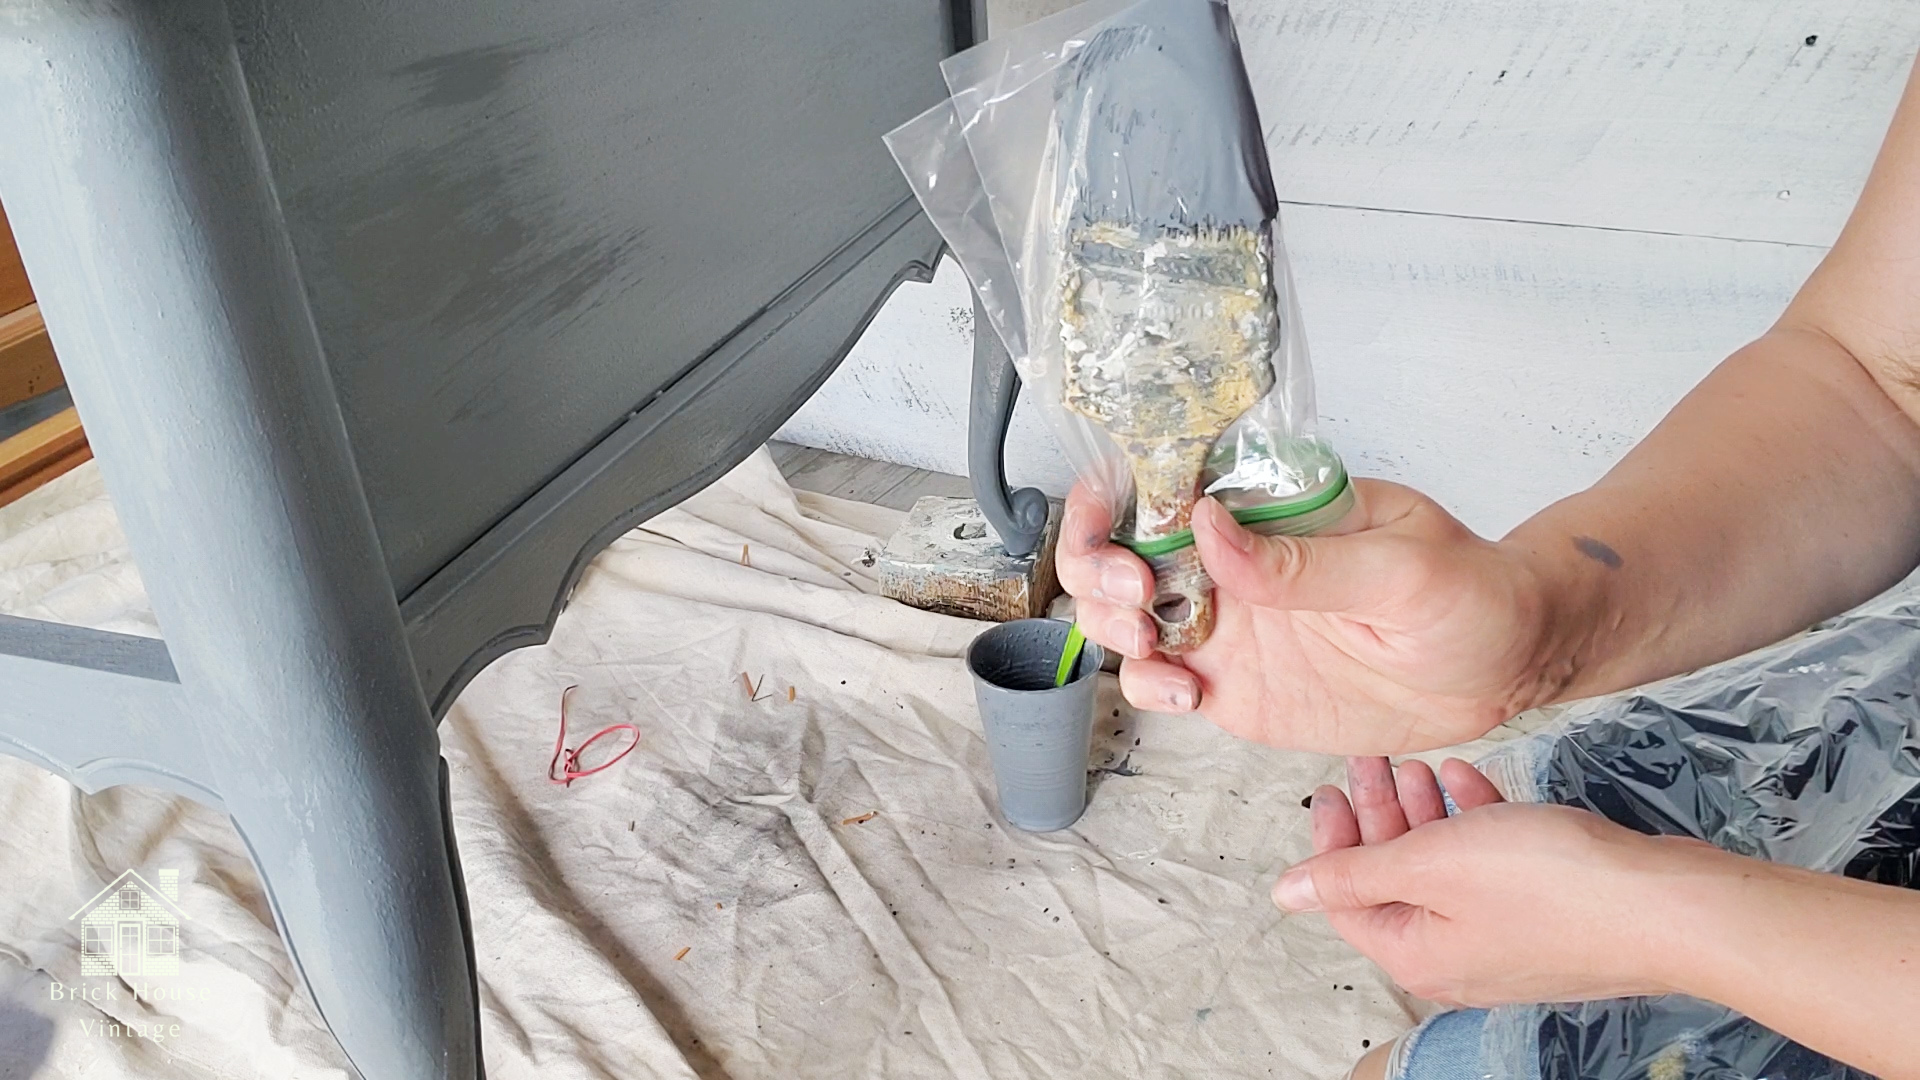
To make sure her paint brush didn’t dry out in between coats, she used a plastic baggie to keep it sealed tight.
You can also wrap it in a damp shop towel, lint-free rag or even plastic wrap!
Can you see how the coverage of our Milk Paint changes with the second coat?
Natural Chipping and Flaking
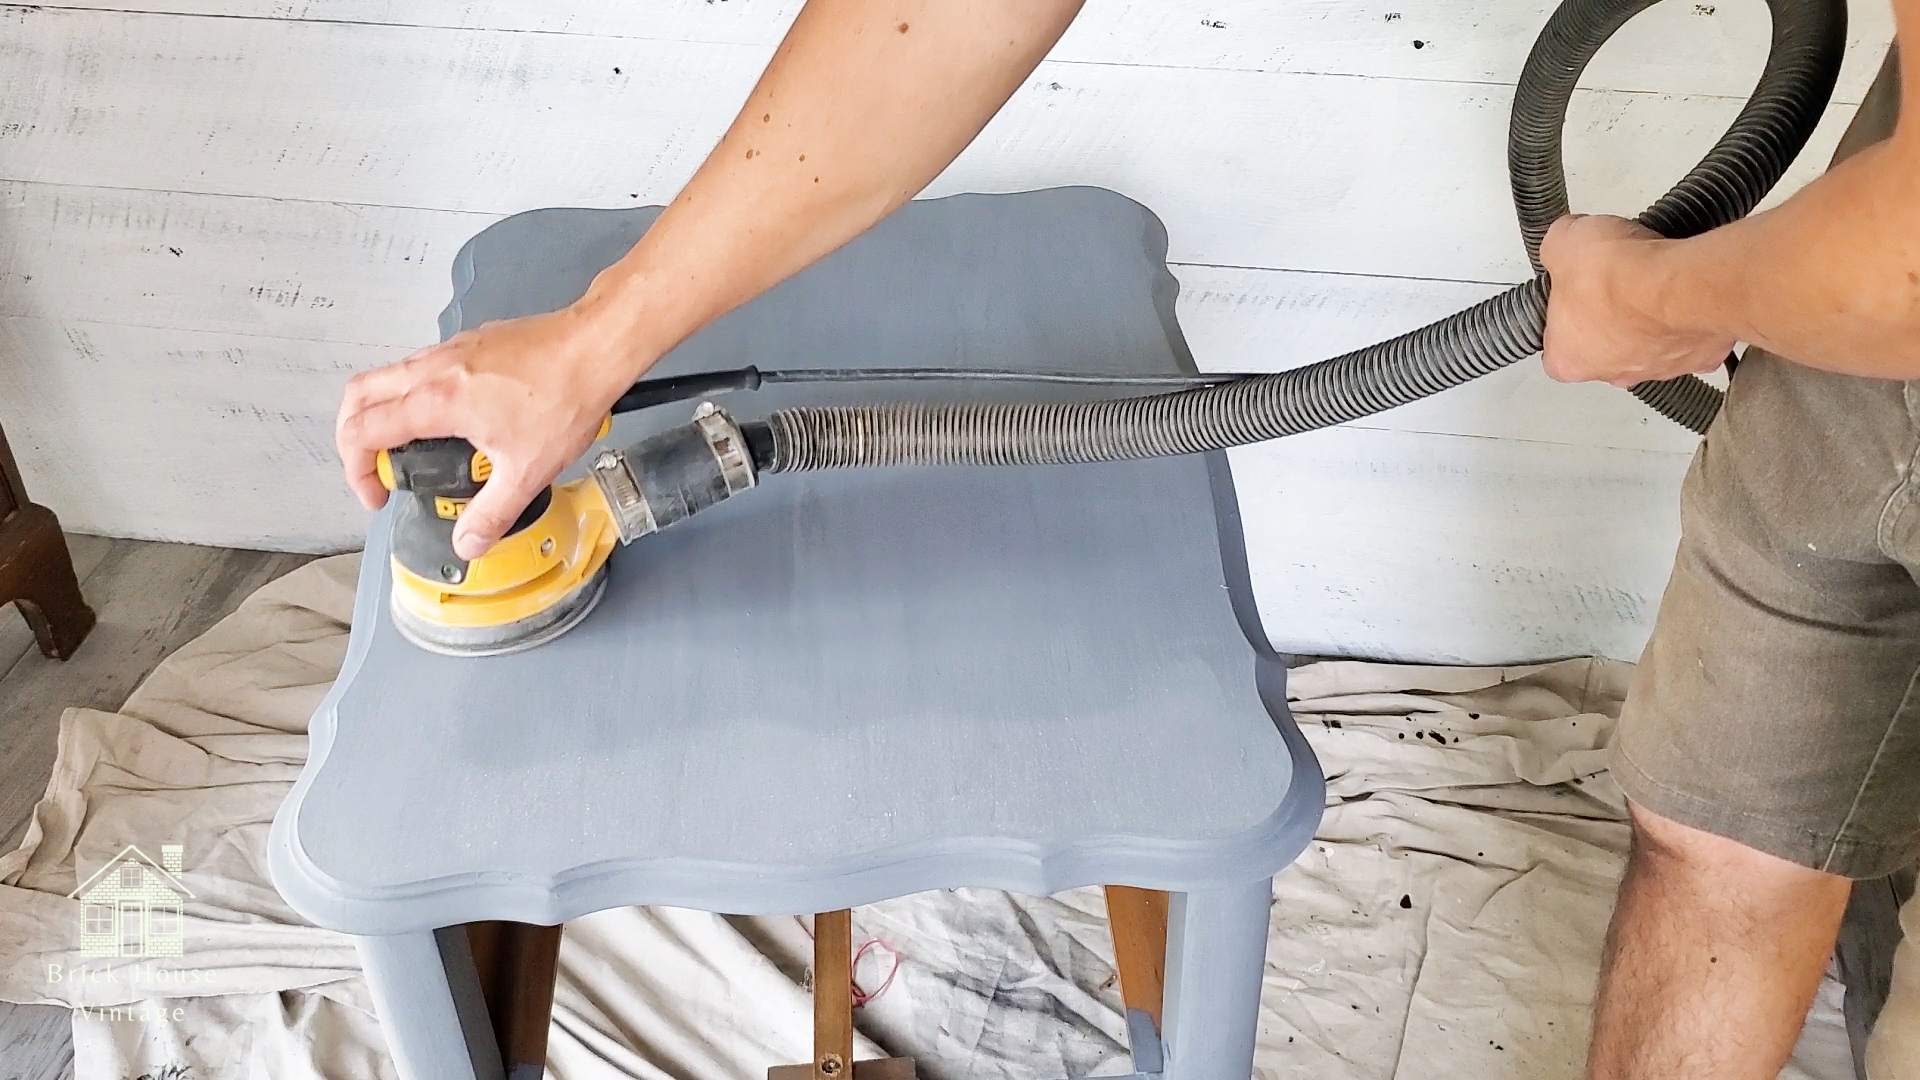
As the French Provincial side table started drying, Heather and Ethan noticed the Milk Paint began to lift off the surface.
As they smooth sanded and distressed using both sandpaper and an orbital sander. The flaking bits of Milk Paint revealed a lovely chippy pattern. This gave Heather and Ethan’s piece an authentically aged finish.
Finishing with Furniture Wax
Once the table was sanded smooth and distressed, it was sealed with our buttery soft Furniture Wax. This can be applied using a dedicated wax brush or a lint-free shop towel. If you don’t have a proper wax brush, you can use a large bushy paint brush and make that your dedicated wax brush.
As you apply the wax, rub it in and apply multiple thin layers. Buff away the excess with a lint-free cloth. It’s best to apply 2 or 3 thin coats. This will slowly build your coverage and give you a durable finish.
Ethan and Heather are proof positive that gorgeous makeovers can happen in just a few hours!
They made a fabulous tutorial video for you to enjoy as well. Check it out on their YouTube Channel:
To be inspired by more fabulous furniture artists, like Heather and Ethan, join our Facebook group! Be inspired by the work of others, get help troubleshooting and grab tips and tricks of the Milk Paint trade. We’re waiting for you to come hang with us on “The Book”!
Make sure you pin this makeover and give Brick House Vintage’s custom mix a try on your next project!


