
DIY Paper Mache Christmas Ornament Balls
Hello everyone! Elizabeth here with Country Peony. I love inspiring others to craft a happy life, which is why I’m so excited to share a charming and simple Christmas DIY craft using MilkPaint™.

Today we are going to use Miss Mustard Seed’s® Milk Paint to decorate and stencil paper mache balls to create nostalgic Christmas ornaments. The beauty of this DIY is that it is very simple, inexpensive, and customizable to whatever color and design that your heart desires! These ornament balls would be beautifully adorned on your tree or as a handmade gift attached to a gift topper.

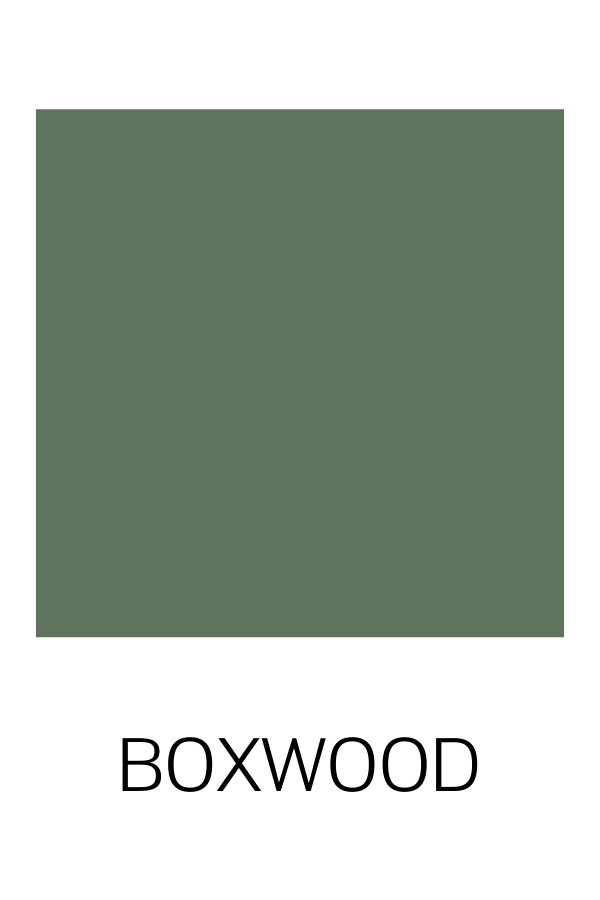
For today’s project, I was inspired by vintage Christmas decorations, so I chose the softer hues of Christmas mixed with the traditional, vibrant colors of the season. I used Layla’s Mint, Arabesque, and Tricycle for the base of the ornament balls, and then I used the same colors in addition to Boxwood for the stencil details.


I love using Miss Mustard Seed’s® Milk Paint in my crafting projects because (like furniture) MilkPaint™ adds such a gorgeous texture, lovely warmth, and beautiful dimension to any piece. Plus, I can craft with my children because it’s non-toxic with easy and quick cleanup. (What Momma doesn’t like quick clean up, right?)
Now, let’s get painting!
Supplies Needed:
Here are the items you need to make your paper mache ornament balls:
Miss Mustard Seed’s® Milk Paint in Layla’s Mint, Arabesque, Tricycle, and Boxwood Green.
Paper Mache Balls
Stencils
Decorative Trim
Velvet Ribbon
Craft Paintbrush
Foam/Stamping Brush
Hot Glue Gun And Glue Sticks
Scissors
Skewer
Craft Knife

Video Tutorial
Last week, I went live on Miss Mustard Seed’s® Facebook page to demonstrate how to make these adorable ornaments. You can watch the broadcast here, and follow along with the written tutorial below.
Enjoy!
Step 1: Score A Starburst Pattern Into The Paper Mache Balls
Use a craft knife to score a starburst pattern into the paper mache ball. This will help to create the ornament hanger after the ball is painted.


Step 2: Mix MMS MilkPaint™ For The Paper Mache Balls
Mix 1 part MilkPaint™ to 1 part water. A “part” can be any unit of measurement you wish. I used a tablespoon.


Country Peony Tip: I always recommend starting with less powder than you think you may need. This will help avoid wasting your product. You can always make more paint later. A little bit of MilkPaint™ goes a long way, especially with this small project!

Whisk the paint together with the water until the paint is fully integrated into the water. I have found that a miniature whisk is the best mixing tool to ensure the milk powder stays fully integrated into the water.
Your paint mixture should look like a thin pancake batter once mixed.
Step 3: Paint The Paper Mache Balls
Paint 1 thin coat of MilkPaint™ on the entire paper mache ball. Let it dry, then paint a second thin coat of MilkPaint™. Here’s the difference between one coat and two:

1 Coat of Layla’s Mint

2 Coats of Layla’s Mint
I also used Arabesque and Tricycle.

Arabesque is the prettiest shade of pink!

Tricycle is the perfect shade of red for the holidays
Once you’re finished painting, let the MilkPaint™ dry completely.
Step 4: Mix Miss Mustard Seed’s Milk Paint For The Stencil
Choose complimentary colors from the MMSMP collection to stencil your designs onto your paper mache ornaments.
When you stencil using MMS MilkPaint™, your mixture needs to be a thicker consistency. I recommend a ratio of 1 tablespoon MilkPaint™ to ½ tablespoon water.
This will help to avoid bleed-through underneath the stencil.
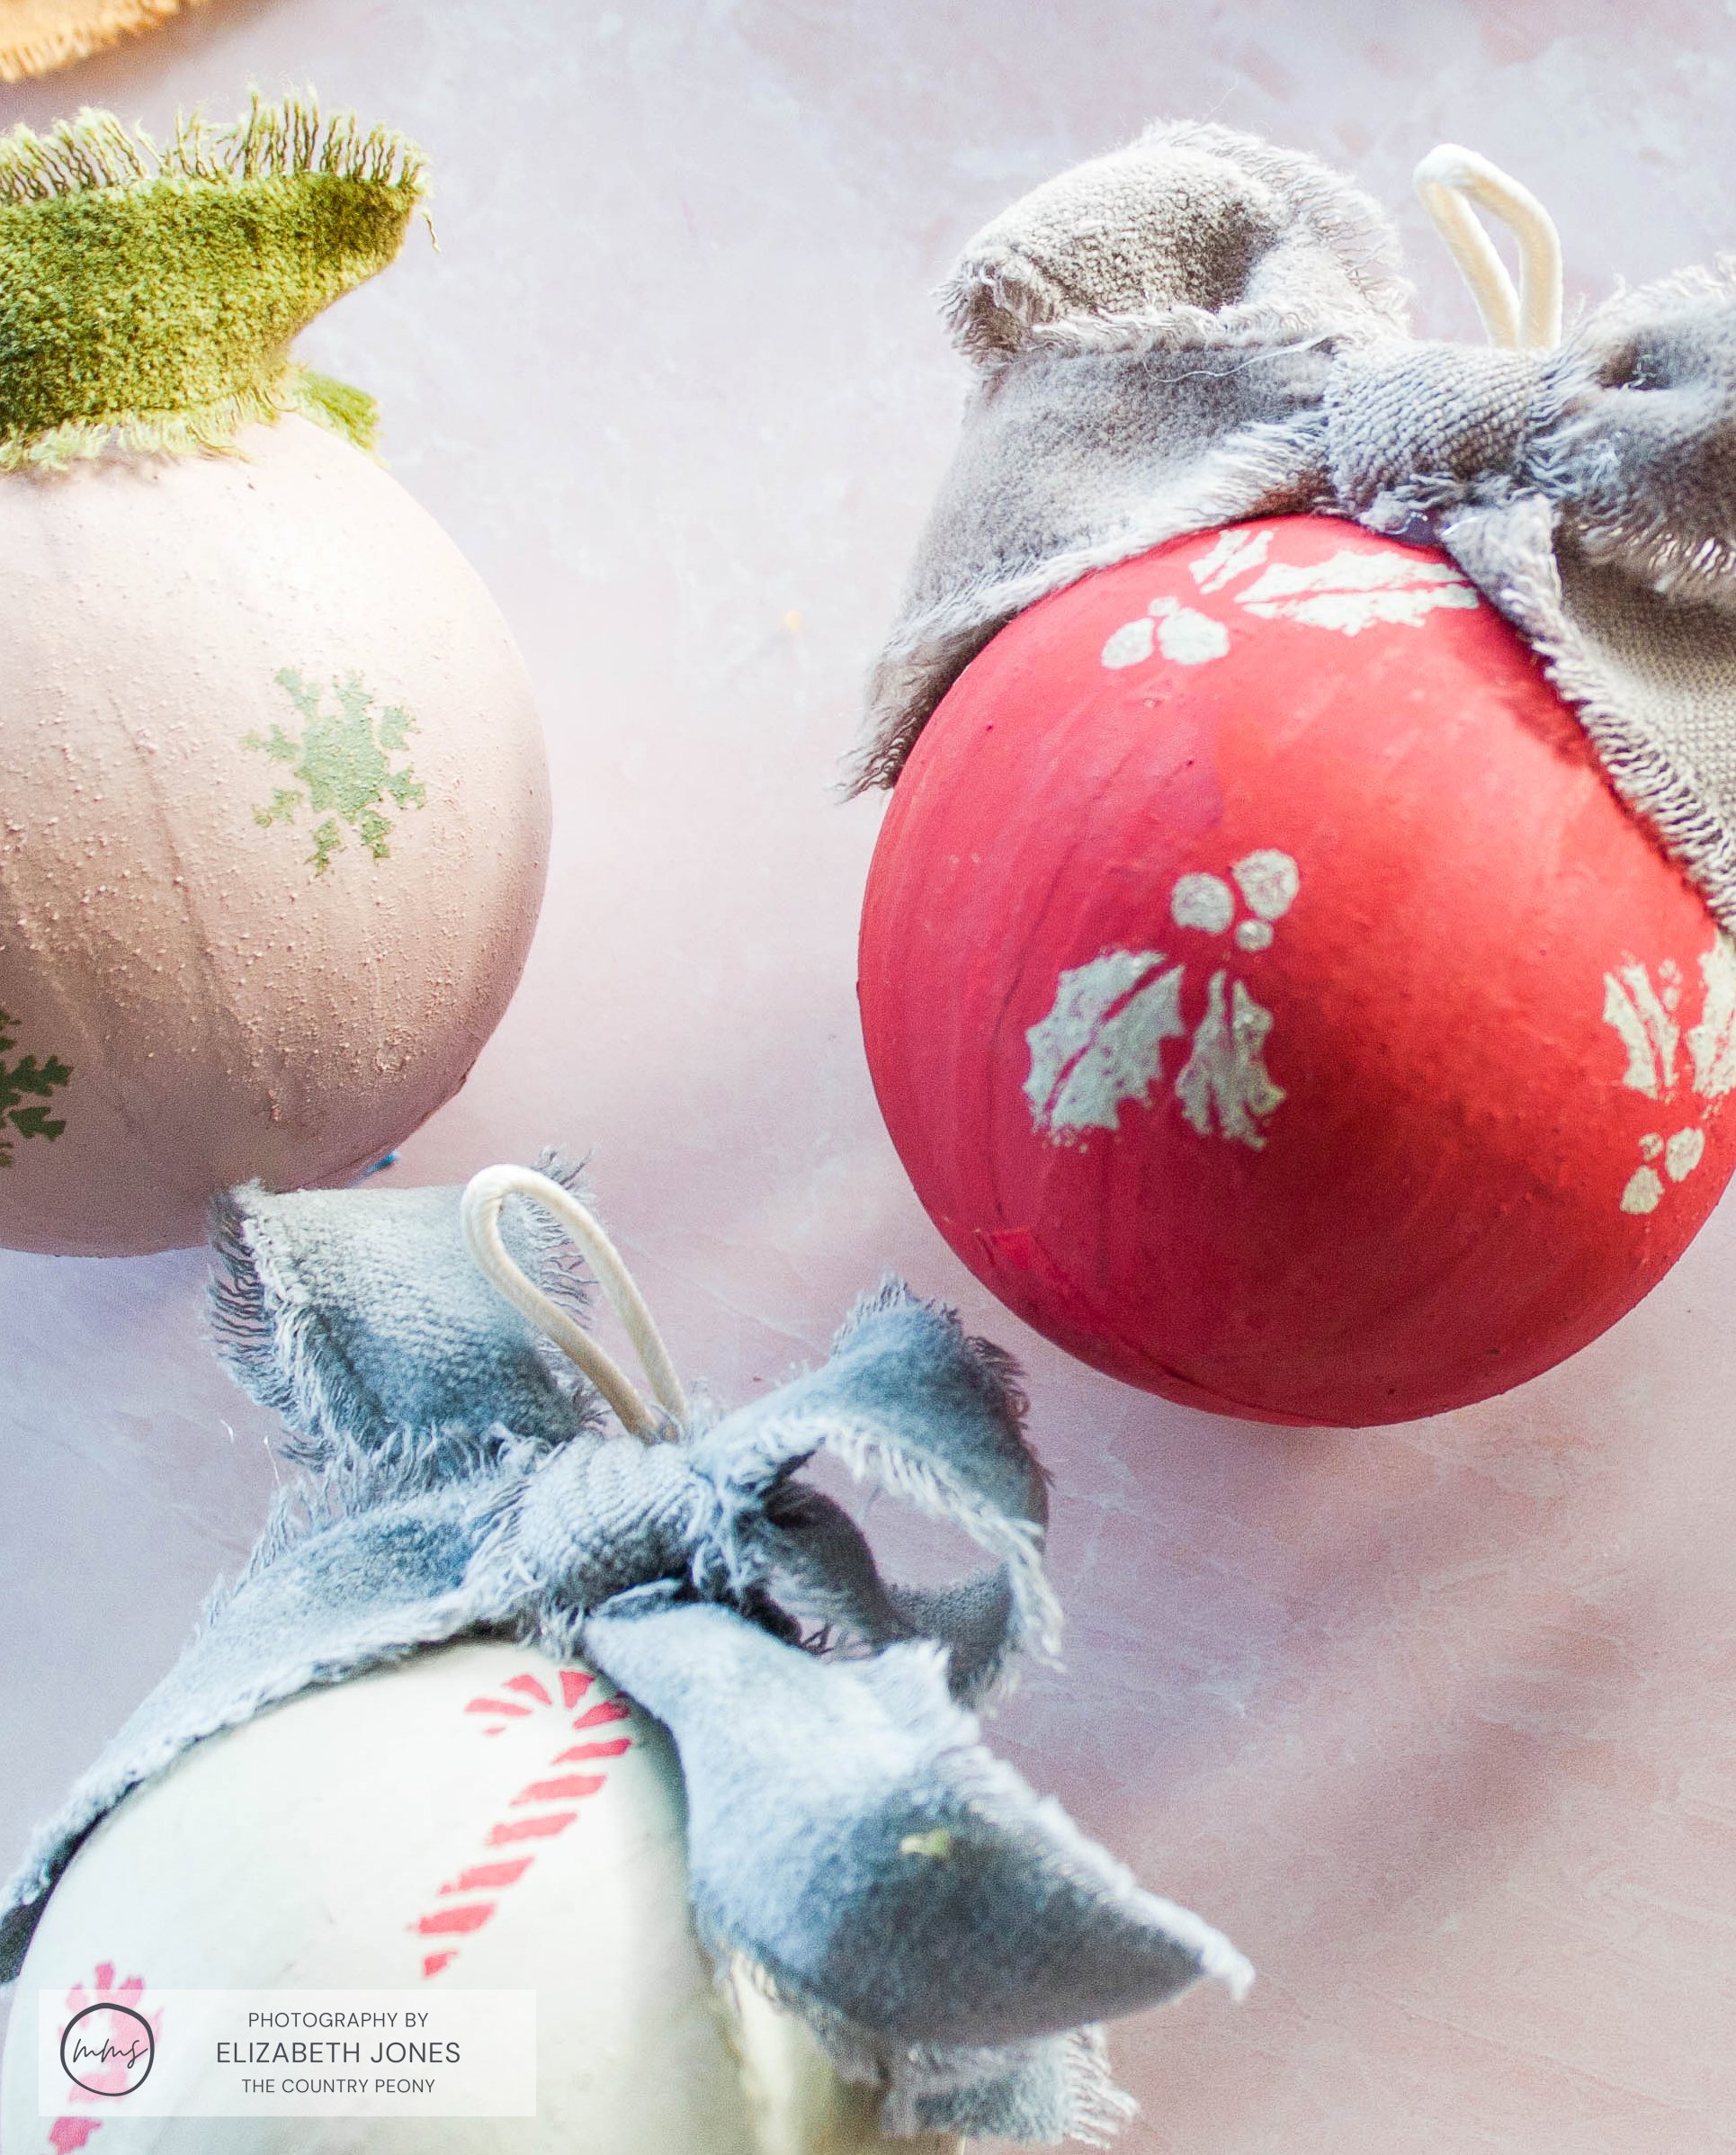
Step 5: Paint The Stencils Onto The Paper Mache Balls
Attach a Christmas or holiday-centric stencil onto the painted and dried paper mache ball.

With the help of a foam brush, dab one coat of the thicker MilkPaint™ onto the paper mache ball with a stencil.

Carefully remove the stencil, and repeat the process until you create a pattern and look that you are after!

I created a random pattern for all of my ornament balls. You can use a ruler to measure out your stencils if you wish.
Let the stenciled MilkPaint™ dry completely.
Step 6: Create The Ornament Ball Hanger
Cut the decorative trim to the size of an ornament ball hanger.

First, apply a bit of hot glue onto one end of your piece of trim.

Then, take the trim and twist it around a skewer (to act as a needle). Insert the skewer into the starburst hole that you created at the beginning of this DIY.
Once the trim is inside the hole, attach hot glue to the trim and the ornament ball to stabilize the hanger.

Then, twist the other end of the trim around the skewer and insert it into the ornament ball. Secure it with hot glue.

Step 7: Attach A Ribbon To The Ornament Ball Hanger
To make my ornaments prettier and more whimsical, I attached a torn velvet ribbon to the ornament ball hanger.

To put one on your ornaments, tie the velvet ribbon in a knot around the ornament ball hanger.

Then, hot glue the knot to the hanger so it stays secure and in place.

Lastly, create a small bow with the velvet ribbon and hot glue it to the ornament ball hanger.

Step 8: Enjoy Your Custom Christmas Ornament Ball
Decorate your tree with your charming, custom ornament balls or enjoy gifting them to loved ones.


Thank you so much to Miss Mustard Seed’s® Milk Paint for having me, and thanks to all of YOU much for following along today!
I hope you feel inspired to do some crafting in your home using MMS MilkPaint™ this holiday season.
To find other easy craft projects, visit my blog over at Country Peony.
If you love all things vintage, like I do, check out the goodies I’ve curated in my online shop. Maybe there’s a gift for that special someone waiting for you!
