DIY Holiday Advent Boxes
DIY Christmas Countdown Boxes
It's that time of year again when we all start thinking about Christmas. For some people, this means frantically running around to find the best gifts. For others, it means decking the halls with boughs of holly and getting everything ready for the big day. If you're looking for a fun DIY project that will get you in the holiday spirit, why not try painting Christmas countdown boxes? These little boxes can be personalized to match your own unique style, and they're a great way to get into the Christmas spirit each and every day leading up to the big day. So pull out your paintbrushes, and let's get started!
Christmas is just two months away, and I am always looking for new, meaningful, and engaging ways to celebrate Advent or countdown to Christmas with my family.
If you’re also looking for a fun family activity this coming holiday season, you will want to try these – milk-painted countdown boxes!
You can do them yourself or with your kids with just a few simple supplies.
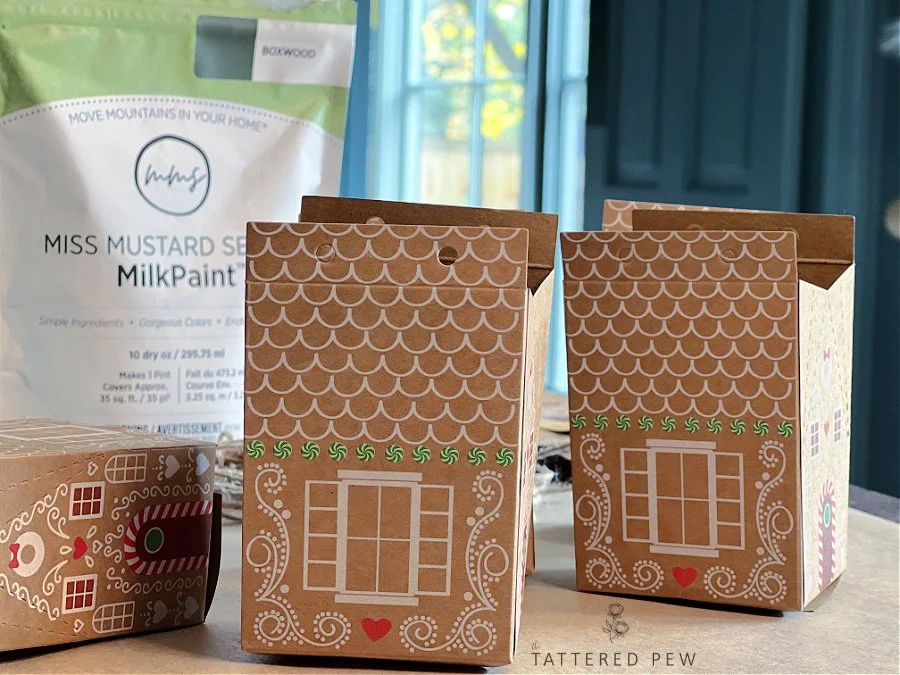
All you need is some cardboard or wood boxes (I got mine on Amazon), the MMS Milk Paint color of your choice, and my printable tags. I chose Boxwood because it matched my Christmas decor, but you could use any color you like.
Let’s get started!
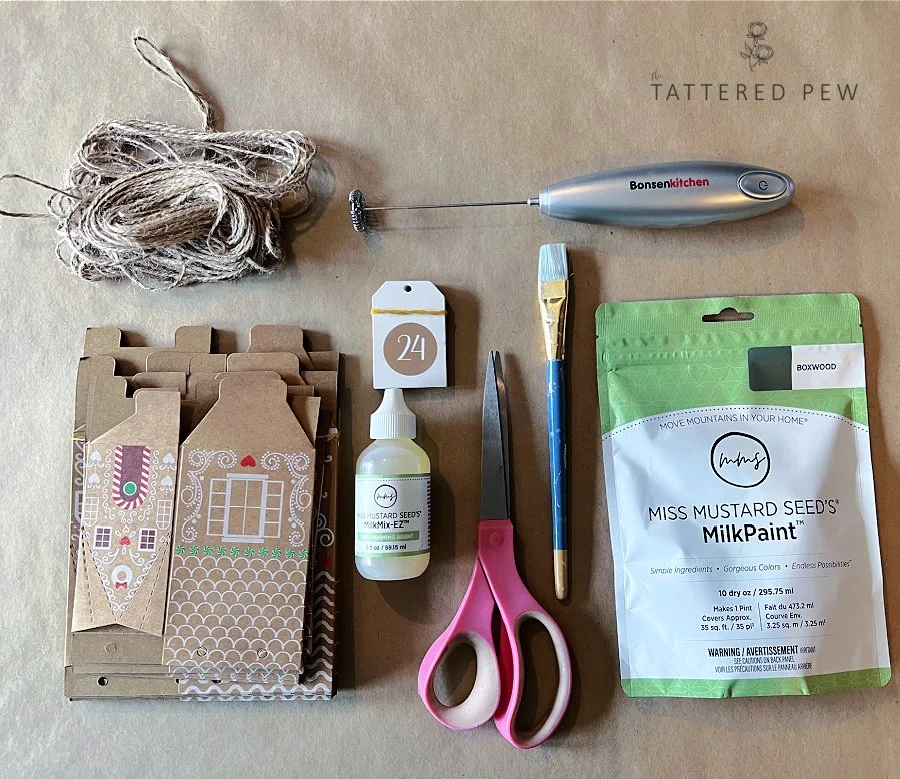
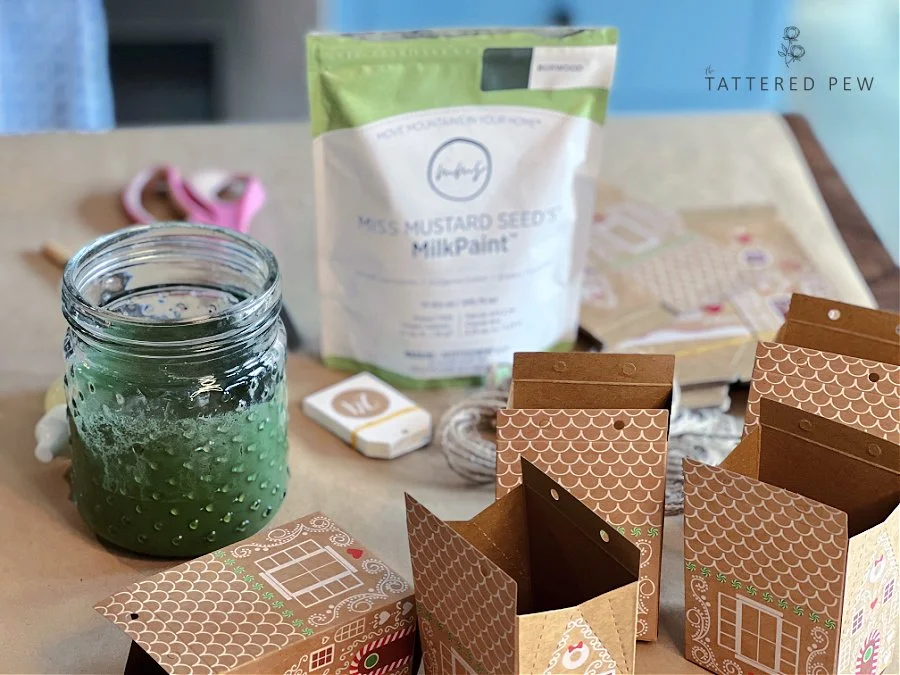
Supplies Needed For Painted Boxes
MMS MilkPaint™ in the color Boxwood
Cardboard gift boxes 24 total ( I used these!) *affiliate link
Printable Gift Tags & Bible verses ( you can get the ones I made HERE!)
Paintbrush
Mini-hand mixer to mix paint ( I use this one!)* Affiliate link
Jar to hold paint
Candy, toys, or Bible verses to add inside boxes
Deciding on What Boxes to Use
The first thing you need to start this project is to decide what type of boxes you will want to use. You will need a total of 24 boxes.
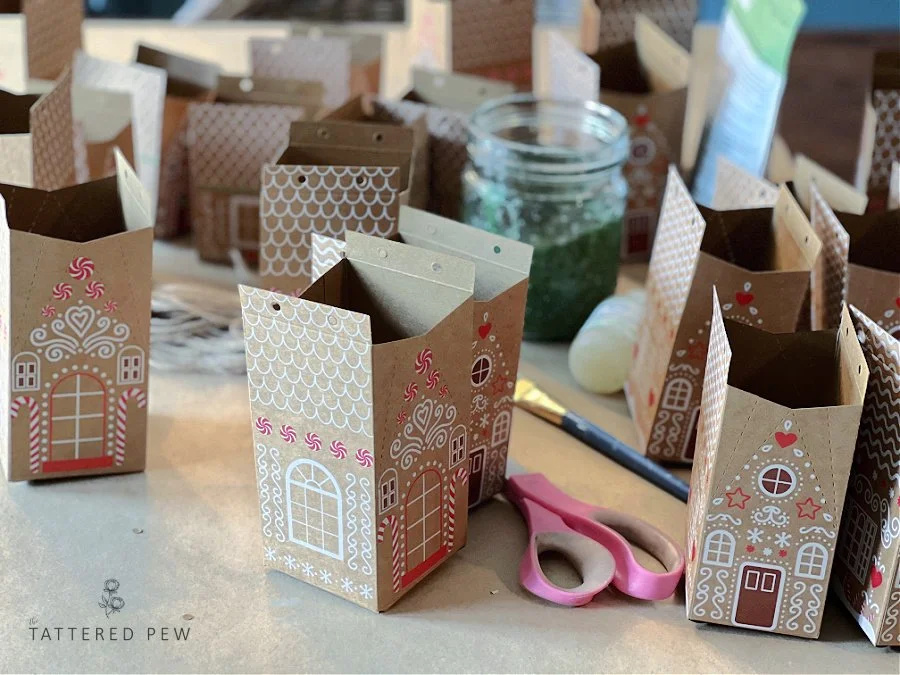
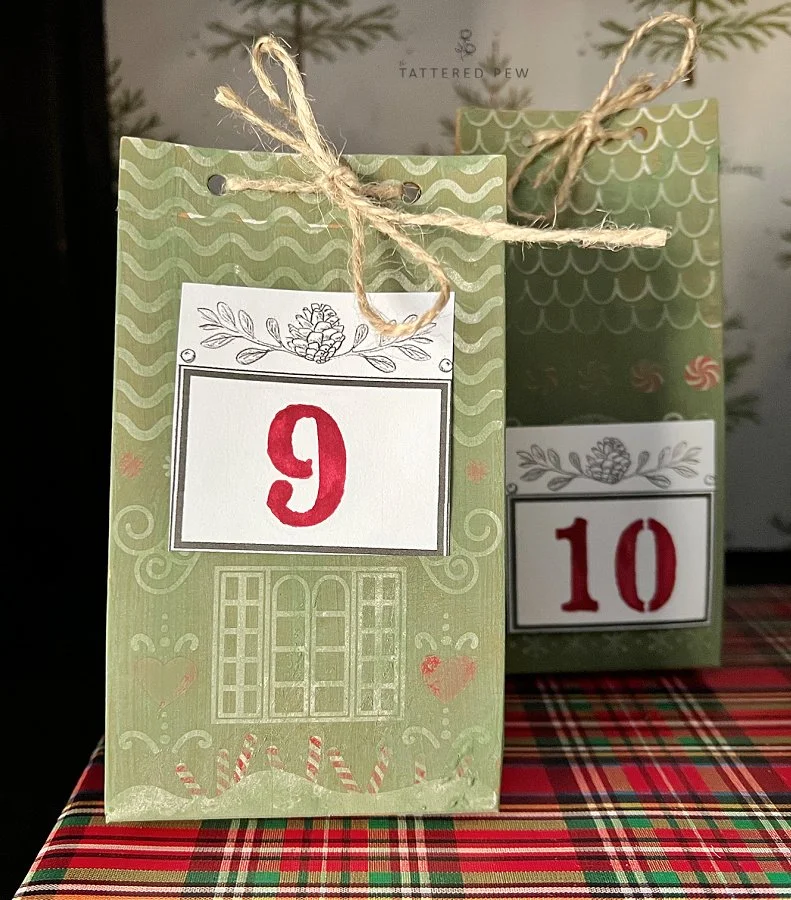
There are several varieties and shapes and sizes that you could use for your Christmas countdown. I went with these darling gingerbread-style ones that I found on Amazon. The size and the price, and the fact that it came with 24 total boxes, made them just perfect for what I was looking for.
But I have also seen people use bags or even paper mache boxes. It really is up to you!
Mix Up Your Paint
I always suggest mixing up your paint first before you start your project. I like to give my milk paint time to settle after mixing.
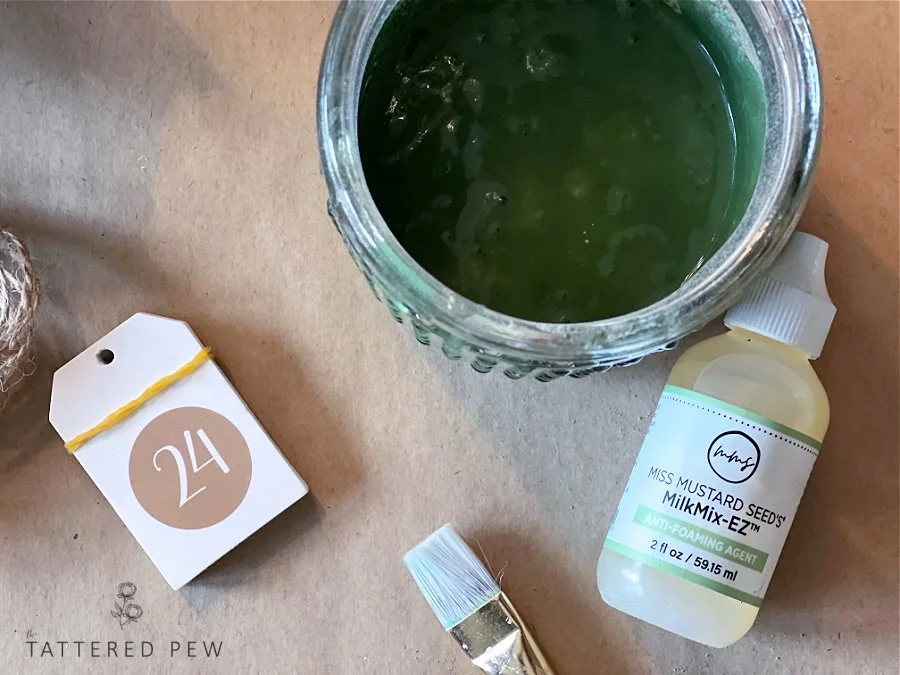
For these 24 cardboard boxes, I knew I would need a decent amount of paint. I ended up mixing ¼ cup of the Boxwood paint with ¼ cup of water.
Simply mix equal parts water to equal parts paint. After your paint is mixed, you can add 3 drops of MilkMix-EZ™ Anti-Foaming Agent to keep the bubbles away.
Constructing the Boxes
Next, while the paint is settling, put your boxes together in preparation for the paint.
The boxes that I chose came with labels and string. After taking them out of the packaging, I was impressed by how sturdy they really were. I simply read the directions and then got started.
Constructing all 24 boxes might have taken me longer to do than the painting did! They weren't hard to put together, just time-consuming. Remember to keep them open, so after they are painted, you can insert a little treat or Bible verse to be enjoyed each day.
Making Your Boxes Special
Apply the paint in a thin layer on every side of your cardboard boxes. This will give your box more of a green tint after one coat of paint. The color Boxwood is my all-time favorite color that Miss Mustard Seed milk paint has. I even chose to paint these darling mini charcuterie boards with it as well as my beloved dresser
At this point, you can decide if you want to leave them as is or apply another coat of paint. I decided to just apply one coat of paint because I loved that you could still see some of the gingerbread details from the boxes. It was more of a green wash or transparent look if you will.
However, they would be just as beautiful painted with several coats for an opaque look.
Personalizing Your DIY Countdown Boxes
Once the boxes are finished drying, you will want to finish assembling them. This is where you get to have some more fun and personalize them for your family before you close them up! My kids love opening their Advent calendars each year, and I love mixing it up.
Advent or Christmas countdown boxes can be filled with many different items. Here is a list:
24 Bible verses to read each day
24 Christmas activities to do as a family
24 acts of kindness to do each day
Tiny pieces of candy
Little toys to un-wrap
A combination of all of the above
If you are looking for some free resources, I have compiled a list of ideas to fill your boxes with, along with free printable tags on my blog. You can get FREE access here!
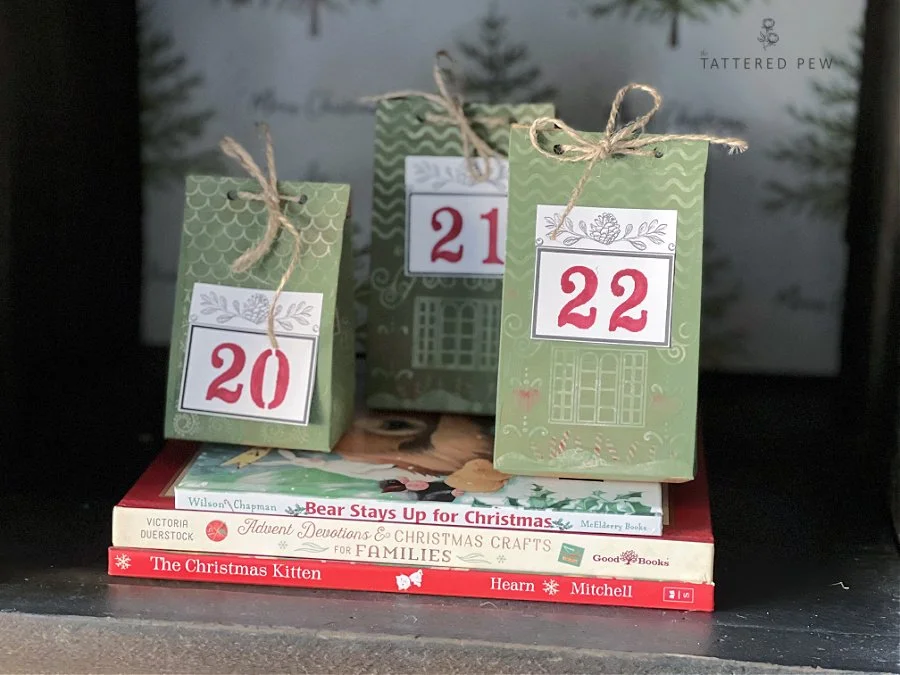
Once my boxes were filled, I used the jute string to attach the tags numbered 1-24 and tied them up! 24 darling little houses ready to be opened each day leading up to Christmas.
Styling or Displaying Your Christmas Countdown
Now comes the fun part! Deciding where you want to place your countdown.
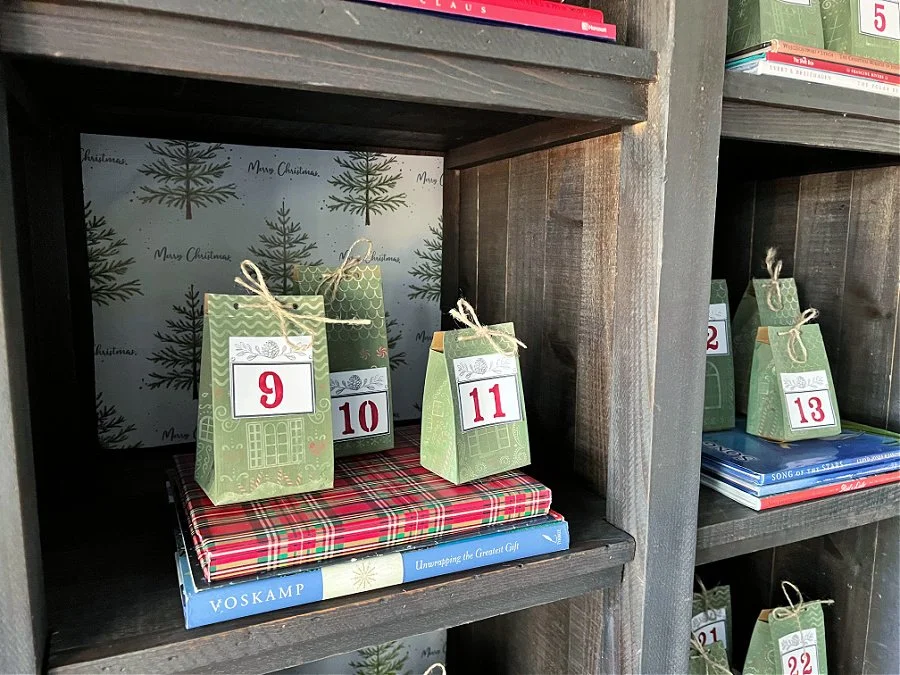
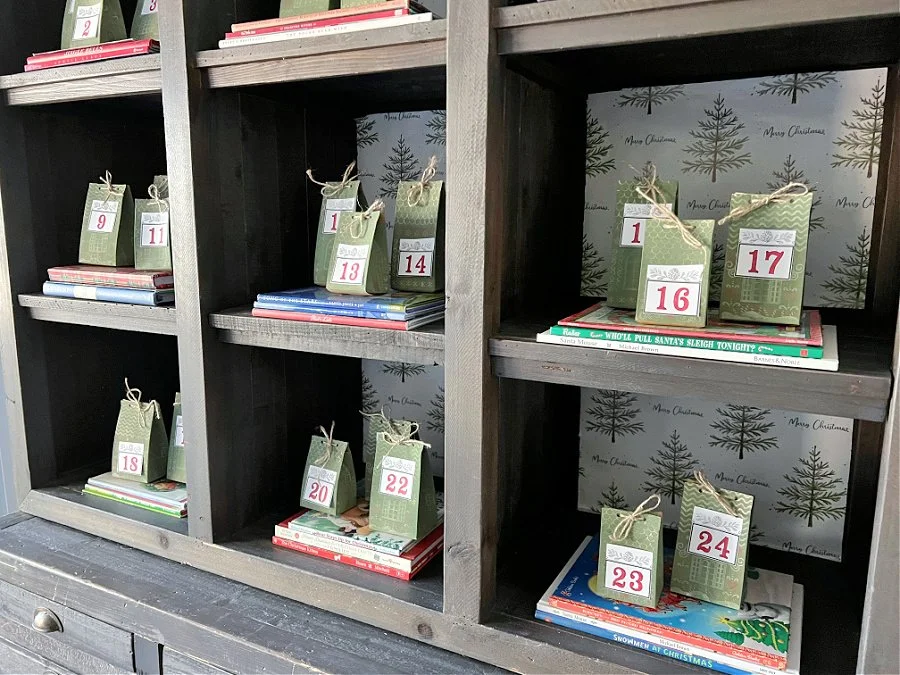
We decided to put our boxes in the cubbies of our dining room hutch and make them a focal point. Aren’t they so cute grouped together? They would also look adorable grouped on a mantel, on top of a dresser, or anywhere with enough room and accessibility for your family.
My hope is that my kids will love these DIY Christmas countdown boxes as much as I do. I also hope that it will help them remember each day as we count down that Jesus is the reason for the season!
DIY Christmas Countdown Boxes
Are you ready to get crafty? These milk-painted Christmas countdown boxes are so simple and easy to make, but they add a lot of charm and festivity to your holiday decor. I love the natural green look that Miss Mustard Seed’s® Boxwood gives these little boxes, but you could use any color you like. Now I can’t wait to countdown Christmas with my family this year. What would you put in your countdown boxes? Let me know in the comments!

