Decorating and Painting with Multiple Shades of White
Last week, Pennsylvania-based MMSMP Retailer, Laura Hughes of Vintage 61 Storehouse, went live on our Facebook page with her team and presented tips and tricks for decorating and painting with multiple shades of white.
Laura shared super helpful tips for getting a flawless white paint finish and resident Interior Design Expert, “Miss Kathy”, showed lots of ways you can seamlessly blend multiple of shades of white for a look that spans all design styles - boho, grandmillenial, farmhouse, transitional, etc.
No matter your taste, you’re going to take away so many helpful nuggets of information!
Tips for Painting in White
Let’s start with some tips for painting with shades of white for a perfect Milk Paint finish.
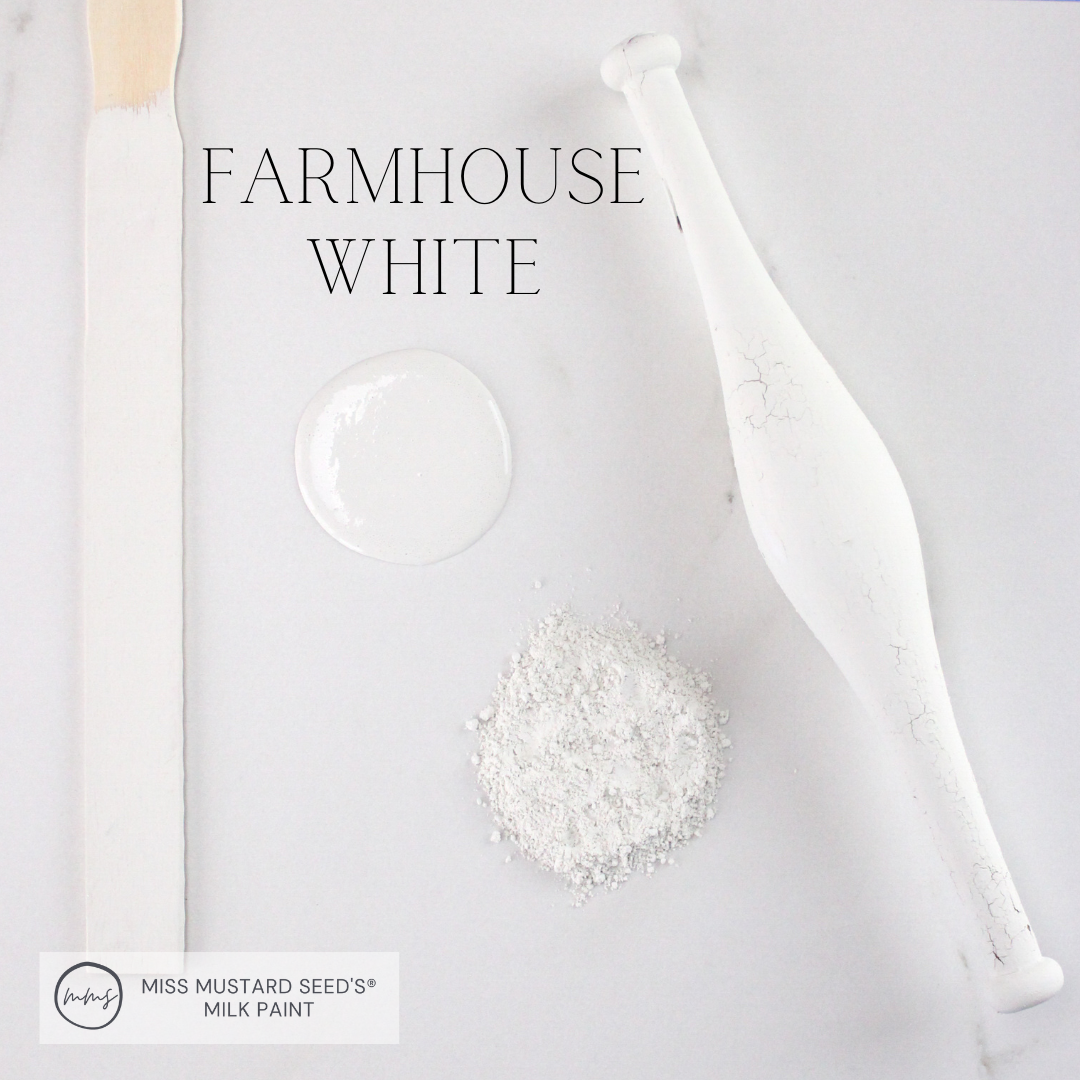
Here are how our shades of white compare. You can see Grain Sack has a subtle gray cast to it. Ironstone is brighter than Farmhouse White, and Linen is creamier with some yellow to it.
Expect 2+ Coats
Pigments are the ingredients in paint that give them their color. White paint contains less pigments than more saturated colors like green or blue. Because there are less pigments, white paint tends to be more translucent or see-through. It has lower hiding properties, causing you to potentially require more than 2 coats to get full-coverage.
The brighter and more pure your shade of white is, the more translucent it becomes. The more yellow or gray your shade of white is, the better your coverage will be. Our Grain Sack and Farmhouse White cover better than Ironstone. That’s because Grain Sack has a bit of gray in it, and Farmhouse White has a bit of yellow in it. Ironstone is our brightest white and has the least amount of pigment.
Apply a Base Coat of Gray
To reduce the number of coats of white you’ll need for full coverage, try applying a layer of Trophy, Schloss or Shutter Gray first. Then, follow up with your desired shade of white.
By having a gray-tinted base color, you’re bridging the gap between the darkness of the surface you’re painting and a bright shade of white.
Base coat of Shutter Gray underneath Farmhouse White
Think about painting over a red wall with white paint. It’s going to take a LOT of coats of white to cover the red! If you do a layer of gray first, you’re helping your white paint not work so hard to cover such a dark and saturated color like red.
Make sense?
Add a Bit More Powder
When you’re mixing our Milk Paint, we recommend that you start with equal parts powder to water. (That means you add the same amount of water as you did Milk Paint powder.)
If you’re going to embark on a white paint project, try leaning a little heavier on the powder. Start with 1.25 parts of powder to 1 part water. If that’s still too thin, do 1.5 parts powder to water. For those non-measurers out there, just eyeball it! By mixing your Milk Paint a bit thicker, it will give you more coverage and be a little less watery.
Use Bonding Agent
Using Bonding Agent will help dissolve lumps in your cup and ultimately give you a smoother paint finish. You can read more about Bonding Agent and how to use it here.
Laura and her team used Bonding Agent on most of the pieces they refinished for her Facebook live.
Buy More Paint Than You Think You’ll Need
Because you may need more powder than usual, we also recommend you buy more Milk Paint than you think you’ll need. Our retailers (like Laura) can help you determine what amount is right for your project. They also have access to bulk sizes if you’re doing multiple pieces, like a bedroom suite.
Stir Often
As always, stir your paint often (every few brushstrokes) to ensure everything stays mixed. Even though there aren’t many pigments in our whites, there are still some in there! If you don’t keep your paint stirred well, you’ll get streaks of color.
Prep & Prime Before Painting with White
We’re big advocates of prep work! Taking the time to get your project ready for a new Milk Paint finish - especially a white one - will save you hours of troubleshooting and headaches down the road.
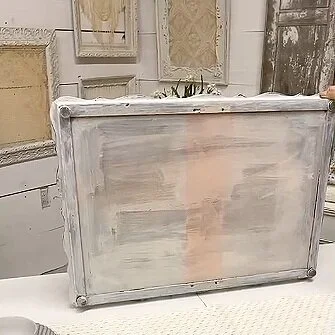
Whenever you’re painting with white, you need to prime your surface first. This will prevent stains, dyes and wood tannins (oils) from seeping through your paint. In Laura’s live, she talks about bleed through at the beginning. They got some on the underside of a tray they painted in Grain Sack. Here’s a screen shot from their live to show you what it looked like:
We’ve written extensively about how to prime and prevent bleed-through in this blog post. Hop over here to dive in:
Tips for Decorating with Multiple Shades of White
Now that you have some helpful tips on how to effectively paint with different shades of white, let’s switch gears and chat about incorporating them into your home decor!
Embrace Color Variances
Have you ever noticed how the color of your walls at home seem to look different throughout the day? How many of you have picked (what you thought was) the perfect color for your walls only to find out that it looked COMPLETELY different at home than it did at the paint shop? That’s because the appearance of color is impacted by the brightness and warmth of light hitting it, the other colors that are around it and the surface on which it’s painted.
It’s can be pretty difficult to match exact shades of white in a room. The color of your lampshades may not match that of your curtains or the cozy throw blanket on the ottoman.
Guess what? Vintage 61’s resident Interior Design Expert, “Miss Kathy”, says that’s okay! Shades of white are a bit ambiguous, so you’re inevitably going to wind up with different shades of white anyway. Two supposedly ivory-colored wedding dresses could look totally different when placed right next to one another.
Paint really isn’t that much different, and all of the variances work together when they’re combined in the same space!
Fill Empty Frames With Textiles
A simple and inexpensive way to bring multiple shades of white to your space is with empty frames. Laura and her team painted these antique frames in Farmhouse White, and stretched scraps of doilies, piano skirts, curtain sheers, lace and other vintage textiles inside. They used a staple gun to hold them in place.
Frames Painted in Farmhouse White by Vintage 61 Storehouse
Frame Painted in Farmhouse White by Vintage 61 Storehouse
“When you’re working with white on white, what’s important to have is texture so that you have the push and pull between spaces and you’ll see color, dimension and shape take that form of push and pull.” - Miss Kathy from Vintage 61 Storehouse
Bring out the Blankets
So many of us have gorgeous blankets, throws and coverlets that never see the light of day. They’re stuffed inside of closets and blanket chests. Miss Kathy encourages you to bring them out of hiding and proudly display them! Their texture and color variances will tie your multiple shades of white together perfectly.
Monochromatic Finishes Unite Mis-Matched Furniture
Did you notice that the chairs around the dining table in Laura’s video don’t match one another?
If you didn’t pick up on that, it’s probably because they’re all painted in Ironstone! Using the same color on a mis-matched set of furniture makes it seem like it all belongs together. The chairs also have features that are close to one another, but not exactly the same. Having roughly the same shape helps too!
Bring the Outside In
Who says that wicker chairs and metal patio benches have to say outside? Bring those pieces inside to add more variety to your furniture options.
Mix Textures
All throughout their vignette, the Vintage 61 team brought in all sorts of textures through throw pillows, blankets and botanical accents. The runner on the table has a lovely fish scale motif and there’s braiding in the fabric on the chair.
Our favorite example is the metal patio bench. Just look at all of the different shades of white, textures and patterns!
NO RULES
One of the most important take-aways is that there are no hard and fast rules when it comes to decorating YOUR space. After all, it is YOUR space. Basically, go for it! Decor style is open and free-flowing now as opposed to days gone by. As Miss Kathy says,
“Some of you might call this ‘shabby-chic’. Some of you wouldn’t. I don’t think things are quite so shabby-chic anymore. It’s kind of passé. They’ve taken on a new level . . . if you bring in the right pieces, you give it a new message.”
Use an Assortment of Glassware
Do you have any milk glass in your stash? How about crystal that was handed down to you? Bring them out and mix them up!
Look how the china cabinet was staged. There’s creamy-colored pottery on top, and white milk glass inside.
The cabinet itself is painted in Grain Sack, which has a muted gray cast. The girls added fabric with a grass weave pattern to the backing.
See that pretty architectural piece at the very tippy top? It’s painted in our cream, Linen, which ties to the warmth of the pottery in front of it.
Use crystal or glassware to add sparkle and shine. Even a set of glass doorknobs will work!
Don’t have any glassware? It’s easy to find! Scour estate sales, thrift stores and antique shops for the type you like. You’ll probably score some great deals while you’re at it!
You can enjoy more tips and see Laura and her team in action below.
Find a MMS Milk Paint Retailer
Ready to add some more shades of white to your space? Shop from our retailers by visiting their online or brick-and-mortar shops. You can find one near you using our map.


