
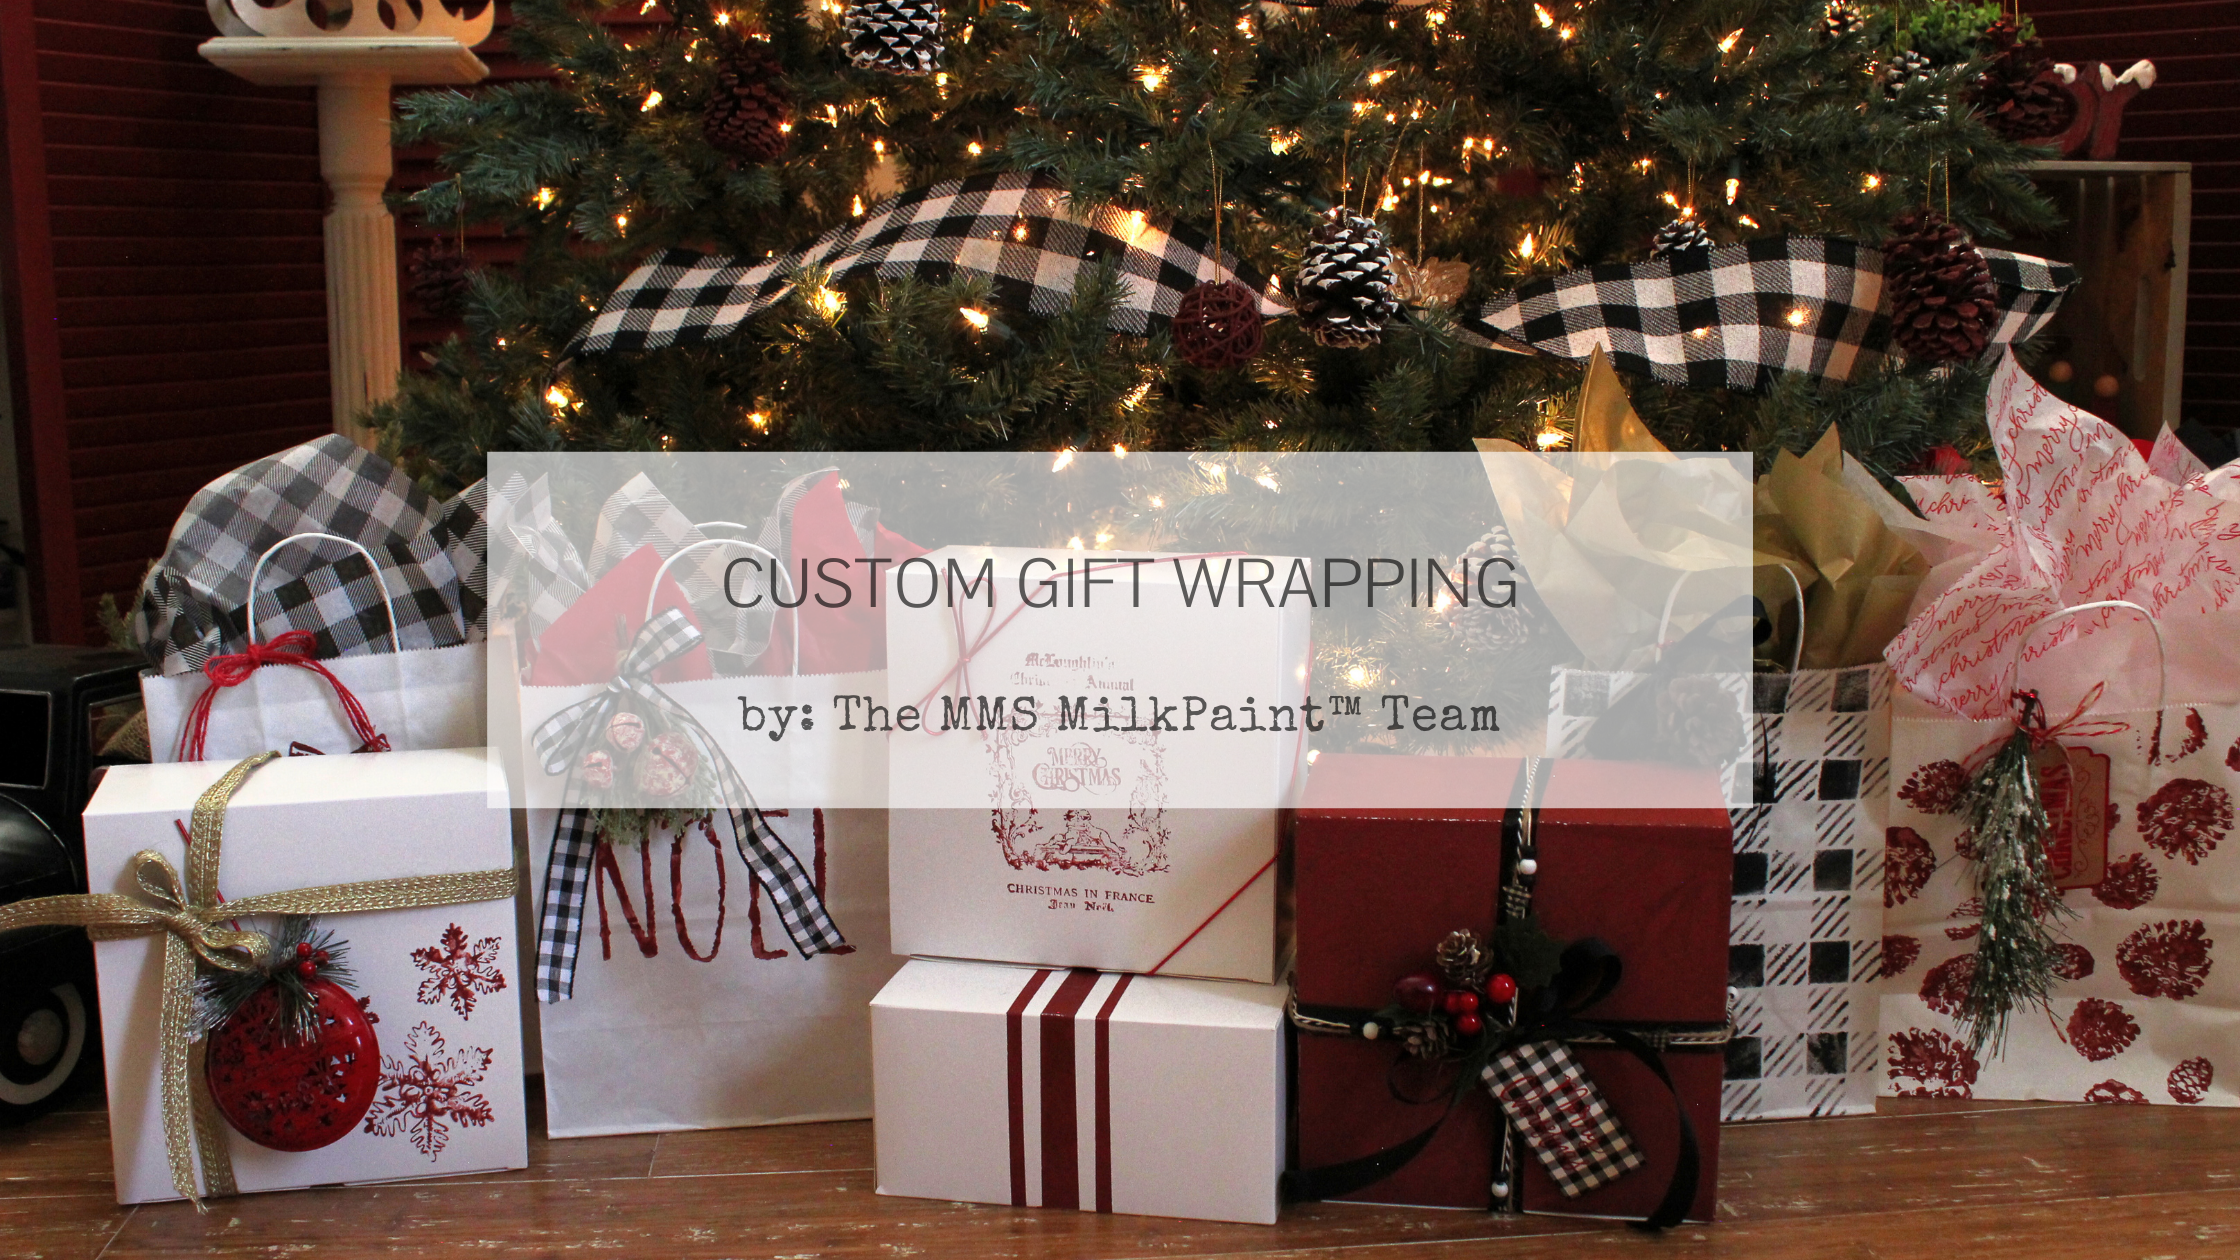
Custom Gift Wrapping
It’s the extra special touches that makes gift giving so personal this time of year. These details show the loved ones in your life how much you care about them and have kept them in mind throughout the year.
One way you can add heartwarming holiday cheer is by creating your own gift wrapping! Whether you need bags or boxes, we’ve got a crafty little tutorial for you to enjoy.
Stamping/Stenciling Boxes and Bags
Gather some plain white kraft paper bags and boxes for your holiday presents. Make sure they are folded flat. This will make it easier to stamp and stencil them.
Next, find some holiday stencils and stamps that suit your taste. There are countless options for you to choose from at your local craft store or online.
When it came to picking out our MilkPaint™ colors, we landed on Schoolhouse Red and Typewriter. These were the same colors we used on our Thanksgiving tablescapes we created a few weeks ago, as well as our Christmas tree. TIP: By using the same colors for your holiday decorations (regardless of the time of year), you can make a seamless transition from one celebration to the next! Schoolhouse Red and Typewriter can easily be used for Valentine’s Day, Memorial Day, 4th of July, Halloween, etc.


Once you have your colors picked out, mix your MMS MilkPaint™ in a ratio of 3 parts paint to 1 part water. This formula will give you an extremely thick consistency, which helps prevent bleeding and smudging when you go to stamp or stencil.
Stamping With MilkPaint™
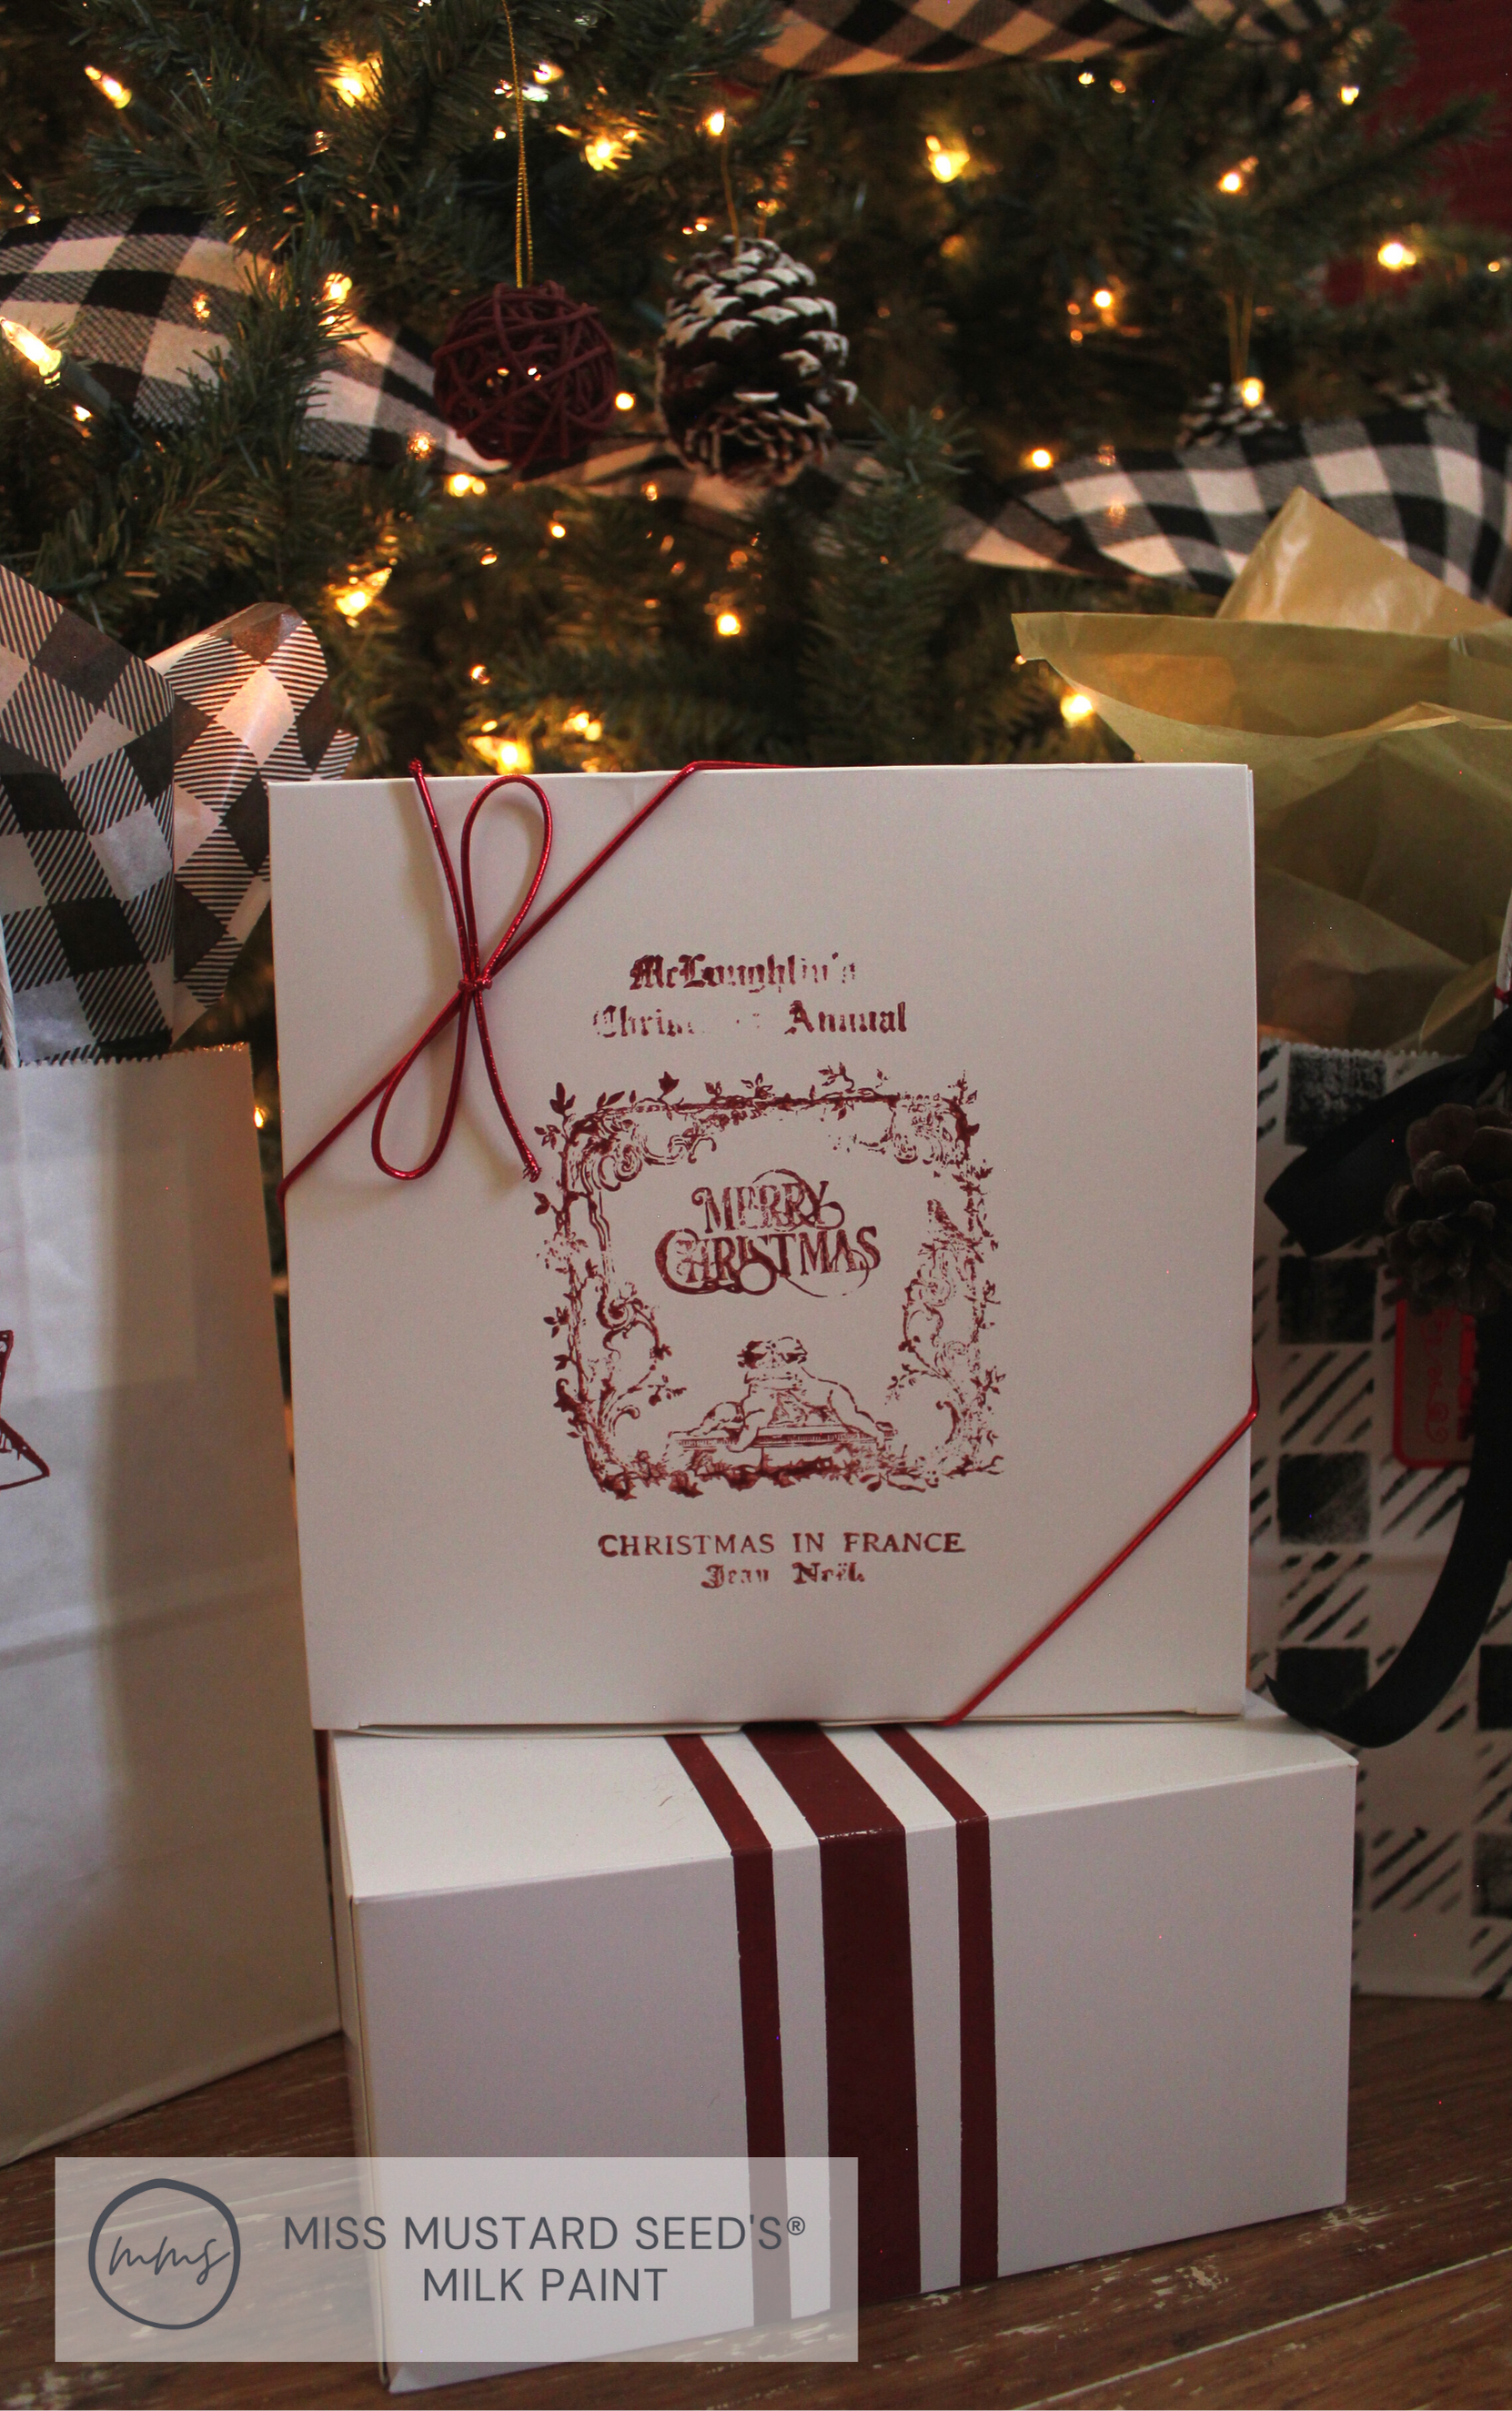
If you want to stamp a design in the middle of a gift box or bag, eyeball where you want your stamp to go and outline it with a few pieces of painter’s tape. This will help you put your design in just the right spot!
Use a foam brush to apply a very thin layer of MilkPaint™ to your stamp. Adding too much will cause bleeding and smudging. Then, line your stamp up with the tape marks you made earlier. See how this helps you keep everything centered and straight?
We’re using this stamp on a white gift box that’s all folded up.

If you want your stamp to be a bit more random, like our snowflakes, you don’t need painter’s tape. These little guys are being stamped onto another white gift box.

Snowflake Stamping Before

Snowflake Stamping After
Stenciling With MilkPaint™
If you don’t have stamps or prefer to stencil, there are LOTS of possibilities you can create with MMS MilkPaint™! We adorned a white gift bag with this fun buffalo check stencil design. Our soft black, Typewriter, was the perfect color for this pattern.

Stamping a buffalo check pattern with Typewriter
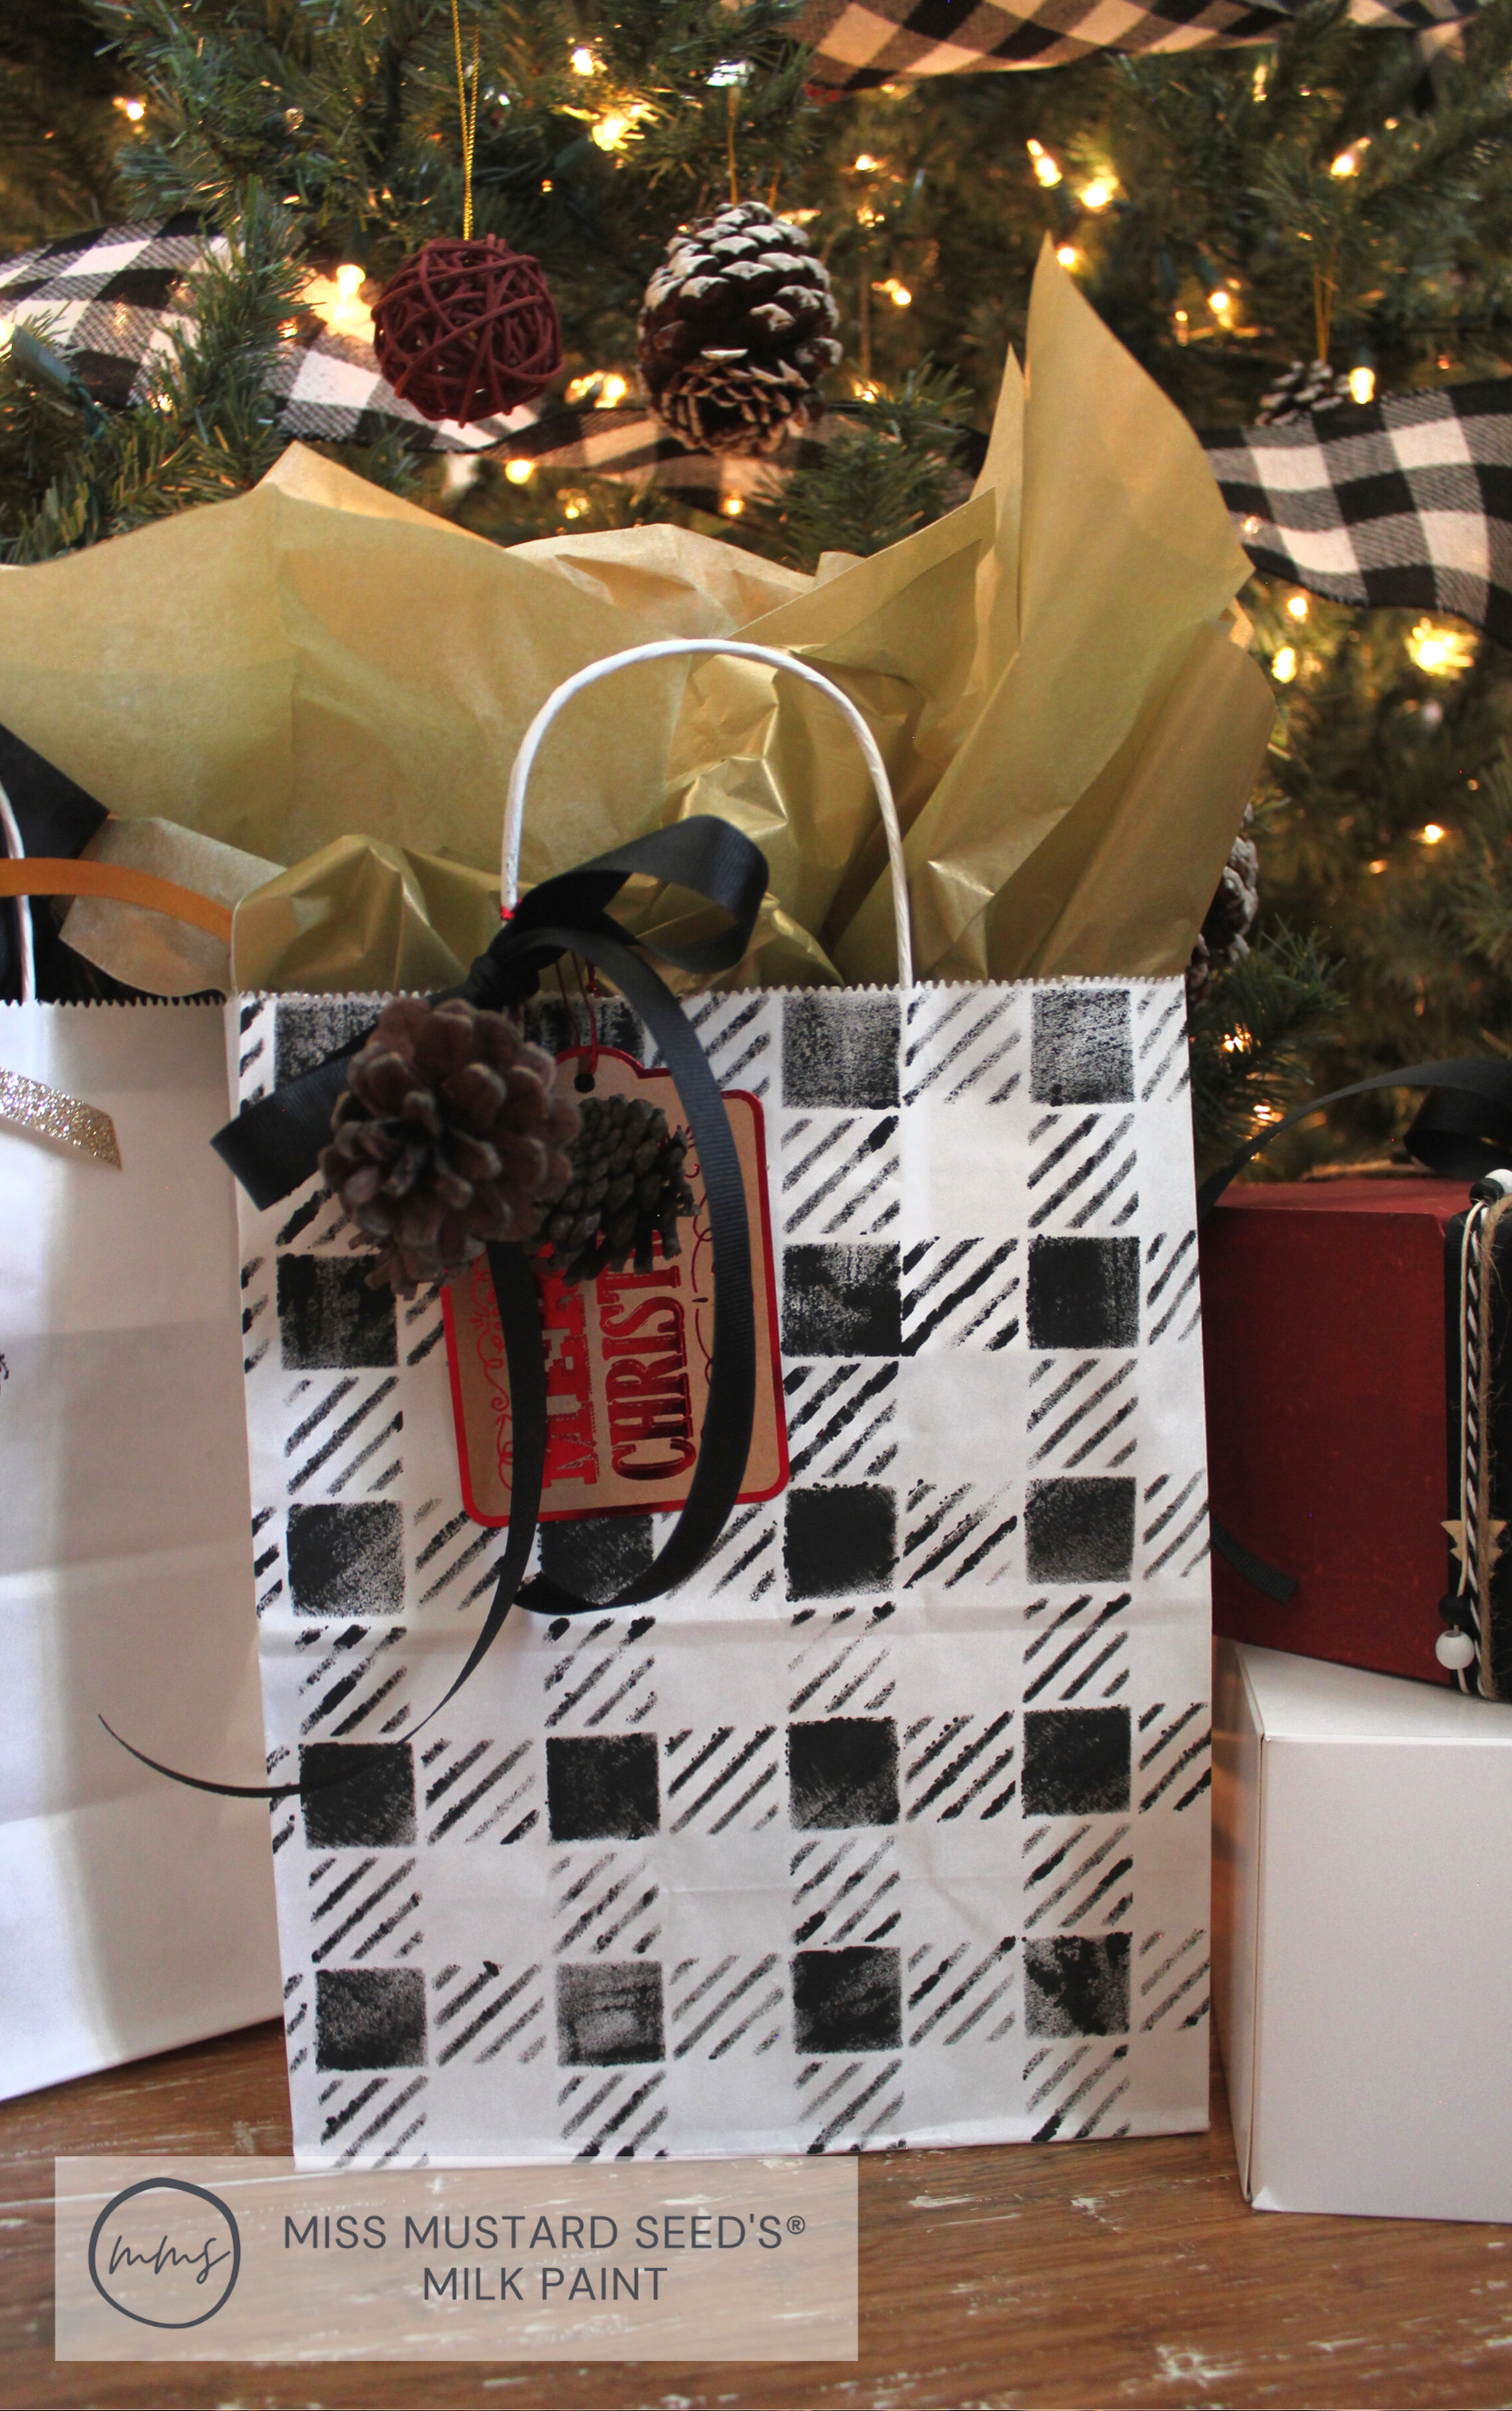
The adorable result!
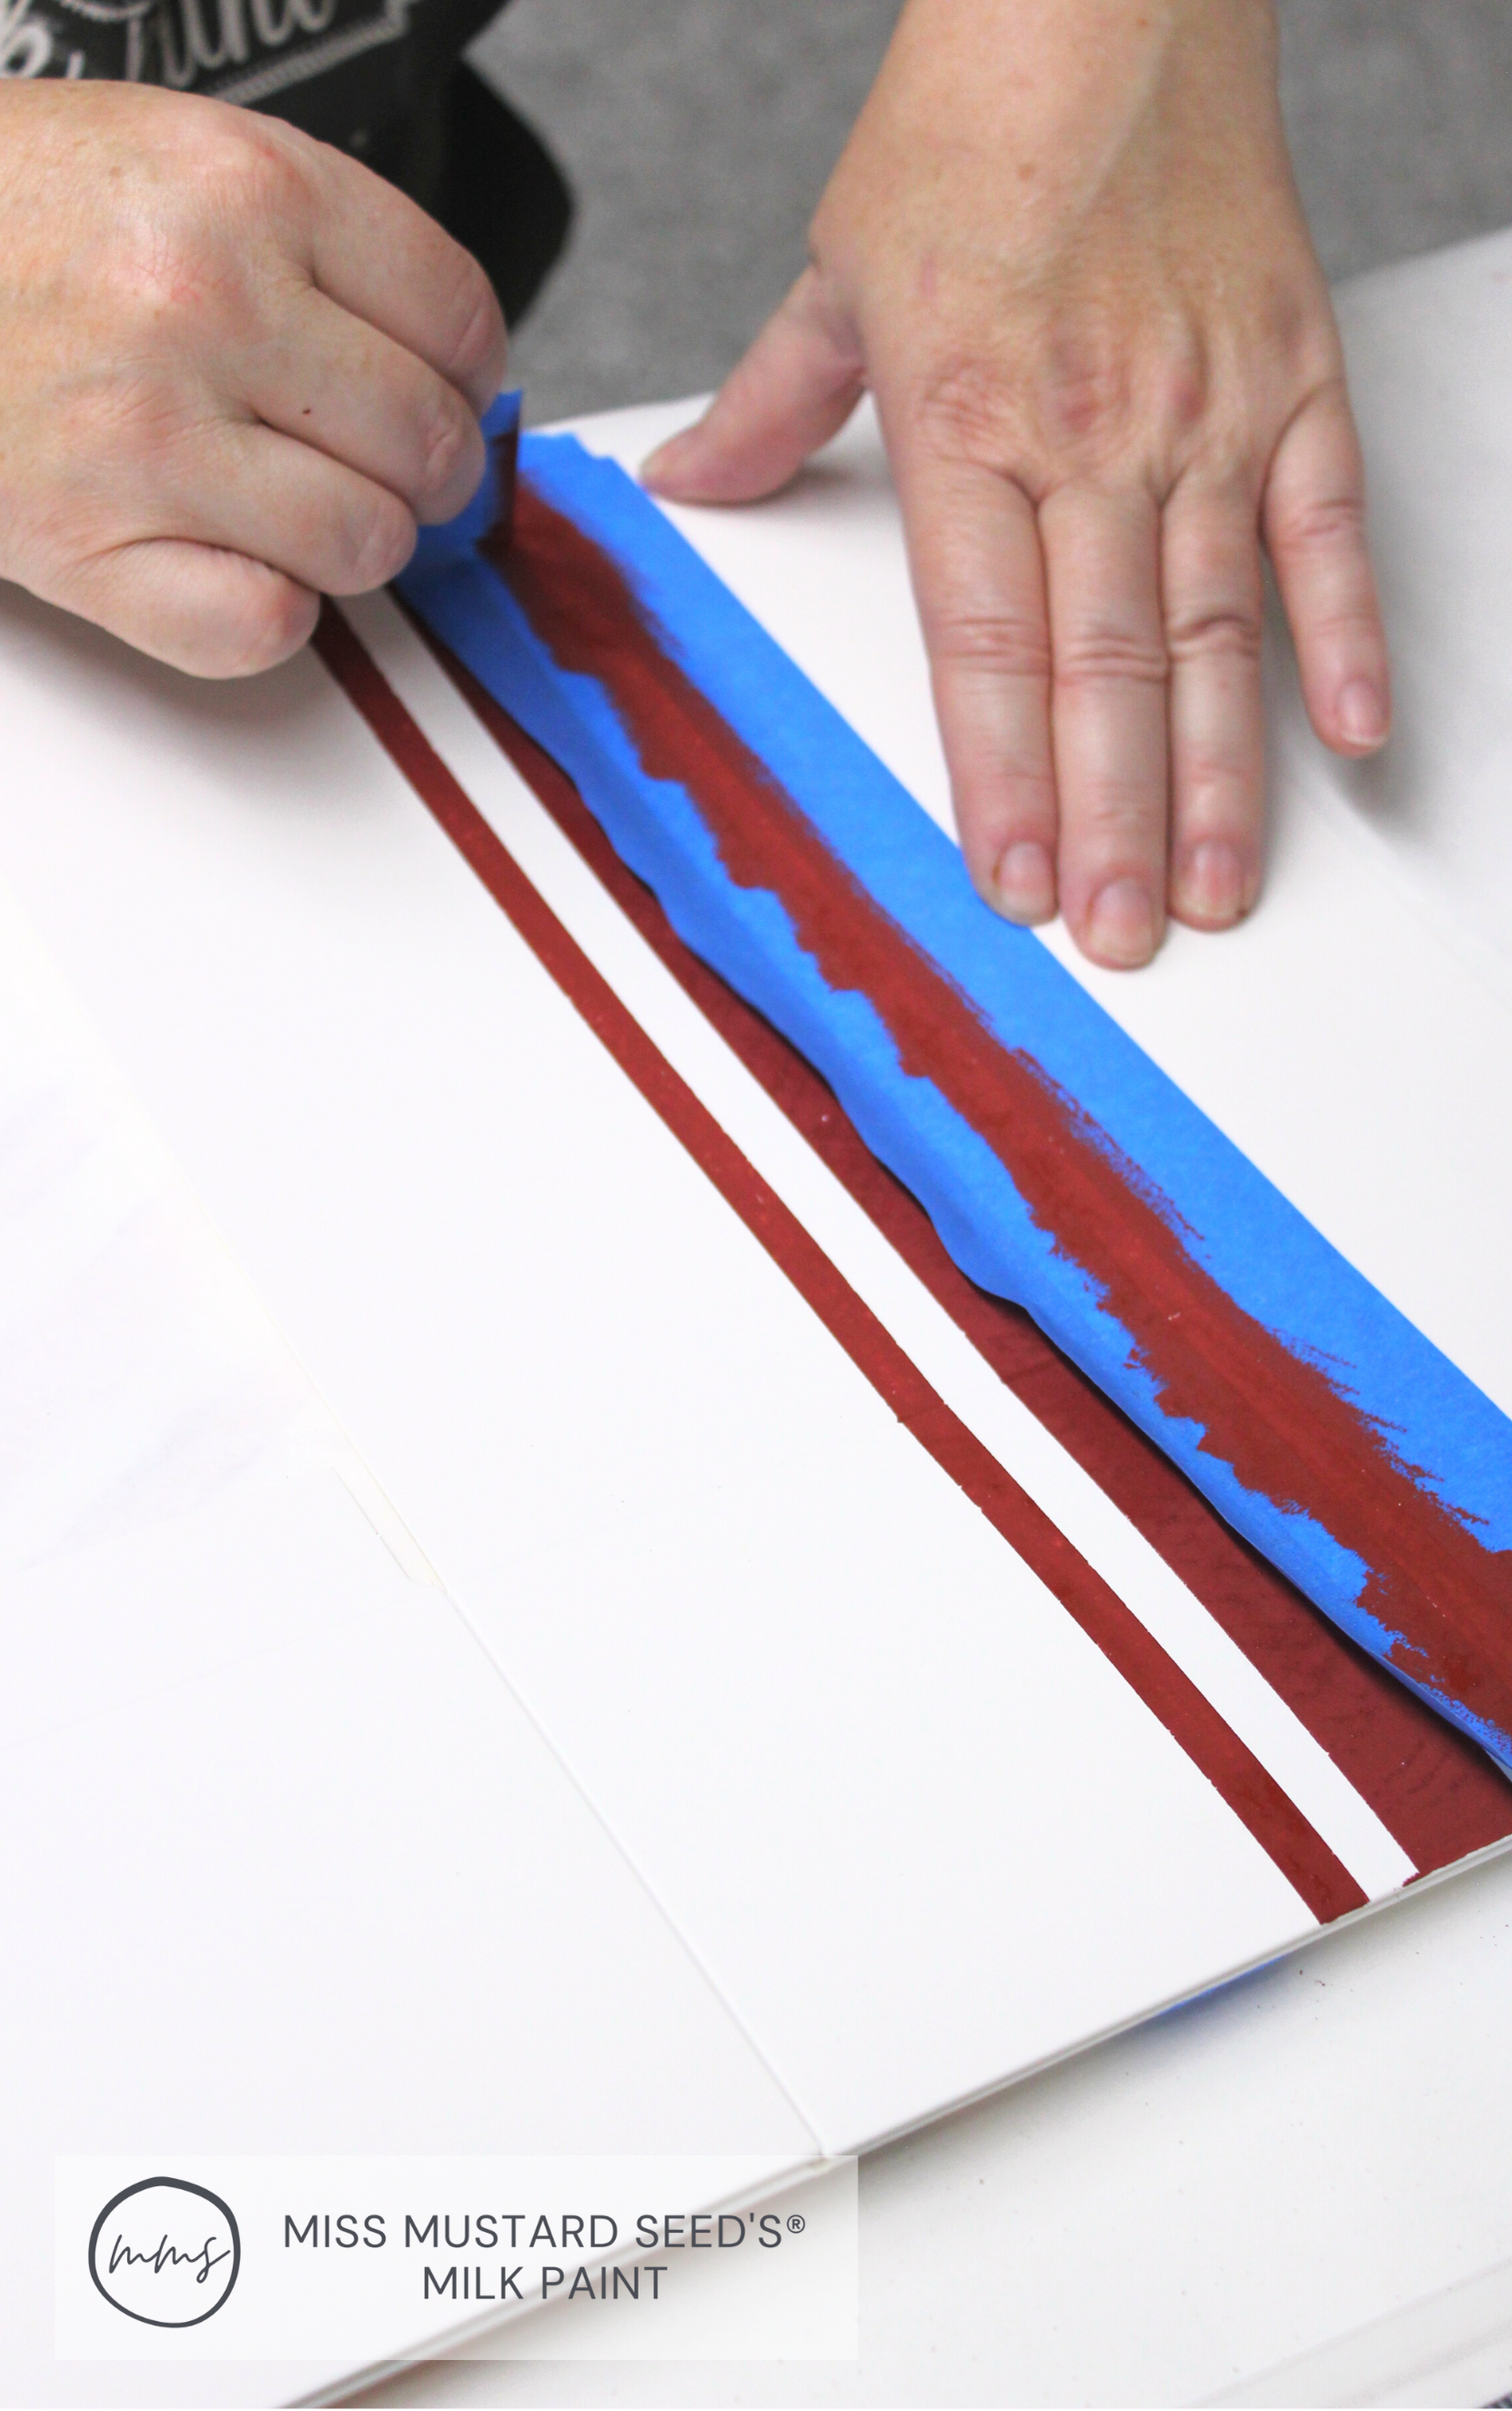
Creating Grain Sack Stripes
If you have farmhouse lovers in your life, you can make grain sack striped boxes and bags!
We created our own grain sack pattern using a few strips of painter’s tape. We did one big stripe down the middle with 2 smaller ones on either side.
Make sure you smooth the tape down firmly so paint doesn’t wiggle underneath. If it does though, it’s okay! That’s the beauty of handmade products. The imperfections give them oodles of charm!

We taped and painted our stripes one at a time
How cute does the grain sack box look with the stamped box we made earlier?
Milk Painting A Gift Box
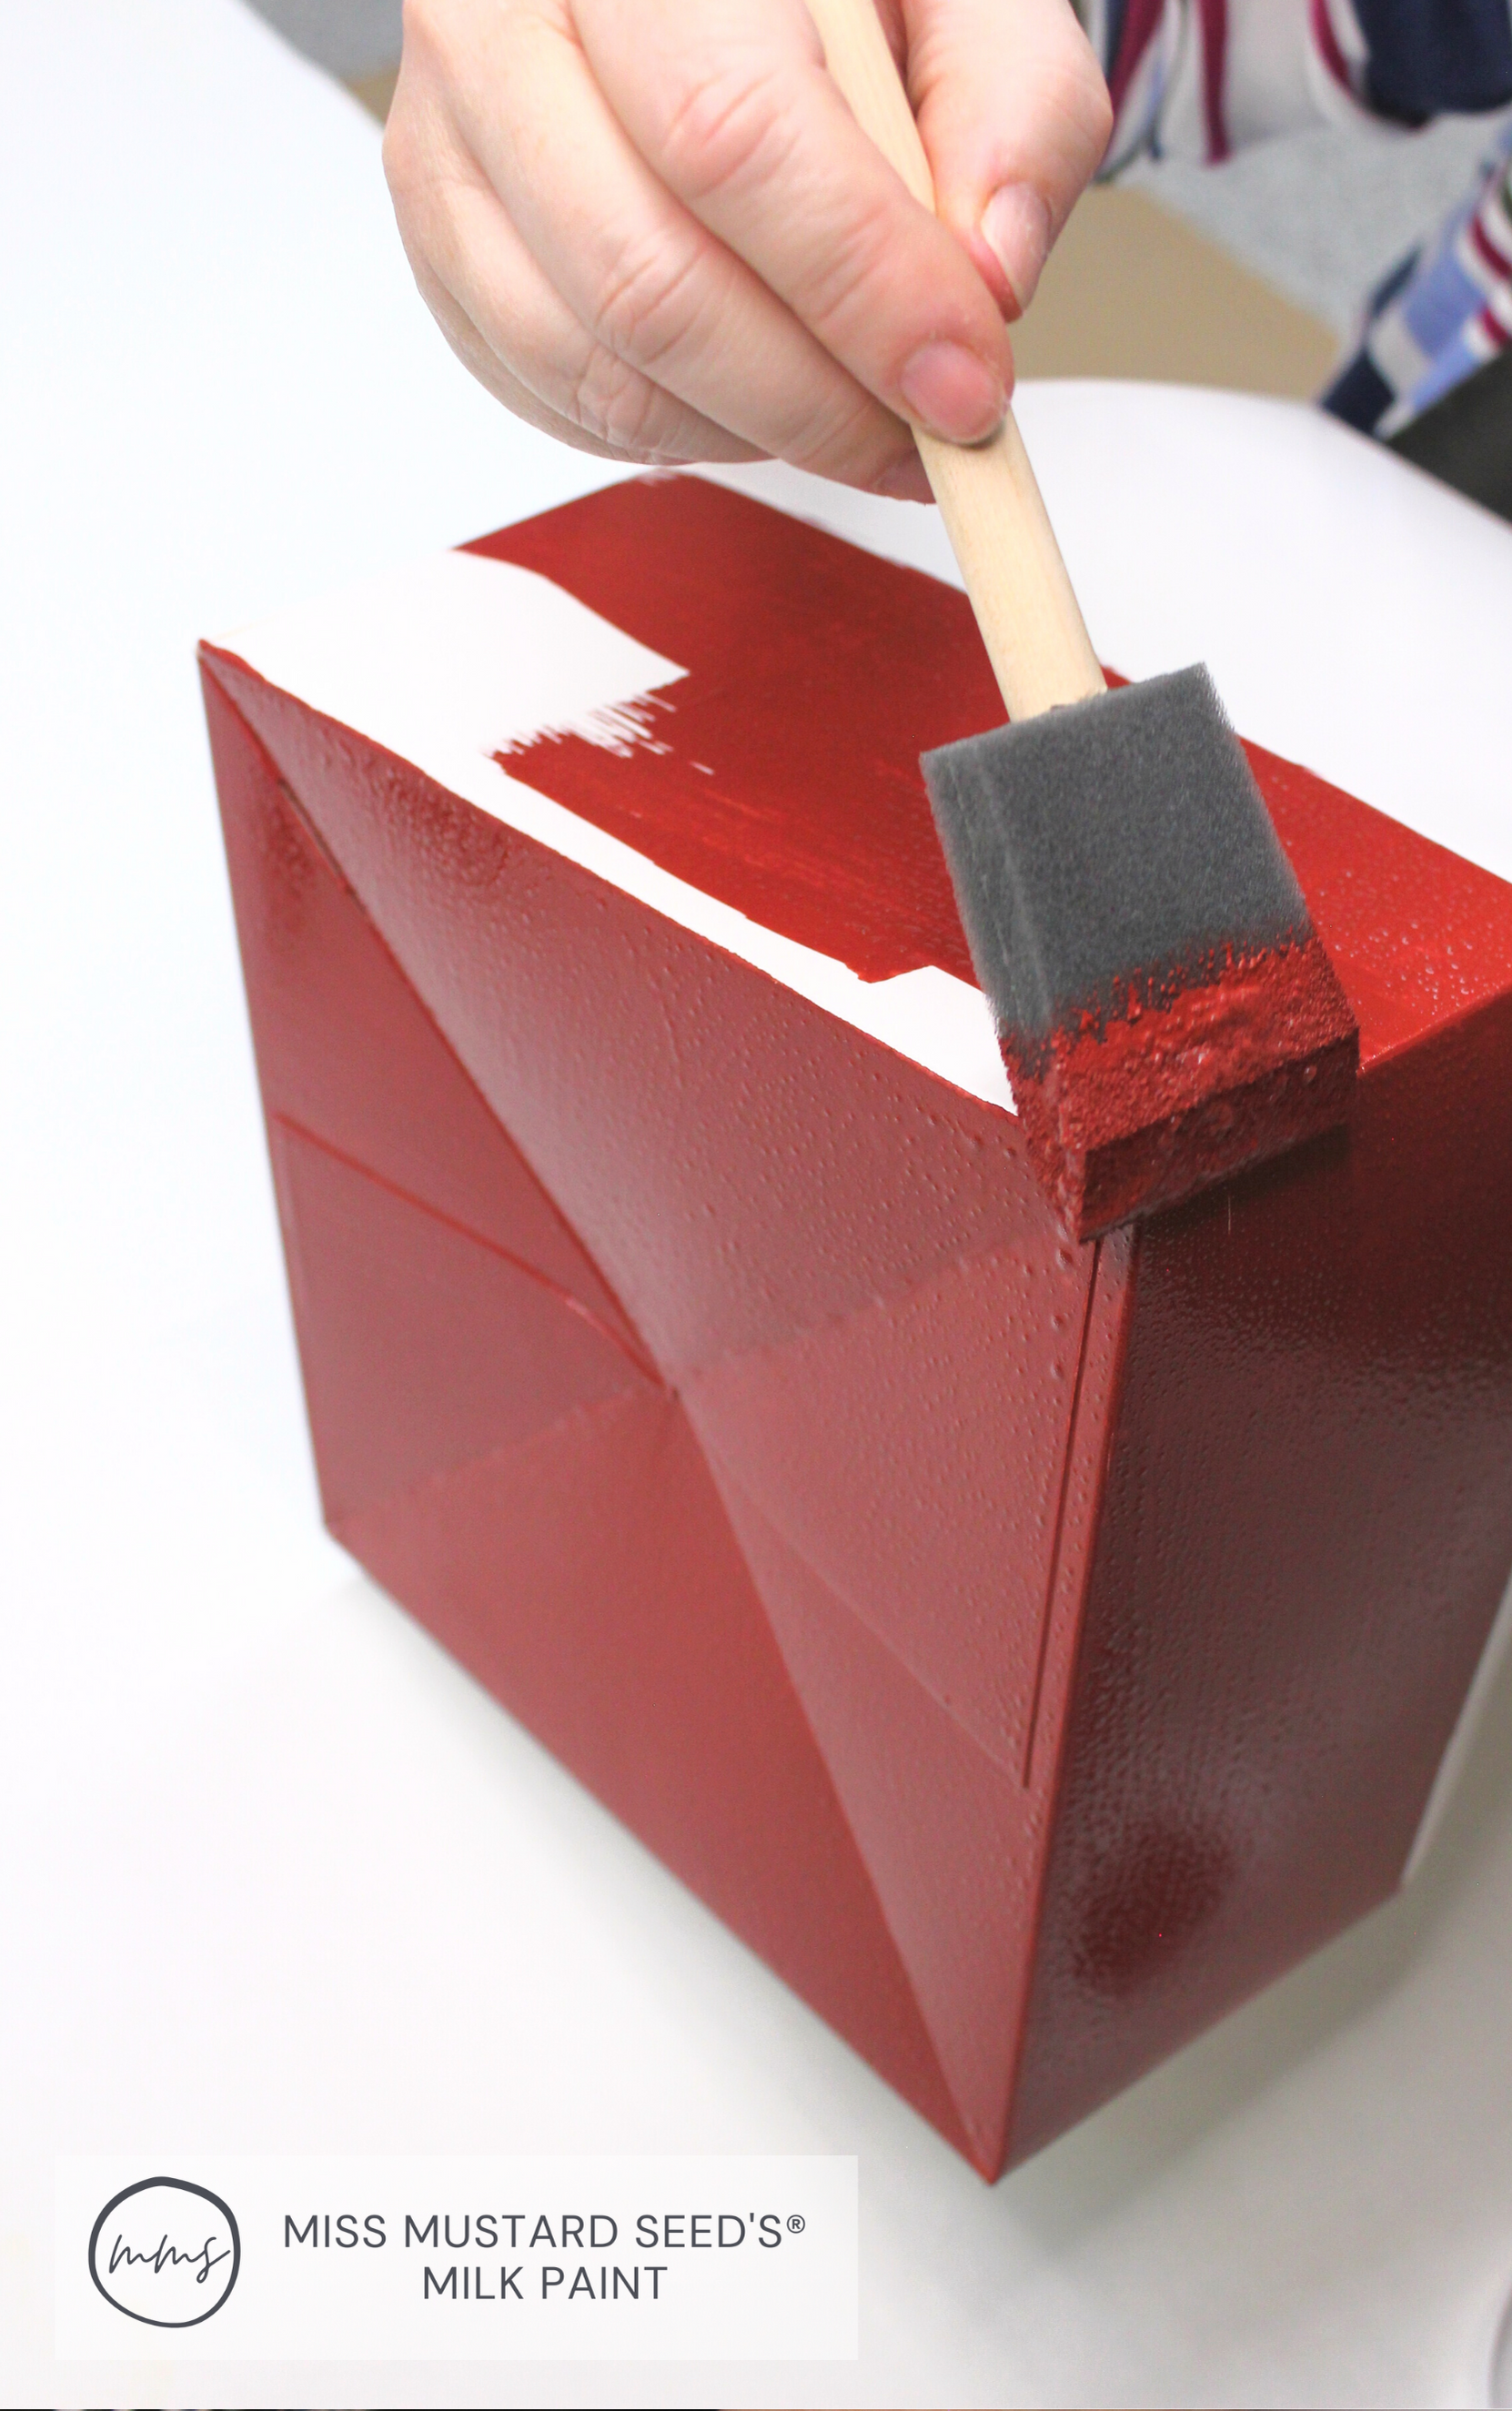
You can also paint an entire gift box in MMS MilkPaint™ if you wish! We whipped up a batch in our normal ratio - 1 part milk paint to 1 part water. Using a foam brush, we started painting the box’s bottom first.

Once that was dry, we flipped it right-side up and painted the rest.
Once it was dry, we added some festive ribbon and a little faux floral sprig for a sweet holiday package!

Custom Milk Painted Gift Bags and Boxes
We had so much fun assembling our holiday packages! This one has a mug and peppermint tea inside.

You can customize your gift wrappings however you wish. Use whatever colors and designs speak to you. We created a red, white and black color scheme with buffalo check accents. See how much you can mix and match?

We added a few more stencil patterns to our mix. There’s nothing more wintry than pinecones!

We hope you have fun experimenting with your own combinations this holiday season. Make sure you share your custom gift wrappings with us on social media. We love seeing how you’re moving mountains in your homes!
