
Boxwood Curio Cabinet
Every Friday, we like to select a popular refinished piece of furniture from our Move Mountains with Milk Paint Facebook Group.
This week, we are eager to share a gorgeous Boxwood Curio Cabinet that was refinished by Tammy of Farmhouse Fixup.

The “Before”
Tammy found this beautiful piece in the workshop of one of her friends.

Photo Credit: Farmhouse Fixup
It had gorgeous doors with 3 panes of glass in each one. The left and right sides open up while the middle stays stationary. The shelves are thick tempered glass, and it sat on top of 2 curvy legs.
Tammy had a vision to modernize this curio cabinet that was brimming with potential! Her makeover started with our rich and grassy shade of green, Boxwood.

Prep Work
Whenever you’re embarking on a furniture refinishing project, you should prep clean and sand it. It’s tempting to skip, but the 5-10 minutes you spend prepping can save you hours of troubleshooting down the line in your refinishing project.
Prep Cleaning
If your piece is extra dirty (like just-got-pulled-out-of-a-barn dirty), use blue Dawn dish detergent to remove grease and oils. If it’s good enough to get rid of grease on dinner dishes, it’s good enough for your furniture too!
For normal pieces that have average wear, we recommend prep cleaning with a 50/50 mix of Denatured Alcohol and water. You can mix yours in a plastic squirt bottle and label it for future use. Use a maroon Scotch-Brite pad/synthetic steel wool pad to scrub your piece down. Wipe dry and repeat if necessary. Some pieces have hidden grime that’s unseen to the eye, but totally visible on your cleaning cloth!
All of these supplies can be found either underneath your kitchen sink in the cupboard and/or the paint aisle in your local hardware store.
Prep Sanding
Scuff sand your piece with either 220 grit sandpaper or a dry maroon Scotch-Brite pad to rough up the existing finish on the surface. This will create texture and “tooth” so our Milk Paint can grip. It’s always a good idea to break up the existing finish on your piece. Not only does this prepare the surface to accept a new finish, but it also further cleans the piece as well!
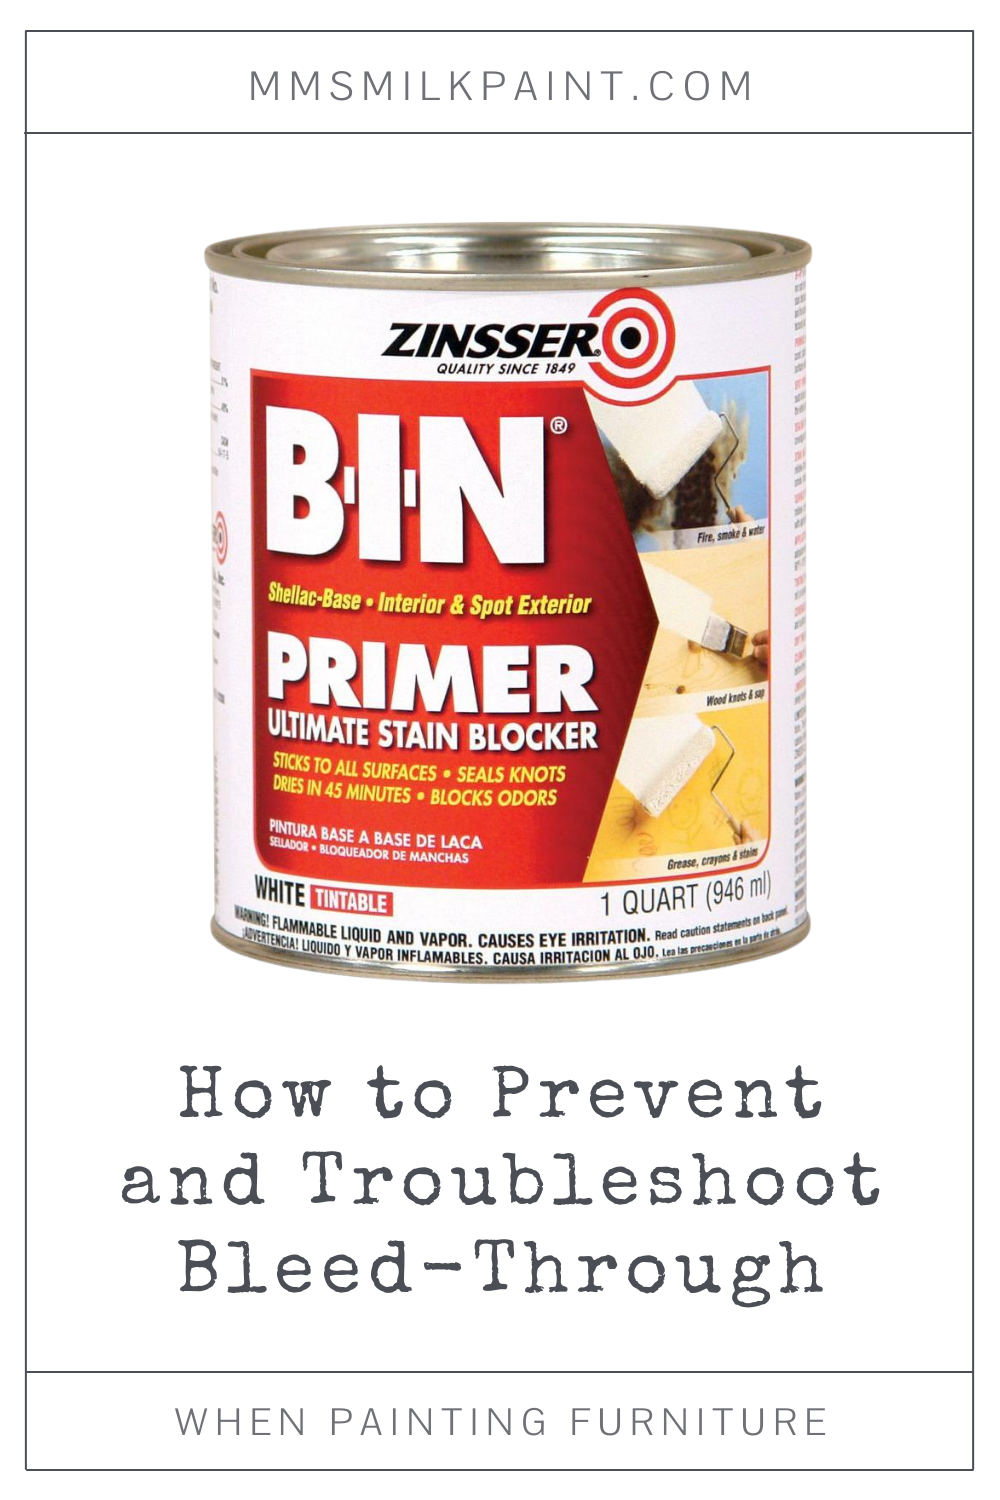
Prevent Bleed-Through/Staining (if necessary)
If you’re concerned your piece may bleed or stain once you start painting it, now is the time to prep it accordingly. You can read what to do to prevent it here:
The Gorgeous “After”
To finish the piece, Tammy painted it with Boxwood (which is her favorite color) and sealed it with Hemp Oil. She also made some modifications by removing the existing legs of the curio cabinet. The front ones were too curvy, and the back legs were actually 4x4 cedar landscaping posts. She replaced the Frankenstein mis-matched legs for a modern set she found on Amazon.

She also removed the top with its outdated crown molding, and replaced it for a wooden slab with a modern profile. The back was swapped out for beautiful tongue-and-groove paneling.

It’s amazing what a little paint, stain and creative vision can do to an old piece of furniture!

This one was hard for Tammy to let go, but it was purchased within 2 hours in the shop where she sells her furniture. We know it will be well-loved for years to come!
