Tips When Painting With White Milk Paint
We’re Dishing All of Our Tips and Tricks for Getting the Perfect White Finish Using Miss Mustard Seed’s Milk Paint!
Did you know that using white paint can be a bit more tricky than expected? Because white paint doesn't have nearly the amount of pigments as other colors, it's good to have a few tricks up your sleeve to pull out when you're using any of our shades of white!
Paint a Neutral Base Layer of Gray
One of the best tricks we can offer to you is to create a neutral layer of color before you apply your white Milk Paint. We suggest using any of our beautiful grays. You can choose from Shutter Gray, which is a lovely French blue/gray…
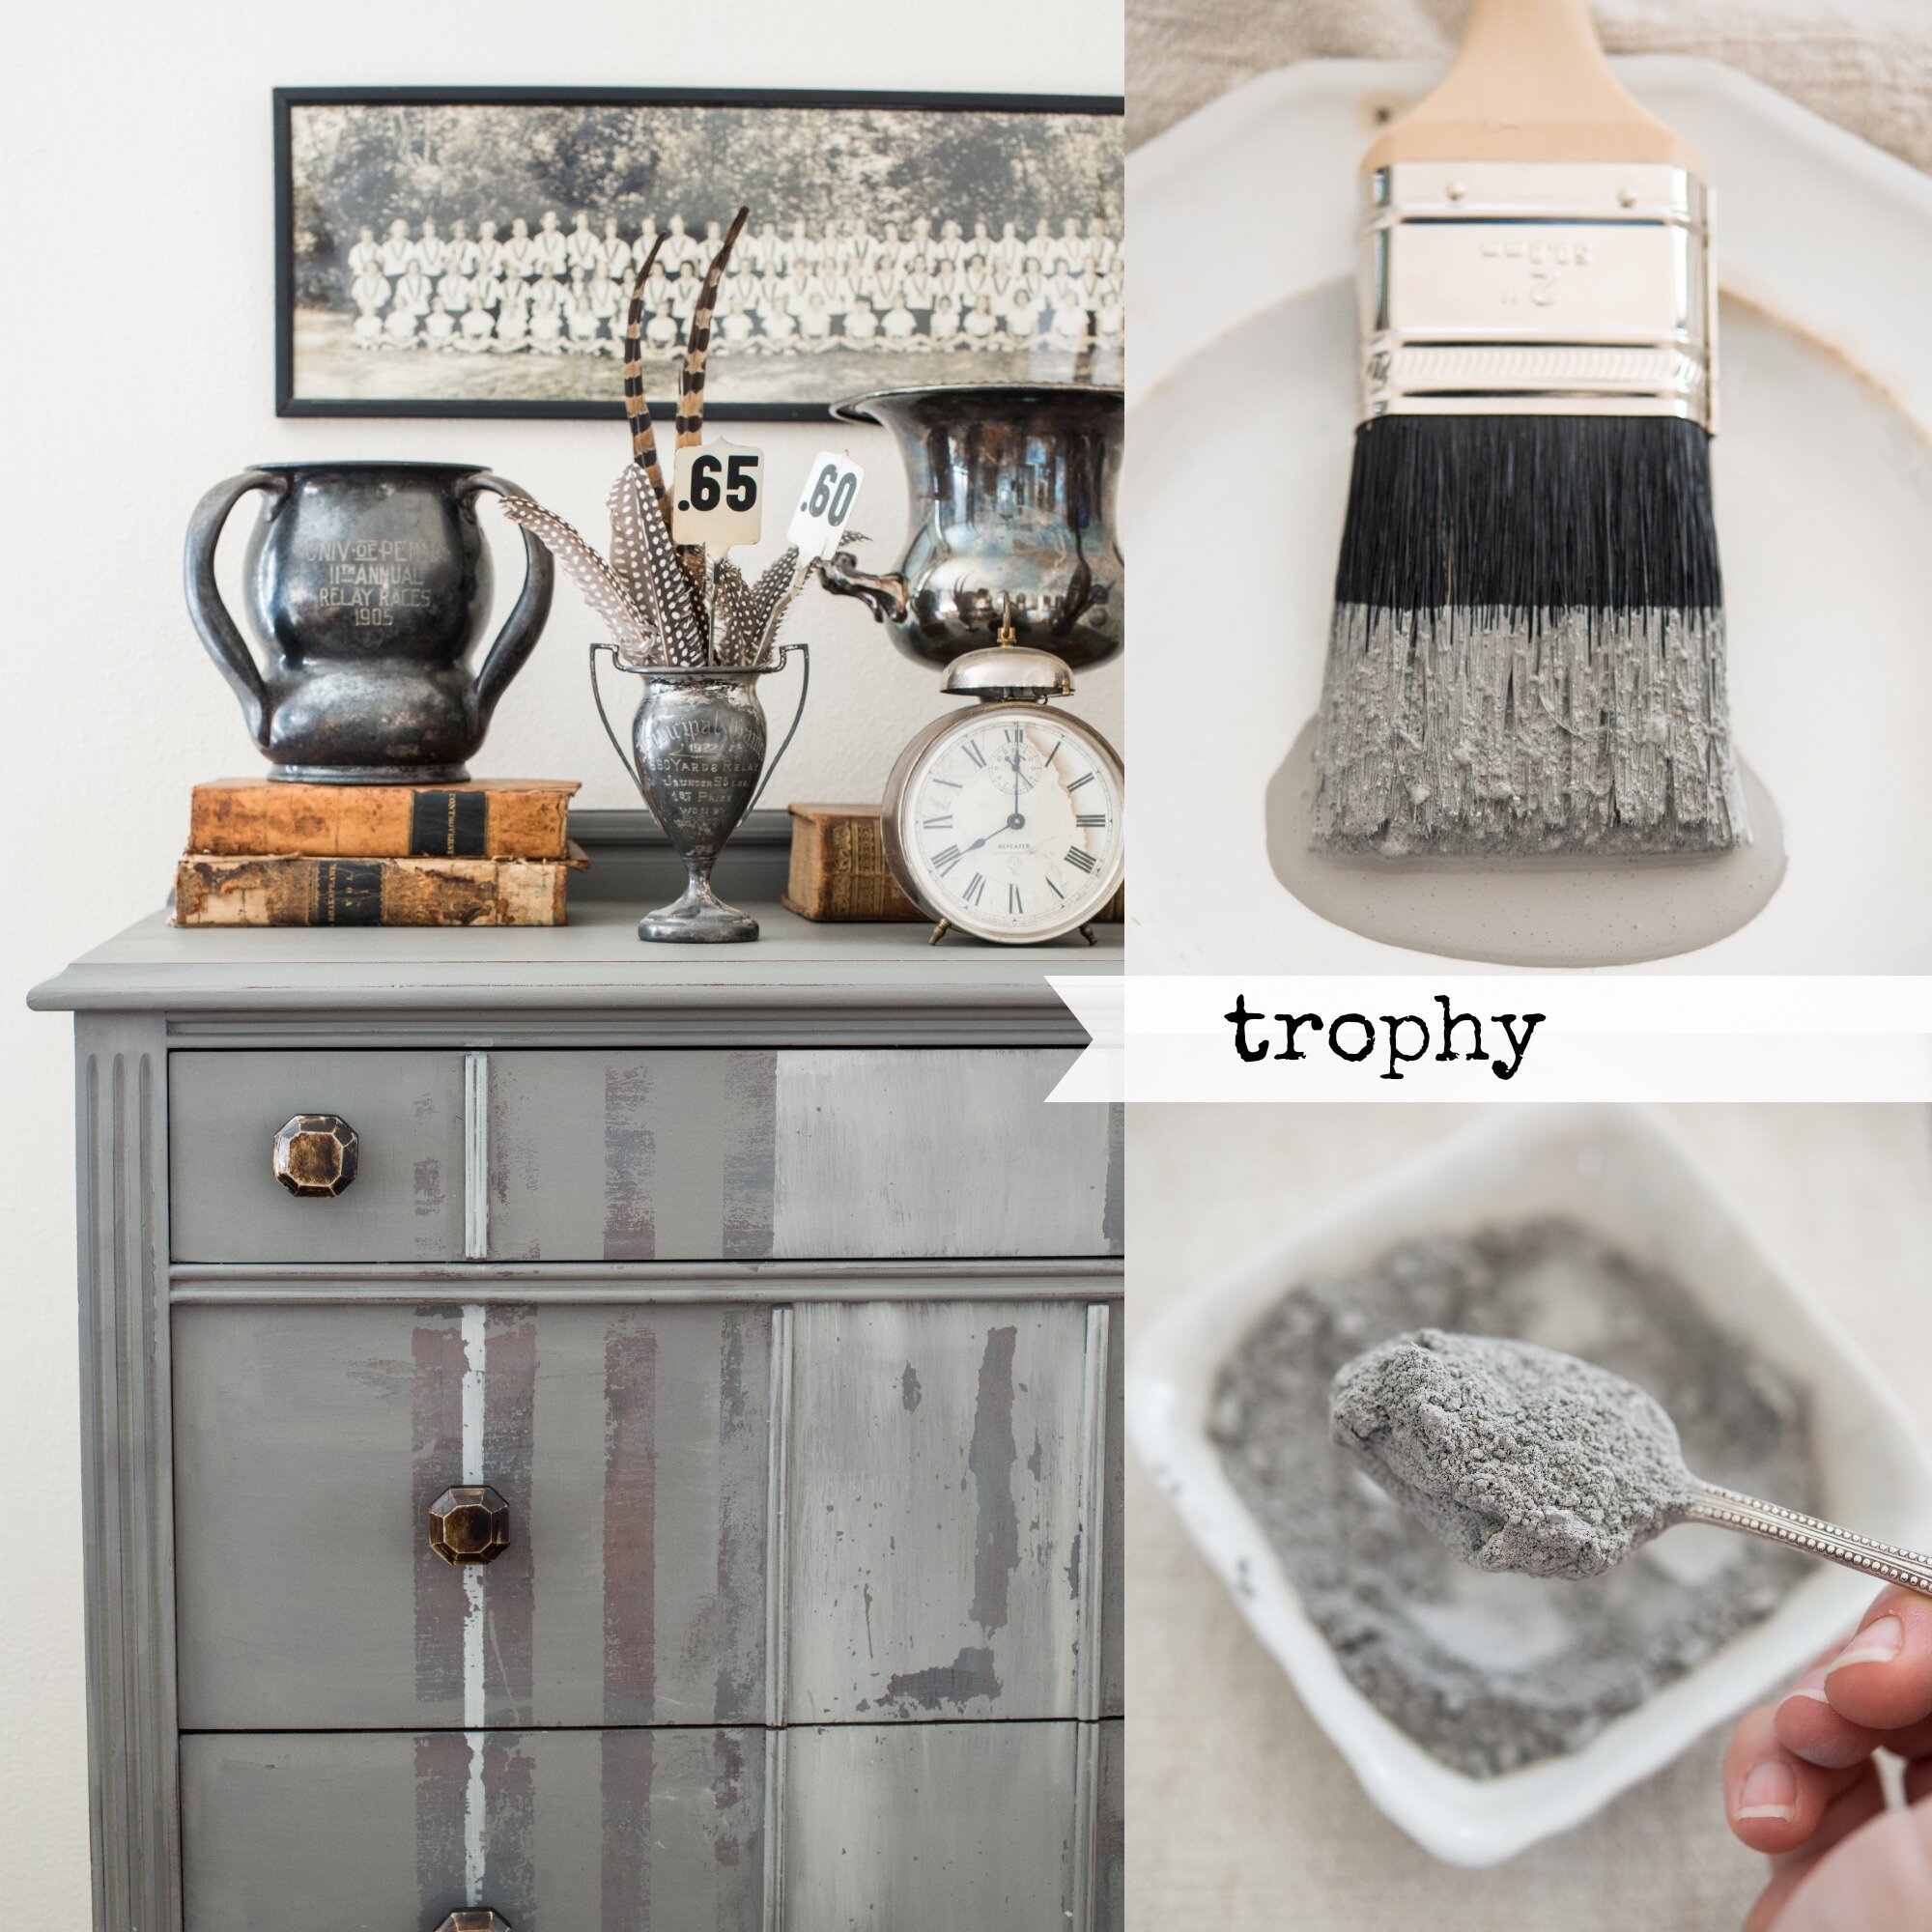
Trophy, which is a beautiful mid-tone gray that mimics the color of slate…
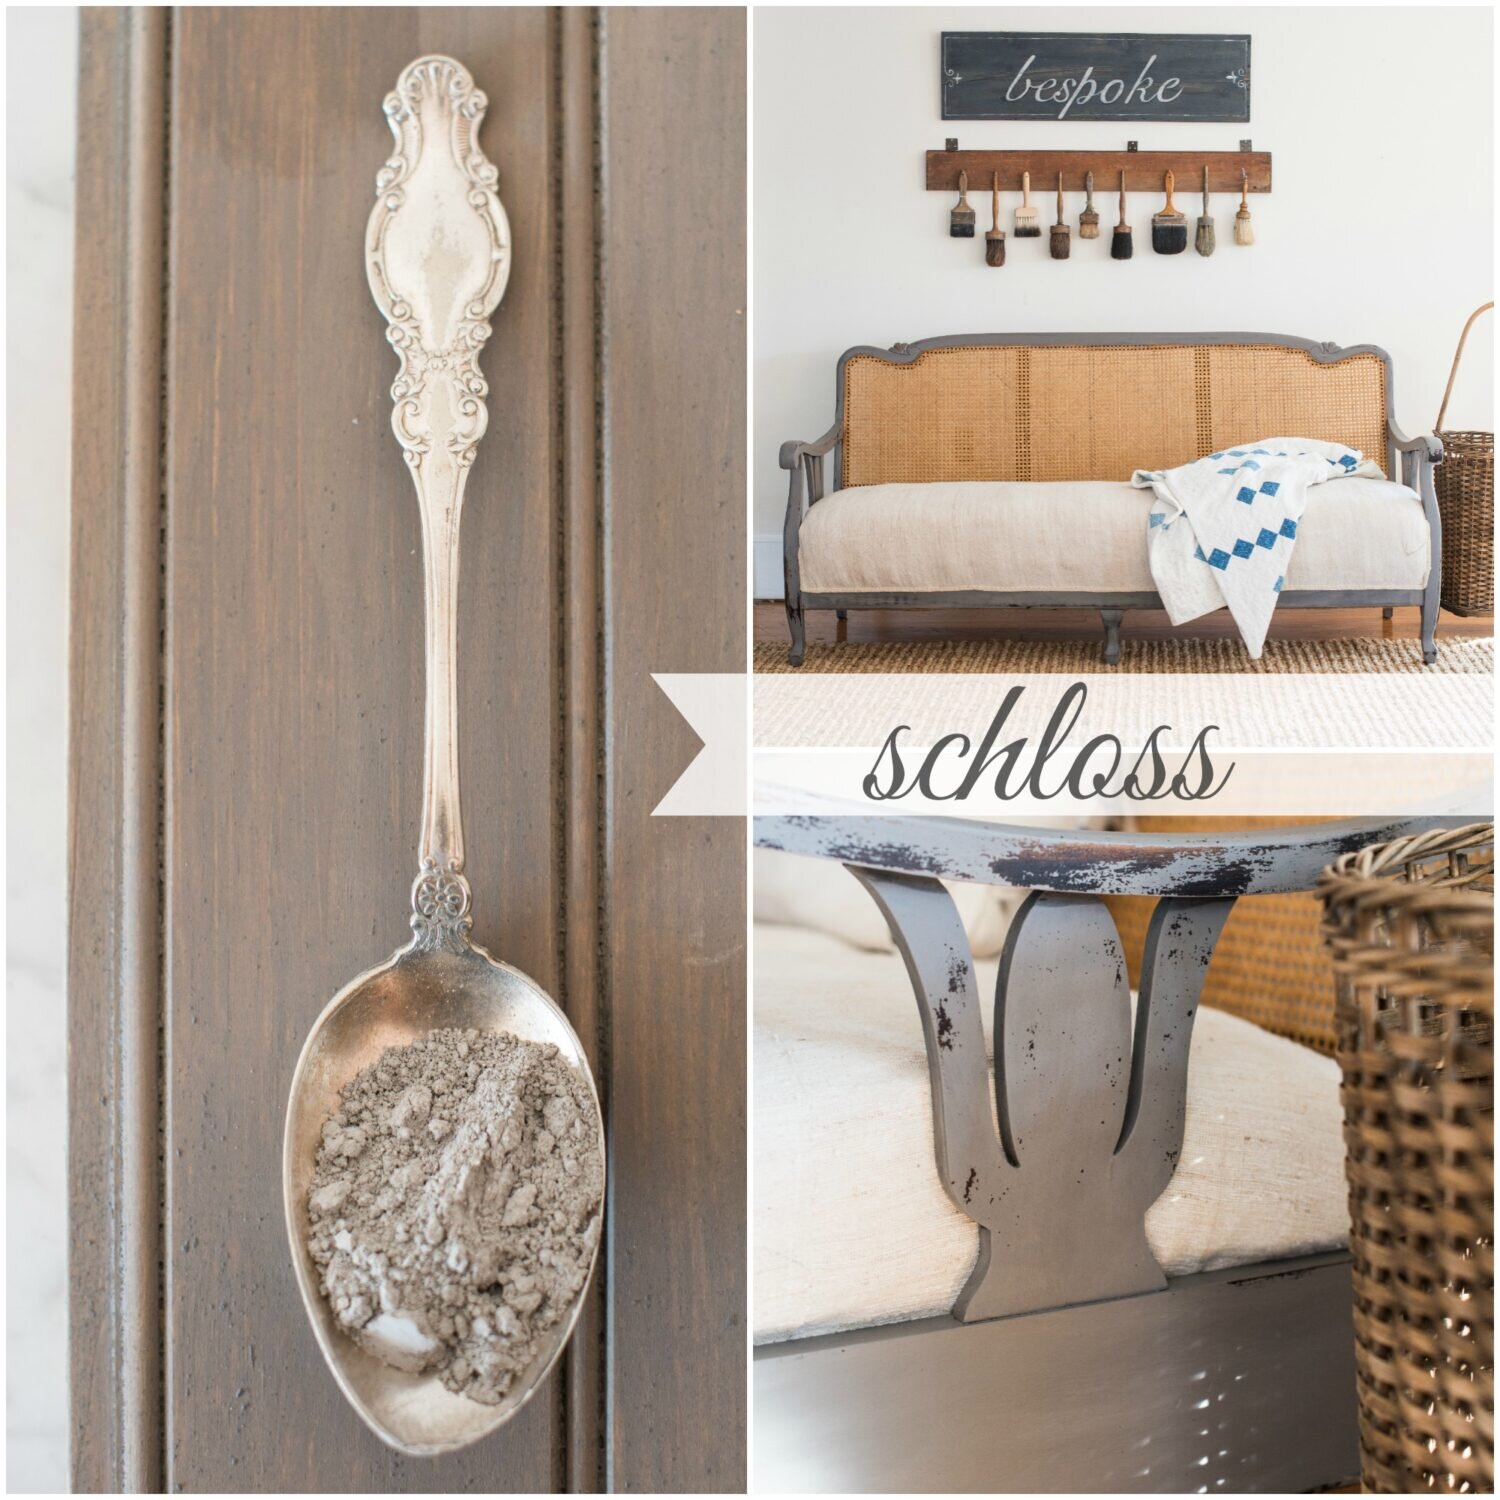
or our warm "greige", Schloss.
Painting a neutral base of gray will help reduce the number of coats you may need when using our whites.
This antique pie safe found its way into Miss Mustard Seed's heart when she was out shopping one day. As you can see, the wood was very dark when she found it, and the pie safe required three full coats of Farmhouse White to get the clean coverage she wanted.
Here's an example of a project where a coat of Trophy served as a neutral base. Remember Miss Mustard Seed's Restoration Hardware rocking horse?
The wood had an existing dark finish, so Miss Mustard Seed painted on a base coat of Trophy first to help neutralize the color of the wood.
Next, she added Grain Sack on the body.
There was something in the wood that did not play nicely with Milk Paint, so Miss Mustard Seed used a bit of Bonding Agent in her mixture along with some extra sanding to keep it under control. The rocking horse still turned out chippy and charming, but it was a bit more reigned in with these extra efforts. (Do you see what we did there? Reigned in?!)
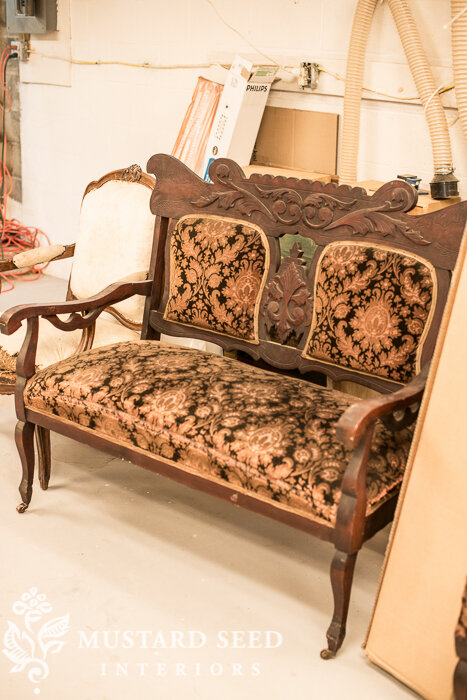
Miss Mustard Seed also used this trick on an Antique Victorian Settee she painted and upholstered for Chapel Market back in 2014.
The original wood was very dark, so she applied a layer of Shutter Gray first to act as a neutral base.
Then, coats of Ironstone were applied to get the white finish Miss Mustard Seed wanted. In her original post, she wrote:
"You may be wondering why I’m painting this piece Shutter Gray if I want it white. Well, you may be aware that white doesn’t cover very well, especially over dark wood. I knew I would be in for multiple coats of paint if I went straight for the white. By applying a mid-tone gray on first, the number of coats will be reduced. Kriste applied the first coat of Ironstone...once the Shutter Gray was dry."
Adjust Your Ratio of Powder to Water
Another tip to keep in mind when you're working with our whites is that you may need to adjust your ratios of powder to water when mixing. Usually, we suggest you start with a one to one ratio. That means mixing equal parts powder to water.
The thing is, our whites may require some adjusting. You might need to add more powder or more water, as they sometimes mix a bit thicker.
Mixing Milk Paint is kind of like baking. Think of your Grandmother's biscuit recipe that reads, "Add 4-6 tablespoons of water". Well, is it 4, 5, or 6? There are so many variables that can influence the amount of ingredients you'll need when baking, and Milk Paint isn't really all that different.
Milk Paint should ideally fall off a stir stick in a steady ribbon, string, or stream.
As always, you should stir your Milk Paint in your container every few brush strokes or dips. Because our paint is such a simple and primitive product, there aren't any suspenders or binders in it to keep everything mixed throughout the painting process. Your hand and a good 'ol popsicle stick (or spoon, or mini whisk) are the magic agent that keeps everything blended together. For more tips mixing Milk Paint, visit this post.
You May Need a Primer
There are certain surfaces that may require a base coat of a stain-blocking primer. These are prone to staining, bleed-through and yellowing over time.
The major offenders are:
Reddish stained wood
Pieces from the 1920’s - 1940’s
Mahogany
Knotty Pine
These types of projects have the highest probability of being troublemakers, so we suggest applying a quality oil or water based primer first, or a few layers of shellac. You can get your primers tinted to a gray as well, which will help your coverage!
There are always exceptions to the rule, and you may be able to paint these surfaces without any issues. Eventually though, you’ll come across a frustrating piece where these measures will help.
We Hope You Enjoyed Our Tips for Painting with White Milk Paint!
Pin this post to reference when you embark on your next white Milk Paint project. You can always reach out to us at hello@mmsmilkpaint.com or on our social media channels if you need help troubleshooting.
We love seeing what you’re creating too! Share your projects with us so we can help others be inspired to Move Mountains in Their Homes!

