
Say Hello To New and Improved MilkWax™!
Those of you who are long-time users of Miss Mustard Seed’s® Milk Paint know how amazing our wax finishes are. They’re soft, spreadable and very user-friendly. They don’t have the harsh chemical smells like other waxes do on the market.
Prior to rebranding and reworking our line, we had 4 beautiful options for you - clear Furniture Wax, White Wax, brown Antiquing Wax and metallic gray Zinc Wax.
We’ve taken these 4 well-loved waxes back to the lab and have reworked them. We sourced finer ingredients, refined our pigments and even added a few new colors!
Everyone, say hello to our new and improved MilkWax™!

Ingredients
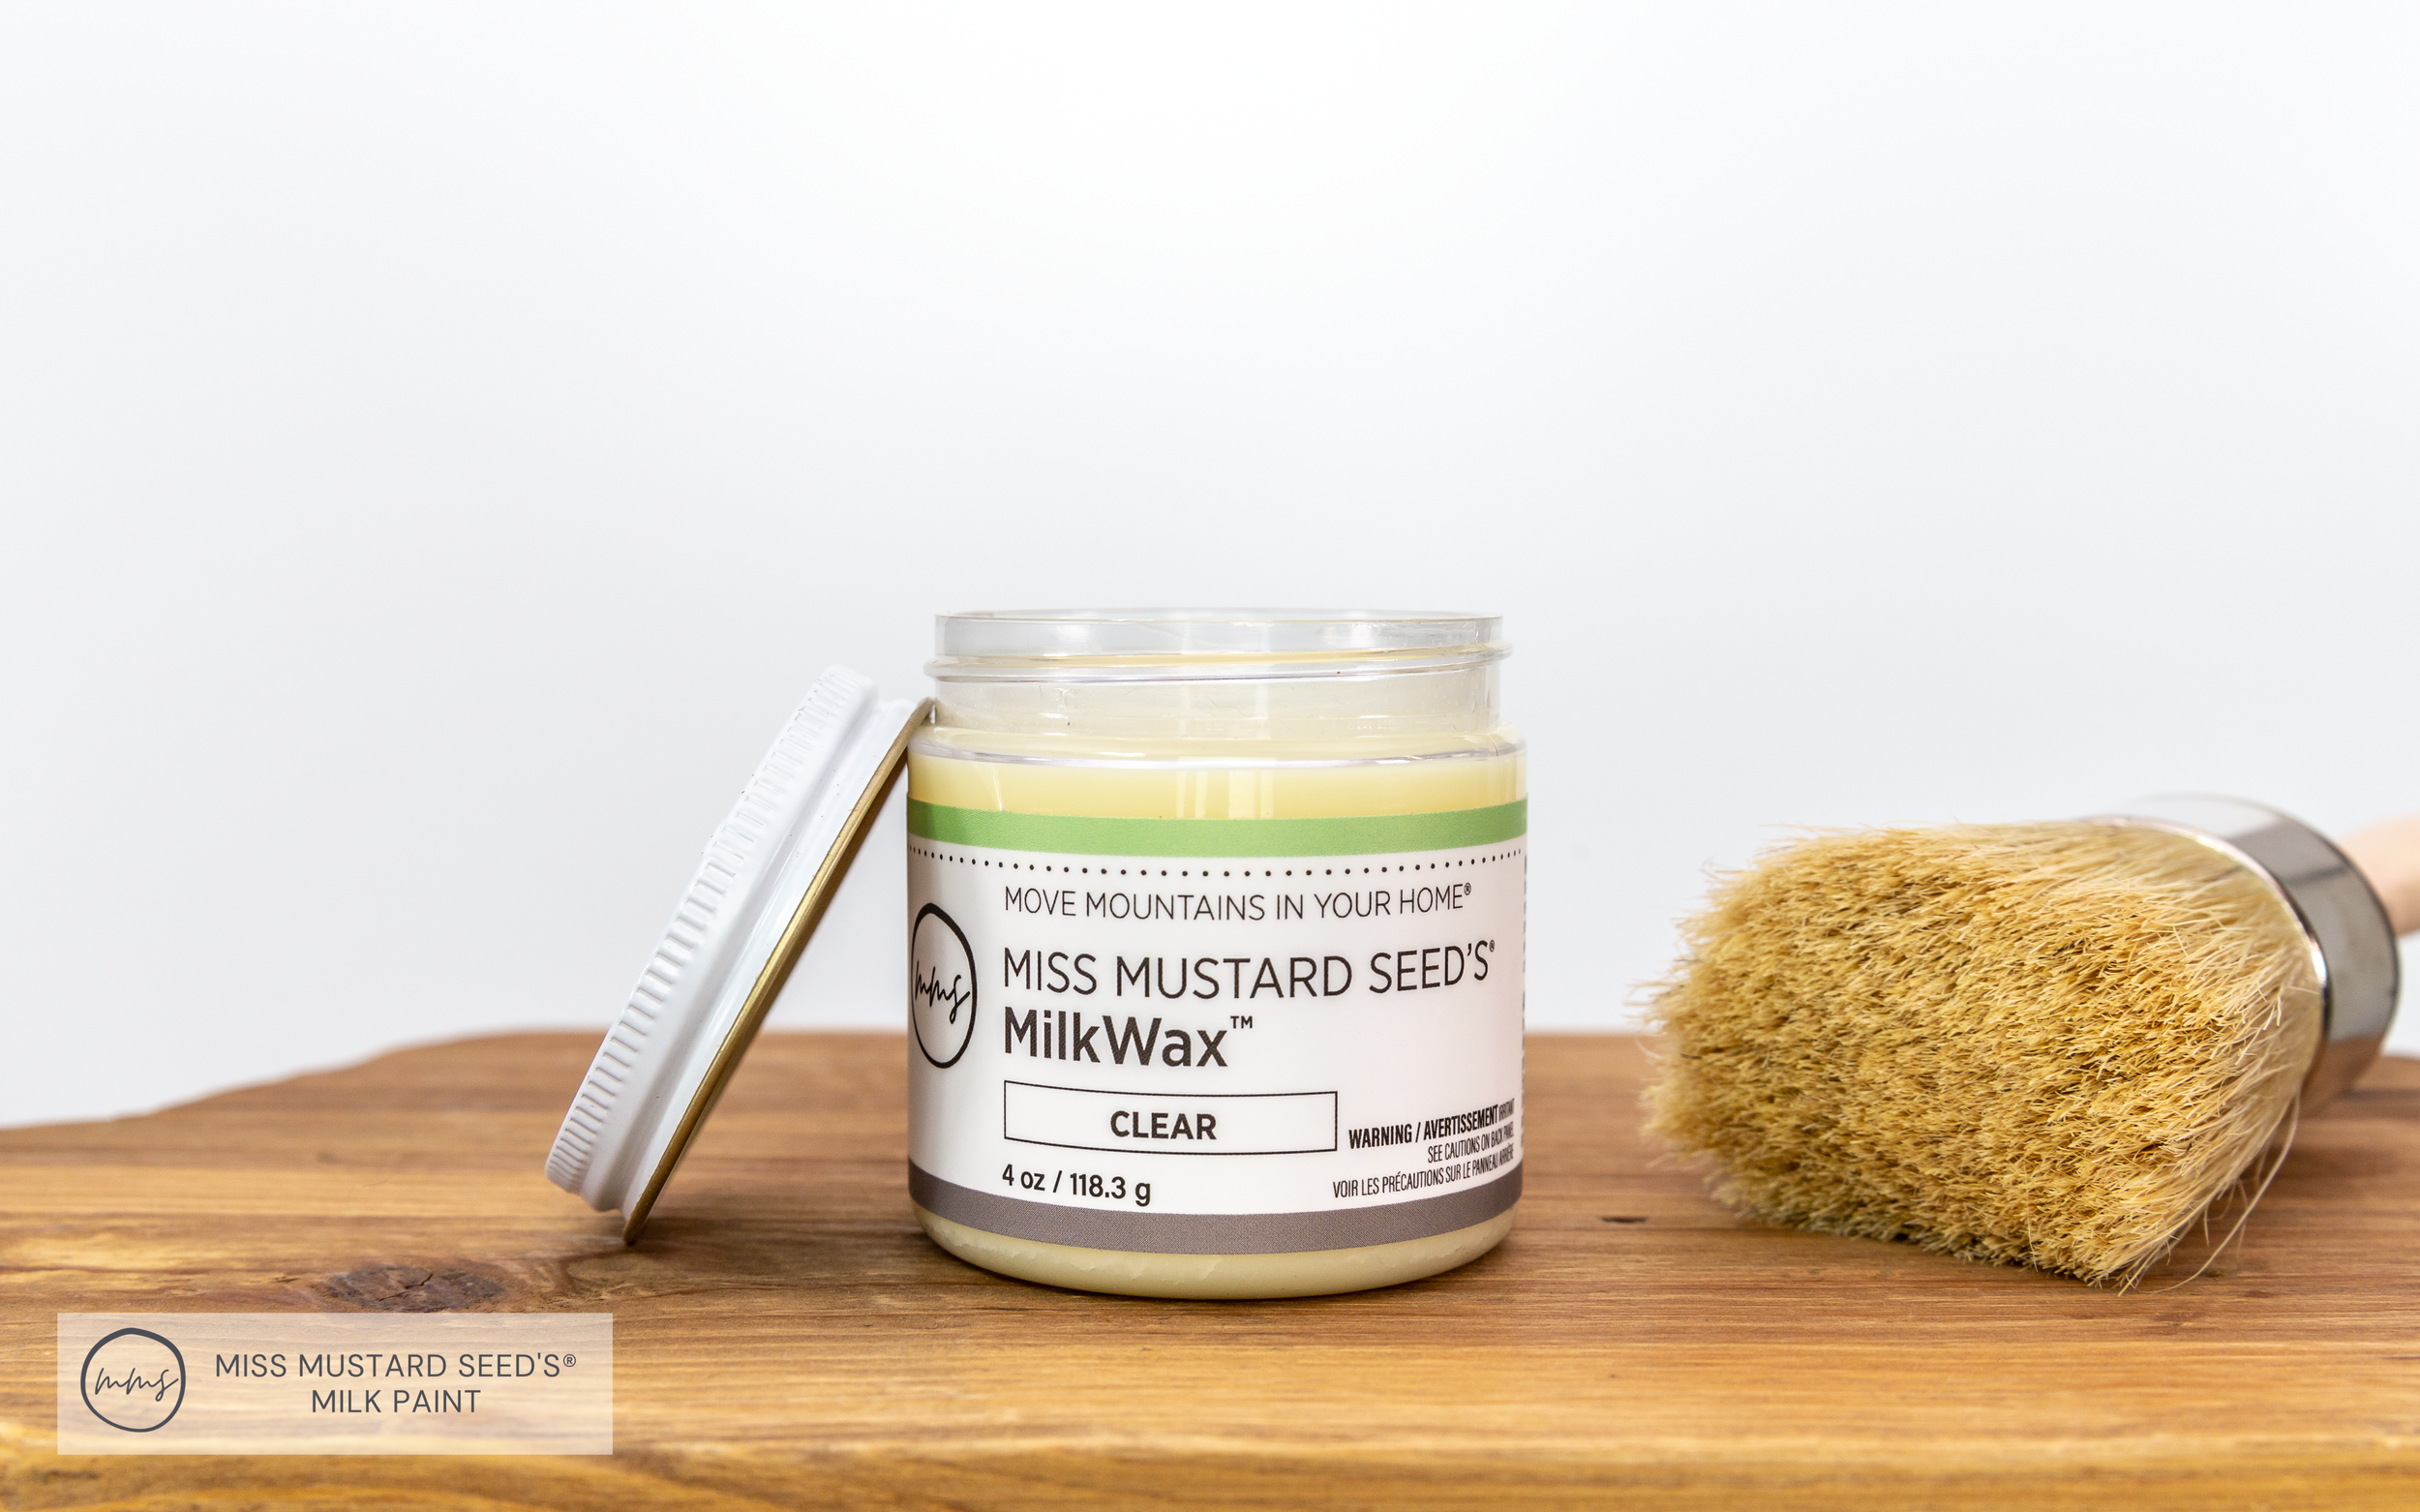
Our new MilkWax™ - Clear is made with 3 simple ingredients. First, we added 2 different types of high quality waxes - beeswax and carnauba wax. The new waxes we have sourced result in a product that’s clearer than our old formula. You can see the difference below.

Our old formula had a very slight beige quality to it.

Our new formula has a true beeswax appearance.
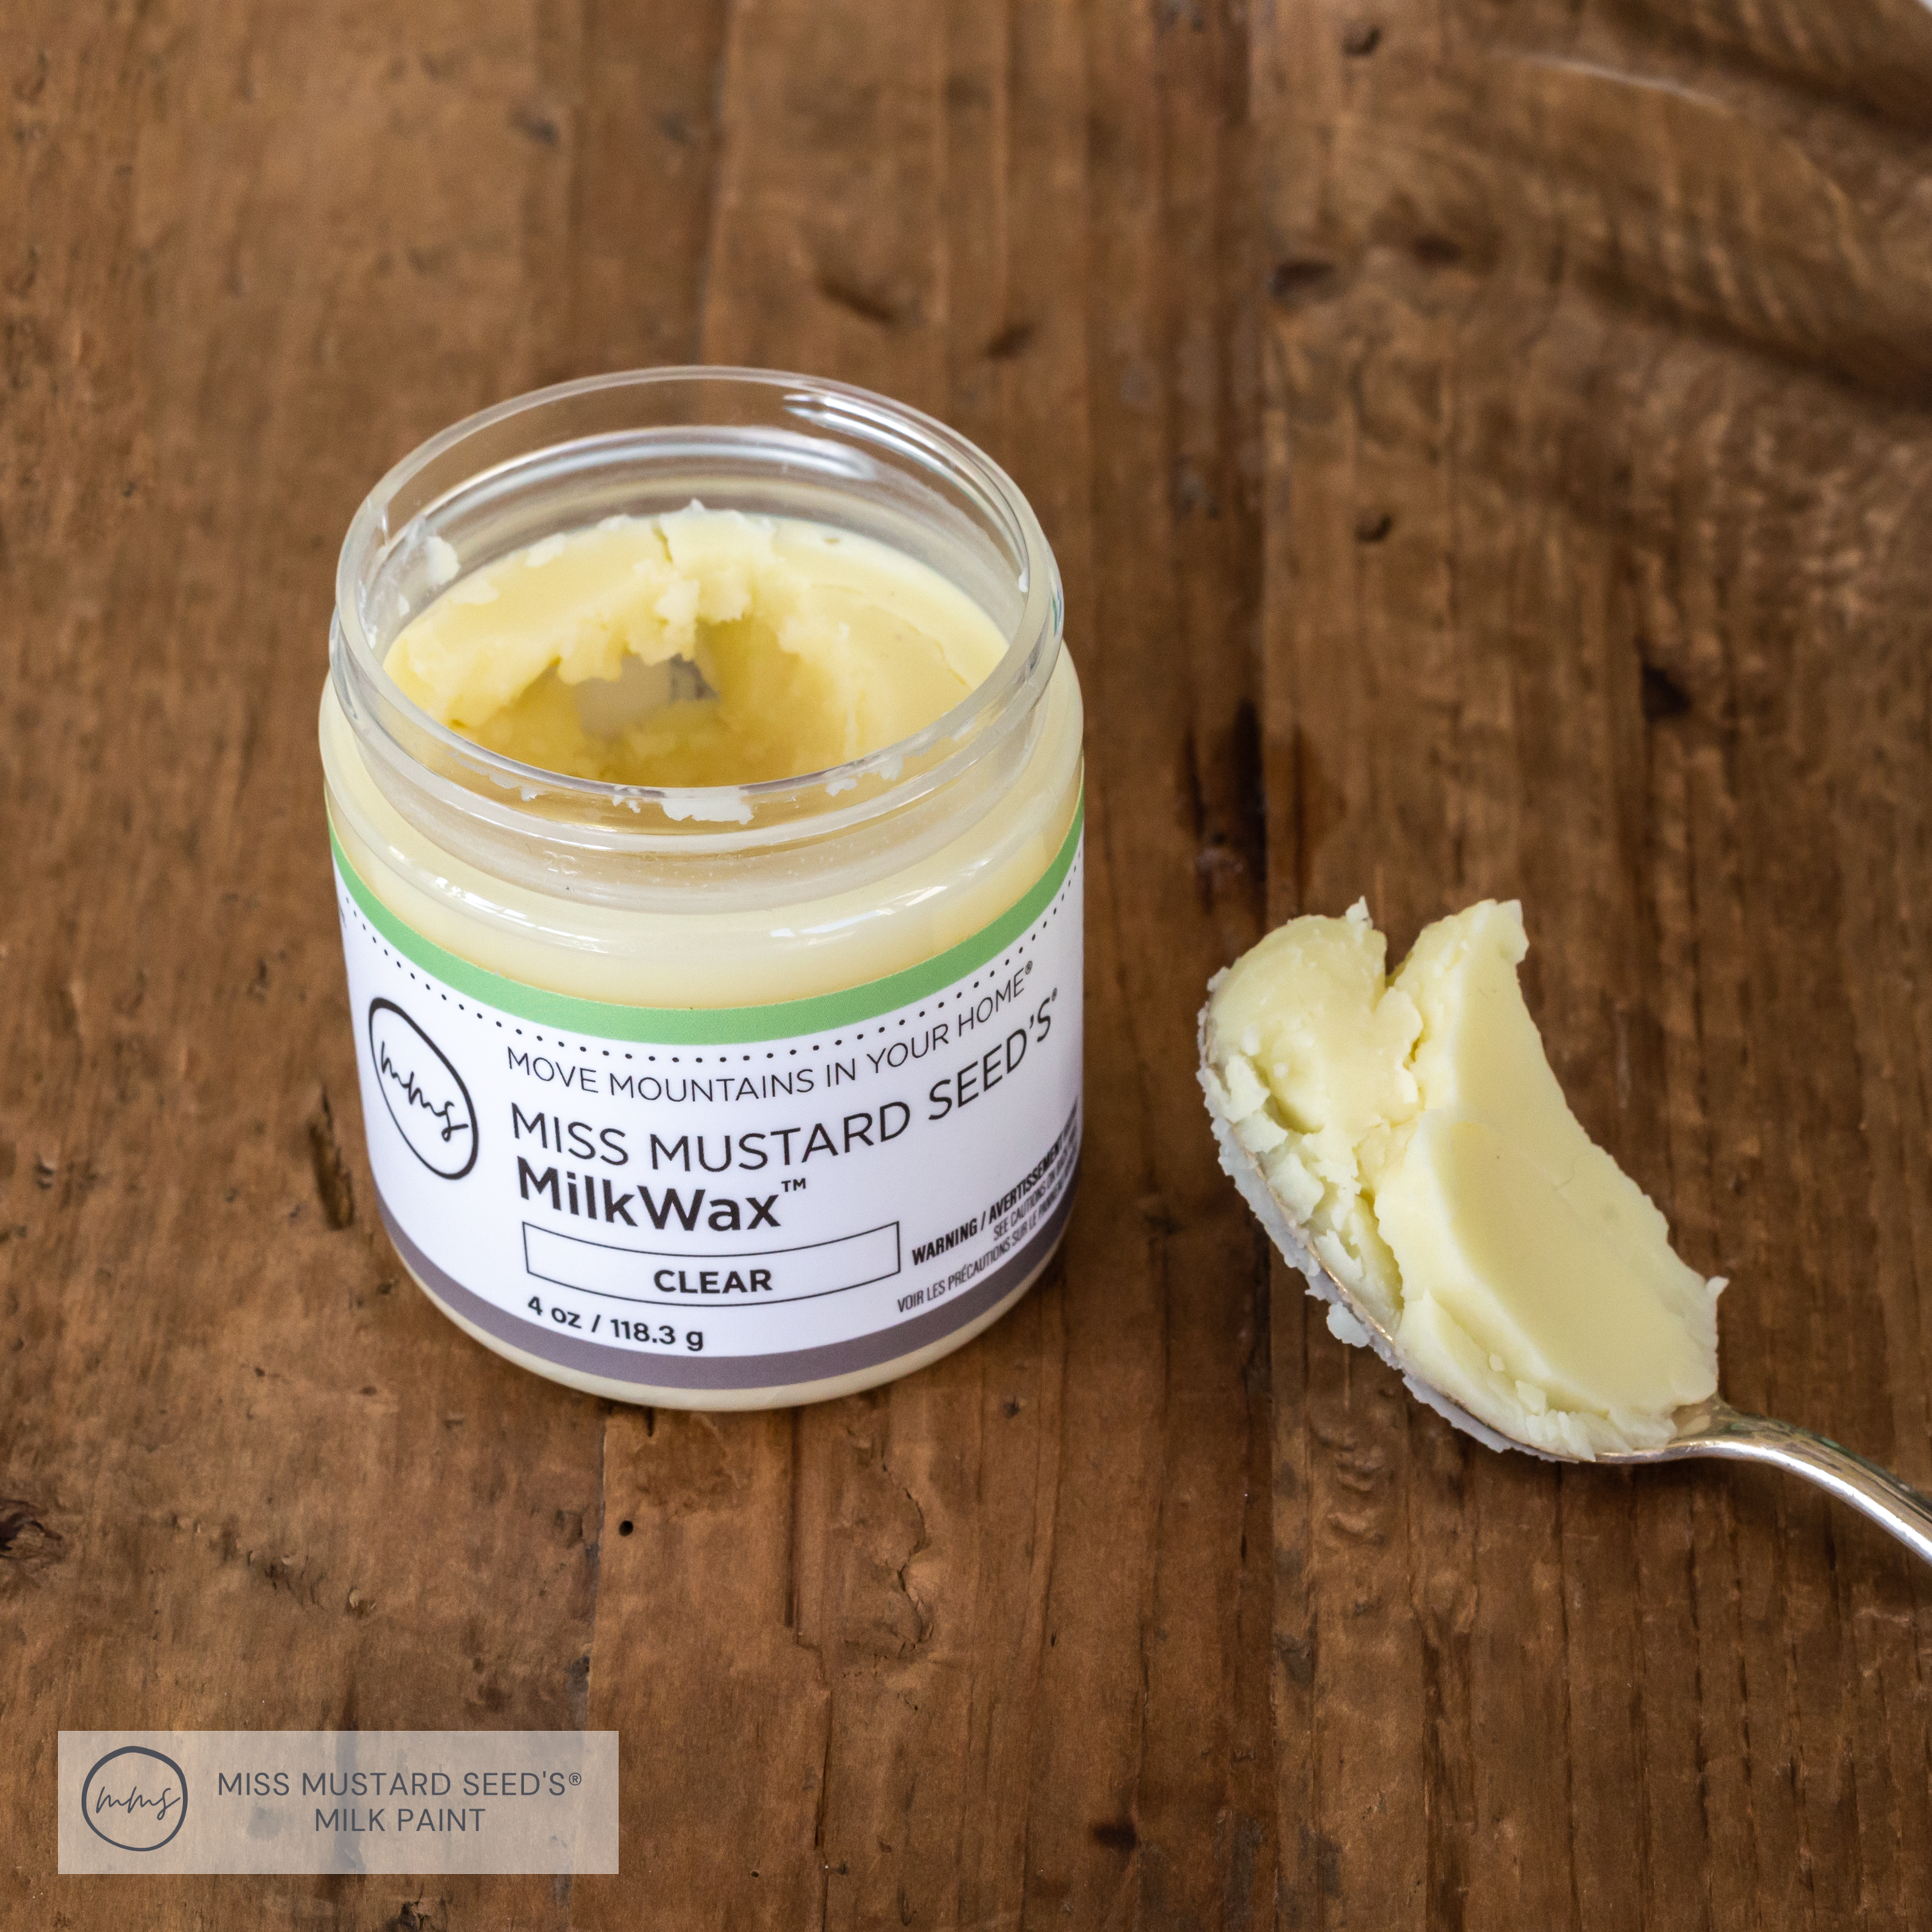
It’s still as buttery soft and spreadable as ever!
To keep that spreadability that we all know and love, we added some odorless mineral spirits.
The color options in our MilkWax™ line are White, Antiquing, NEW Saddle Brown and NEW Grime Gray. They contain beeswax, carnauba wax and odorless mineral spirits just like the Clear option.
Additionally, they contain natural pigments, which give them amazing color!

Let’s dive into these colors and see which one suits your next MilkPaint™ masterpiece!
MMS MilkWax™ Colors
White
Our MilkWax™ - White has been tweaked a bit, resulting in a whiter white. Our old formula leaned a bit off-white, and we wanted to give you the clean and crisp white wax of your dreams!
Use a wax brush or a lint-free cloth to rub it into carved details and recessed areas to bring them into focus. Apply MilkWax™ - White on bare wood for a coastal white washed effect.
For a more controlled application, apply a layer of MilkWax™ - Clear first, then follow up with MilkWax™ - White.

NEW! Grime Gray
MilkWax™ - Grime Gray was inspired by our old Zinc Wax. This lovely gray wax finish doesn’t quite have the old metallic essence of Zinc Wax.
Grime Gray is the color of tarnished silver, galvanized metal and the grimey goodness that comes with age!

Grime Gray is a fantastic wax choice if you want to add age and patina to your white MilkPaint™ projects without turning them brown. Sometimes the warmer tones of our Antiquing or Saddle Brown options simply don’t hit the right note. Try Grime Gray over Ironstone, Farmhouse White, Linen, Mora, Grain Sack, etc.
It’ll give you that extra something without being over the top.
It’s also important to note that because Grime Gray contains natural pigments, its consistency will be slightly different when compared with MilkWax™ - Clear. It’s a little more crumbly when you take some out of the jar, but it’s still easy to spread and feels buttery soft!

NEW! Saddle Brown
MilkWax™ - Saddle Brown is a lovely warm brown. It’s lighter than MilkWax™ - Antiquing, which is so dark that it’s practically black!
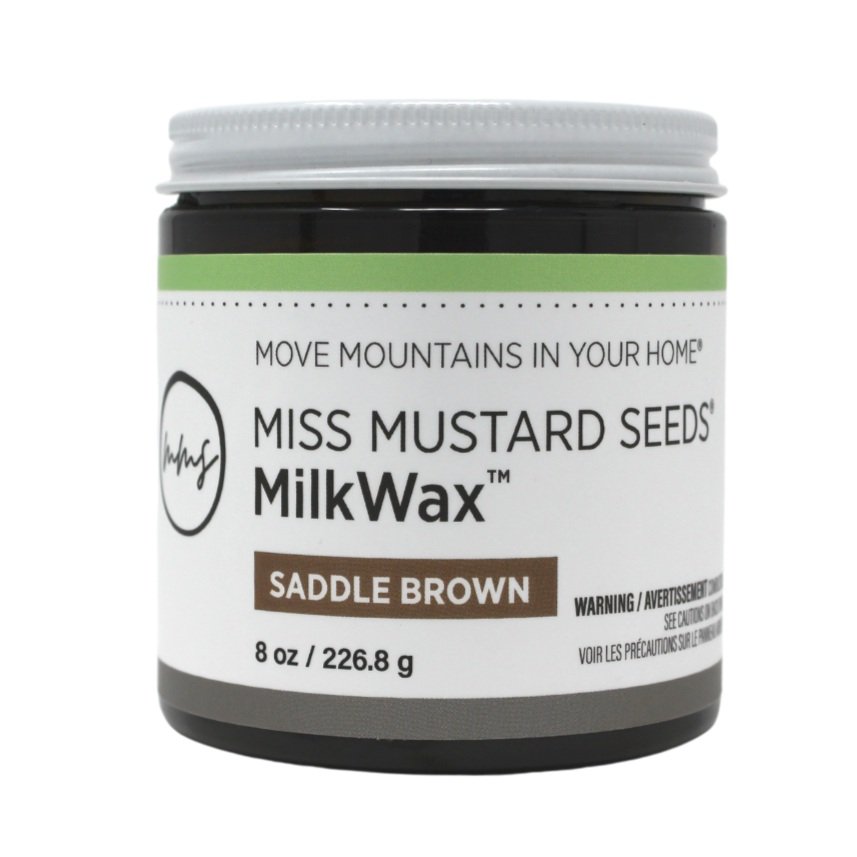
Think of a well-loved cowboy’s saddle, made smooth by years of riding out on the trail. It’s rich, chocolatey and perfect for adding warmth and age to your MilkPaint™ projects.
Antiquing
When compared with Saddle Brown, MilkWax™ - Antiquing is much darker. As a matter of fact, it’s so dark that it’s almost black!
This is the wax choice for those of you who want to add the darkest patina, age and detail to your pieces.

How To Use MilkWax™
Ready to use MilkWax™? Grab a clean lint-free cloth or a wax brush. Scoop out a bit from the jar, and dollop it on a paper plate, wax paper, or piece of cardboard.
By not working out of the jar, you’ll keep your main stash clean and free of debris like fuzzies, sawdust, MilkPaint™ powder, etc.
Next, apply the MilkWax™ on the surface of your project in a thin even layer. It’s best to build up protection in multiple thin layers than one gunky, gloopy layer.
Trust us!
If you’re working with a colored MilkWax™, smush it into the recesses, carved details and surface imperfections on your project. This is where a wax brush really comes in handy!
Grab a lint-free cloth and gently wipe away the excess. Allow everything to dry for 3-5 minutes.
Use a clean lint-free cloth to gently buff the MilkWax™. Fun fact: You can achieve a variety of sheens from matte (not shiny) to semi-gloss (shiny), depending on how many layers you apply, what you buff with and how much you buff.
MilkWax™ may be applied directly over dry MMS MilkPaint™, directly on raw wood, or over any of our other wax finishes.
You can also apply it over our MilkOil™ finish for more protection! Just make sure it goes OVER MilkOil™, not UNDERNEATH. In case you forget, just remember, wax is always last!
Cure Time
To understand the concept of cure time, let’s talk about painting your nails. You clean your nails, file and shape them, then pick out your color. Next, you carefully apply 2 or 3 light coats, allowing each one to dry a bit in between. You add a topcoat for extra protection, then you walk around with surgeoun-who-just-scrubbed-in-for-surgery hands.
Why?
Even though your nail polish may feel dry to the touch, it has not cured yet. You know that if you put your hands into your purse to rummage around for car keys, they’ll get smudged. If you take a nap and curl up with a blanket, you’ll get impressions of the fibers in your nail polish.
Your MilkWax™ finish is kind of similar. Once you apply it and buff the excess away, it’s like your piece just had its nails painted. Treat it gently for the next 30 days. This is what we call the “cure window”.
Don’t put heavy things, like lamps or TV’s on the surface. Place felt feet underneath scratchy objects like picture frames and baskets. Wipe up any spills immediately, and keep your project out of direct sunlight (that includes windows that receive full sun).
MilkWax is designed for interior use, so your project should not go outside. We have outdoor-specific finishes for you to enjoy instead.
How To Clean Up MilkWax™
All finished with your project? Clean up your wax brush with warm water and a grease-cutting soap, like Dawn®.
You can also use Mineral Spirits!

Durability
So how hard-wearing are our MilkWax™ finishes? For what kind of project are they best suited?
Our MilkWax™ is a very "livable" finish. This means that you can touch it up, repair it and reapply it for the life of your project. It’s not like the factory finish on your fine furniture. Who knows what products were used, how they were applied and how you are supposed to fix a factory finish when it gets damaged?
MilkWax™ is easy to use, easy to find, easy to purchase and inexpensive when compared to the professional products and techniques used on mass-produced furniture. It’s a finish for the everyday homeowner and craftsperson.
We recommend it for low to medium-use surfaces. If you need a wax finish that’s super hard-wearing, check out our MilkWax™ - ECO.
MilkWax™ Vs. MilkWax™ - ECO
With 2 beautiful clear wax finishes to choose from, it might be a bit confusing to know which one to pick. This handy-dandy chart will help you decide!
