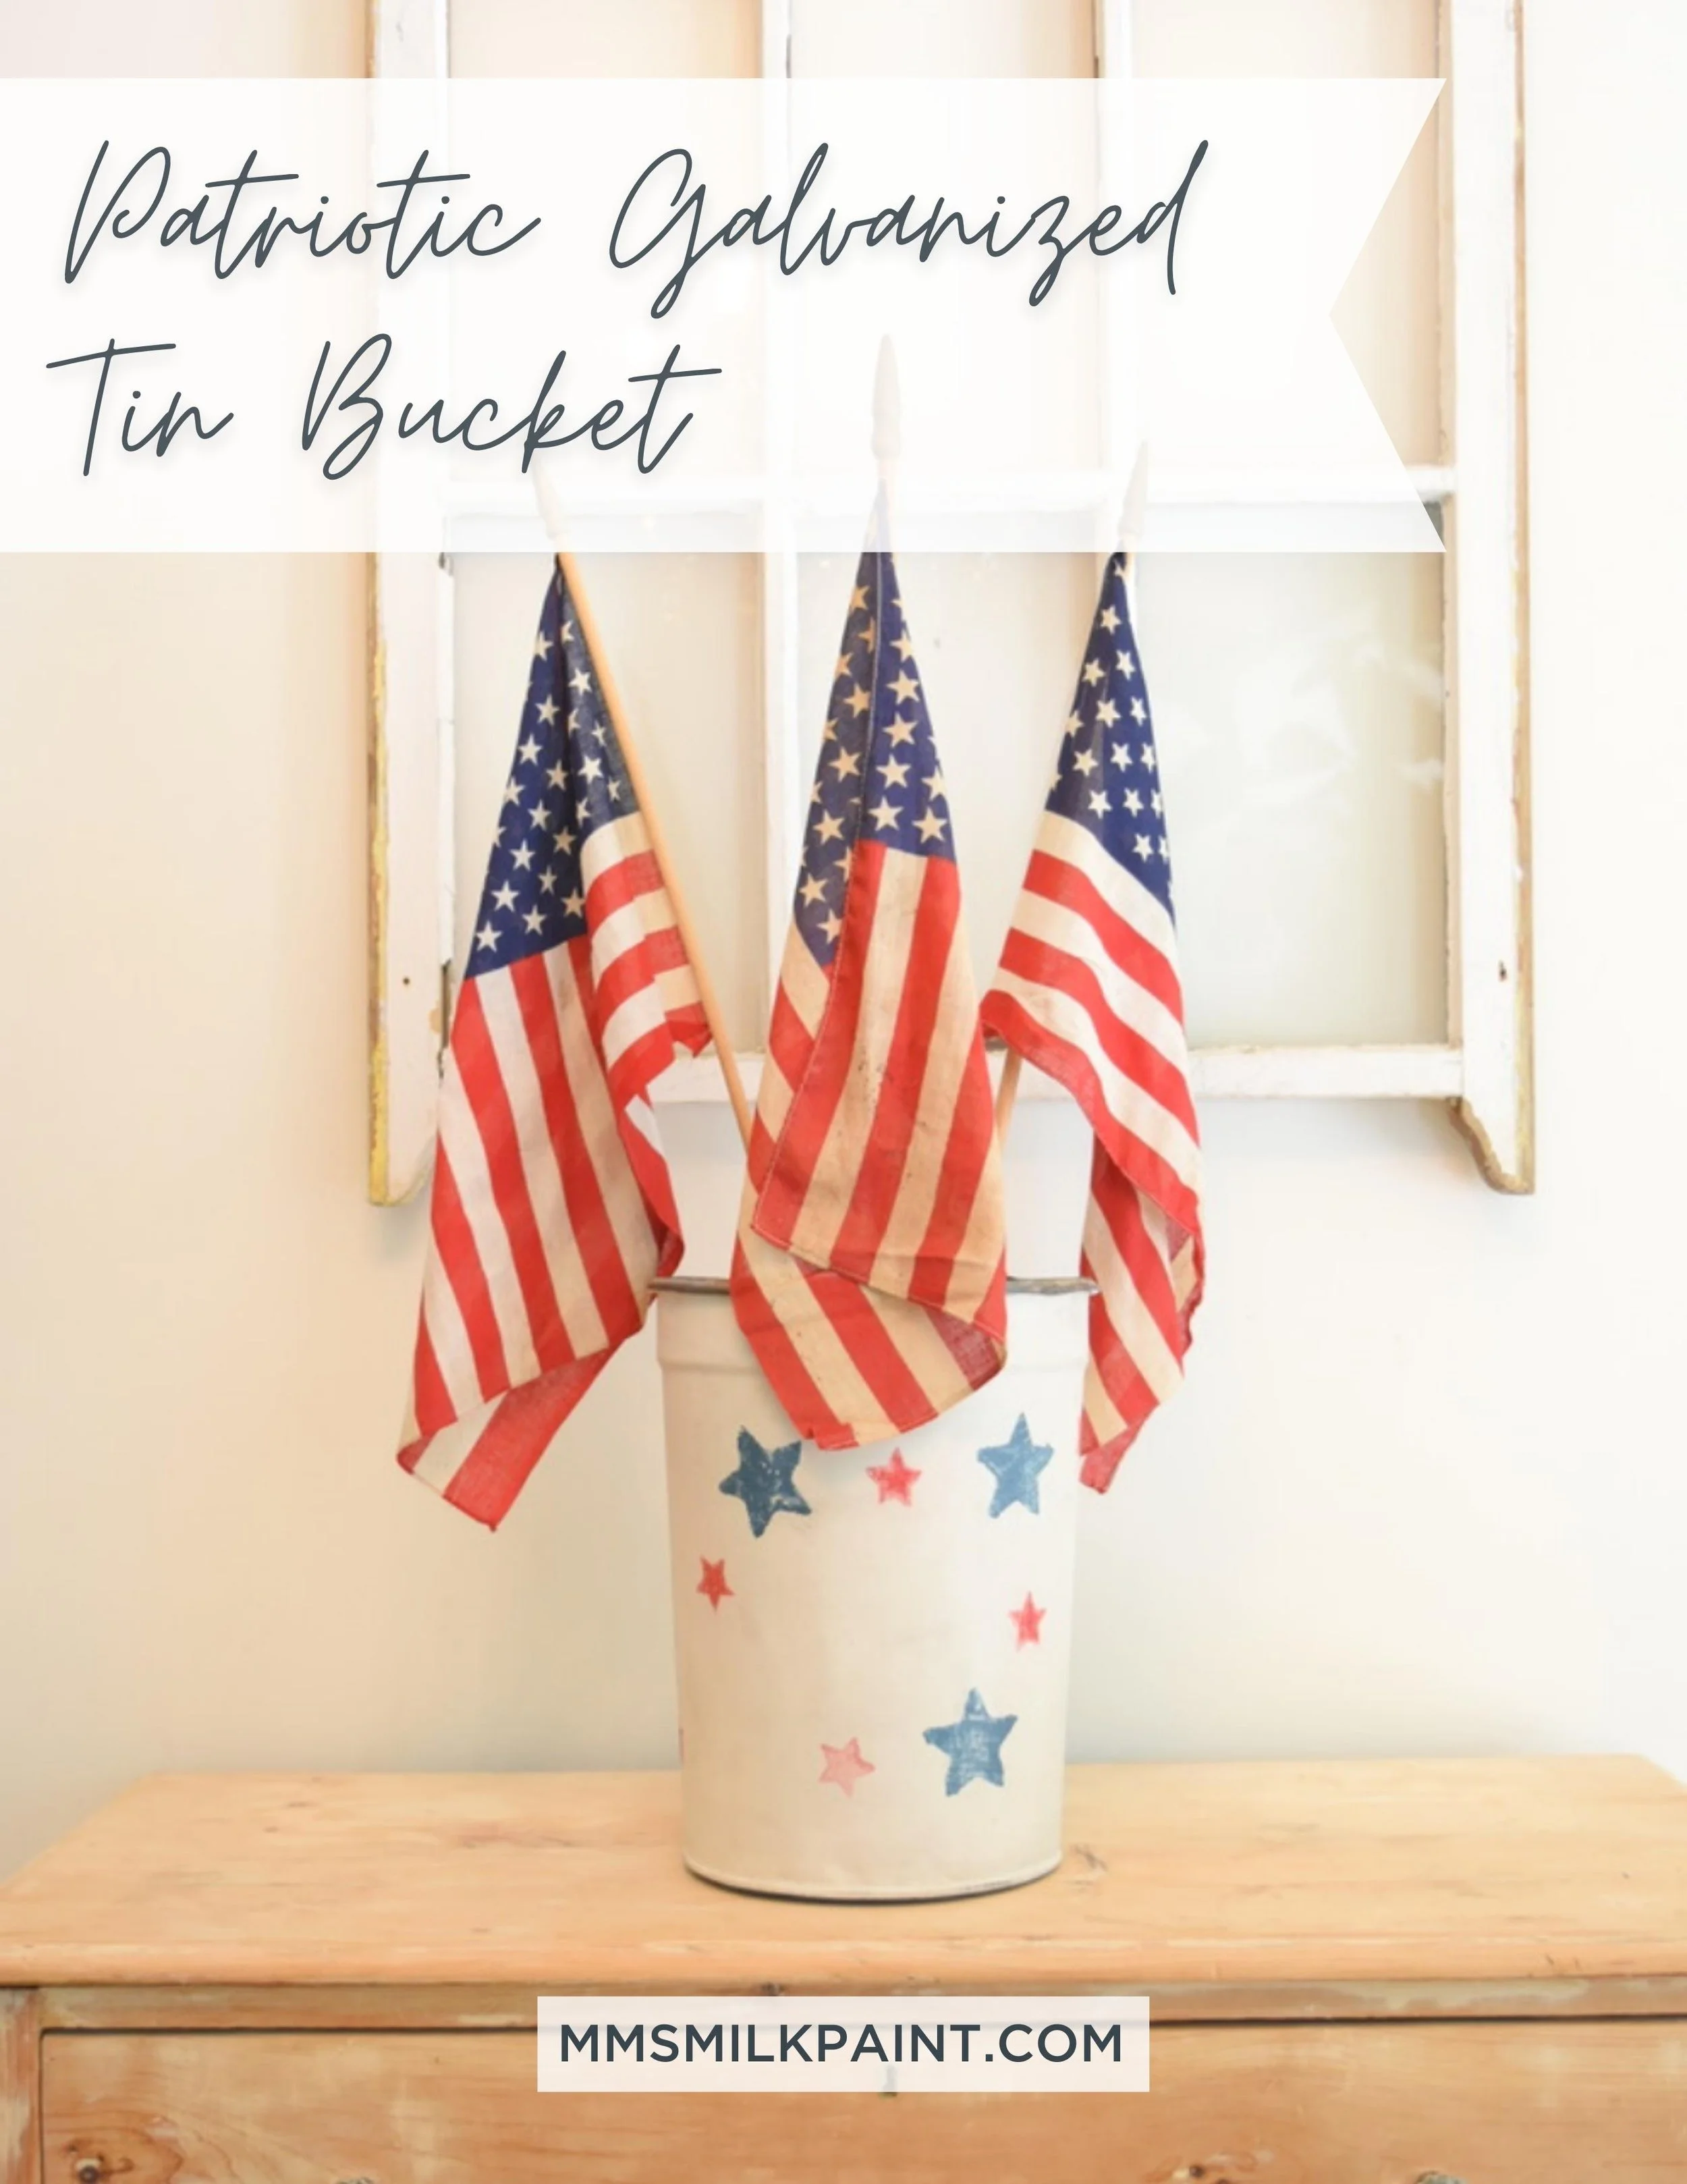
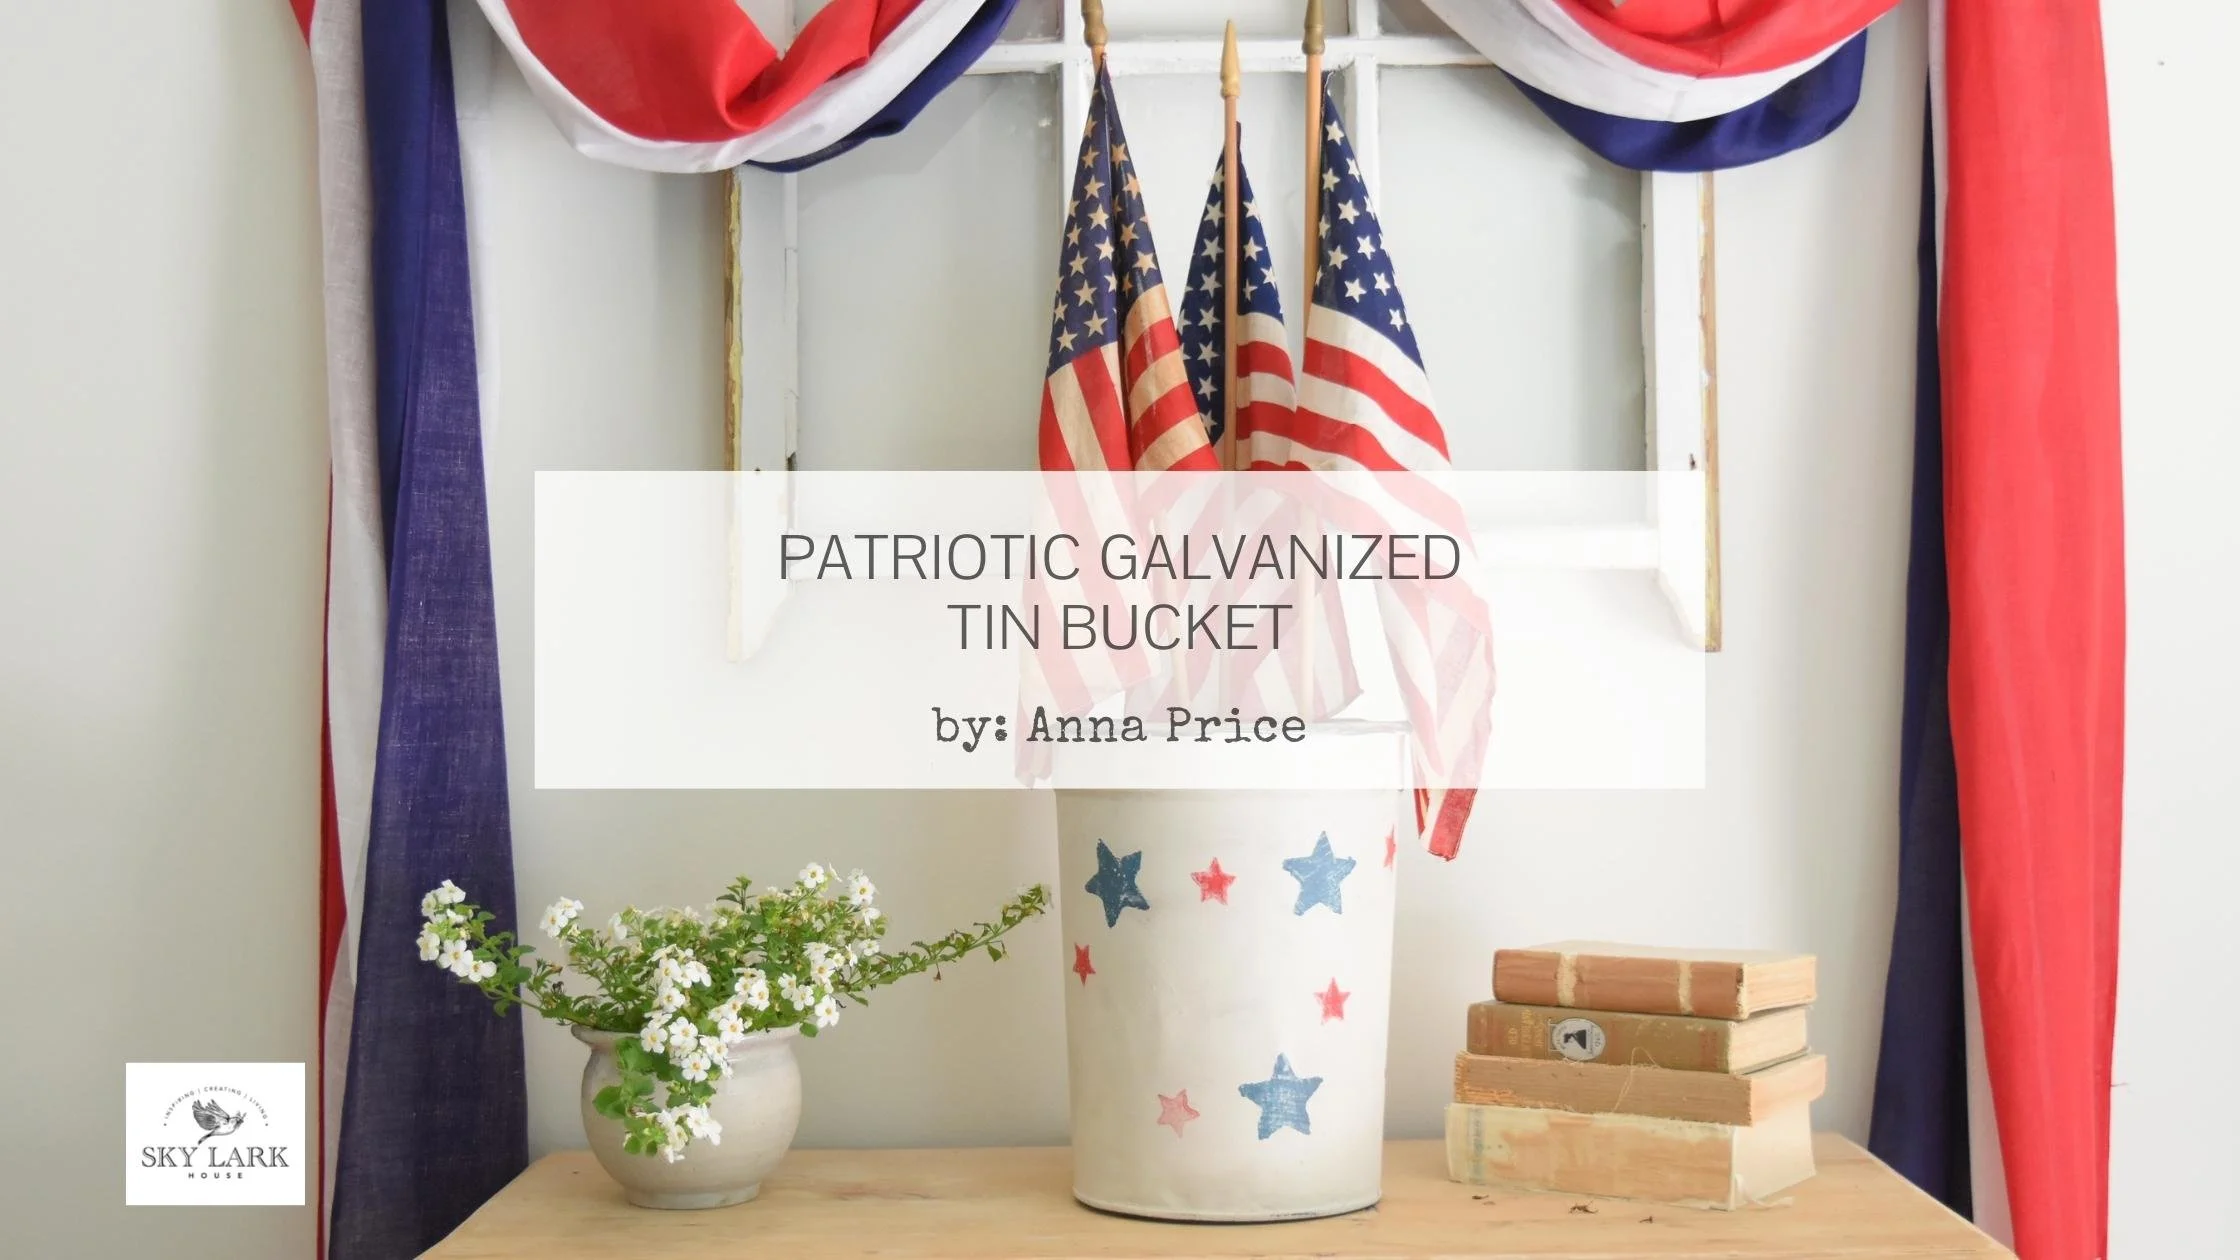
Patriotic Galvanized Tin Bucket
A Painted Bucket For The 4th Of July
With the 4th of July just around the corner and with everyone spending time outside now that we have summer weather, I thought sharing this little DIY on creating a patriotic galvanized tin bucket would be useful.
These buckets are endlessly useful as patriotic decor. Once painted, you can use them to display flags. You can also fill them with ice and use them to keep your drinks cool while outside. If you fill them with sand, they can hold sparklers for you during the 4th of July celebrations. These are just some ideas on how to use these buckets; I have listed more ideas at the end of this post.
This project is fairly easy to make and can usually be done in a couple of hours from start to finish. So let’s jump in!
Video Tutorial
Enjoy this video tutorial I created just for you! Follow along and reference my written tutorial below as you begin crafting.
Supplies
The first thing you will need to do is gather your supplies.

A galvanized bucket. I used a sap bucket, but you can use a pail or similar container.
MMS MilkPaint™. I used the colors Farmhouse White, Tricycle, and Flow Blue.
Two cardboard stencils (which are very thin cardboard or card stock paper)
A two-inch paint brush
Two smaller artist’s brushes 1/2 inch wide
Paper towels
Optional:
Painters tape
Rubber stamp in the shape of a star
220 grit sandpaper
Step 1: Clean the Galvanized Tin Buckets
I found two sap buckets at a nearby antique store, and they were very affordable. Sap buckets are common in the northeast because they are used to capture the sap from maple trees which in turn is boiled down to make maple syrup. Upon taking these buckets home, I cleaned them well using dish soap. In general, you want to give them a good scrubbing and be sure to remove any dirt, grease, or grime. After cleaning them, I set them outside in the sun to dry. Given that the weather is in the mid-80s this time of year, the buckets dried in under ten minutes.

Step 2: Paint the Buckets
Mix up your MMS MilkPaint™ in the color Farmhouse White using a ratio of 1 part paint and 1 part water - you will probably need about 12 ounces of prepared paint. While not absolutely required, I recommend adding MMS MilkGrip™, which is a bonding agent, to the paint mixture. This ensures the paint won’t flake or chip.
If you are painting multiple buckets at one time, you will need to mix up more paint. Cover your work surface, then begin painting your galvanized buckets. Paint the entire exterior of the bucket. Let the paint dry, and then apply another coat. I found that two coats of paint provided good coverage.

Mix up a small amount of MMS MilkPaint™ in Tricycle and in Flow Blue. You only need a couple of tablespoons of each color of paint.
TIP - Mix this paint a little thicker than the previous paint. Use a little less water and/or a little more powdered paint. The thicker paint works better for applying a stenciled design. Once again, add some MMS MilkGrip™ to your paint mixture.
For the next step, we are going to use cardboard stencils.

You can get these cardboard stencils at any craft store or big box store, and they usually aren’t expensive.
There are a couple of options for applying the stencil design to the bucket. Option number 1: you can hold it in place with one hand while using an artist’s brush to gently apply paint to the stencil with the other hand. Option number 2: you can use painter's tape to hold the stencil in place.

When you dip your artist’s brush into either the red or blue paint, you may want to offload some of the paint onto a paper towel. You do not need much paint on your brush to stencil the stars. In fact, if you have too much paint on your brush, you run the risk of the paint bleeding under the edges of the stencil.
I recommend that you start applying paint at the tip of the stars and work your way toward the center of the star. In general, you want your brush strokes to be moving paint away from the edge of the cardboard because it helps prevent the paint from leaking under the edges or corners of the stencil.
I also recommend that you have a stencil for each paint color and that you have an artist’s brush for each paint color. This ensures you won’t inadvertently transfer blue paint on a red star or vice versa.

If your star is not perfect - do not worry! This project is meant to be fun. This is not a project that has to be perfect. As you can see in the photo above, the blue star was not perfect.
Optional Step - Using Rubber Stamps
If you don’t want to use paper stencils, another option is to apply some MMS MilkPaint™
(in either Tricycle or Flow Blue) to a rubber stamp in the shape of a star. As with stenciling, you don’t need much paint and may want to stamp a paper towel first before stamping the bucket. Rubber stamps are also readily available at local craft stores and big box stores.
Use whatever method works best for you. In short - the goal is for this project to be enjoyable and not an exercise in perfection.
Optional Step - Painting a Striped Design
If stenciling intimidates you - then you can paint your bucket using red, white, and blue stripes. Using your painter's tape, simply tape off where you want your red stripes and blue strips to be located on the bucket. The stripes could be vertical or horizontal.
Optional Step - Lightly Sand the Painted Bucket
Once the painted stars dried, I lightly sanded them using 220 grit sandpaper in order to achieve a more worn appearance. This step is optional, and you can either keep your stenciled stars as they are, or you can gently sand them.
Step 3 - Seal the Bucket
After painting your bucket, you want to seal the exterior of the bucket. Sealing the painted design on the bucket protects it from moisture and from getting scratched. I covered the exterior of the bucket using MMS MilkCoat™ in the no sheen/matte finish. Then I let it dry for about an hour.
Step 4- Enjoy your Patriotic Galvanized Tin Bucket

What a transformation! It’s amazing what a little MMS MilkPaint™ can do to change the appearance of these buckets.
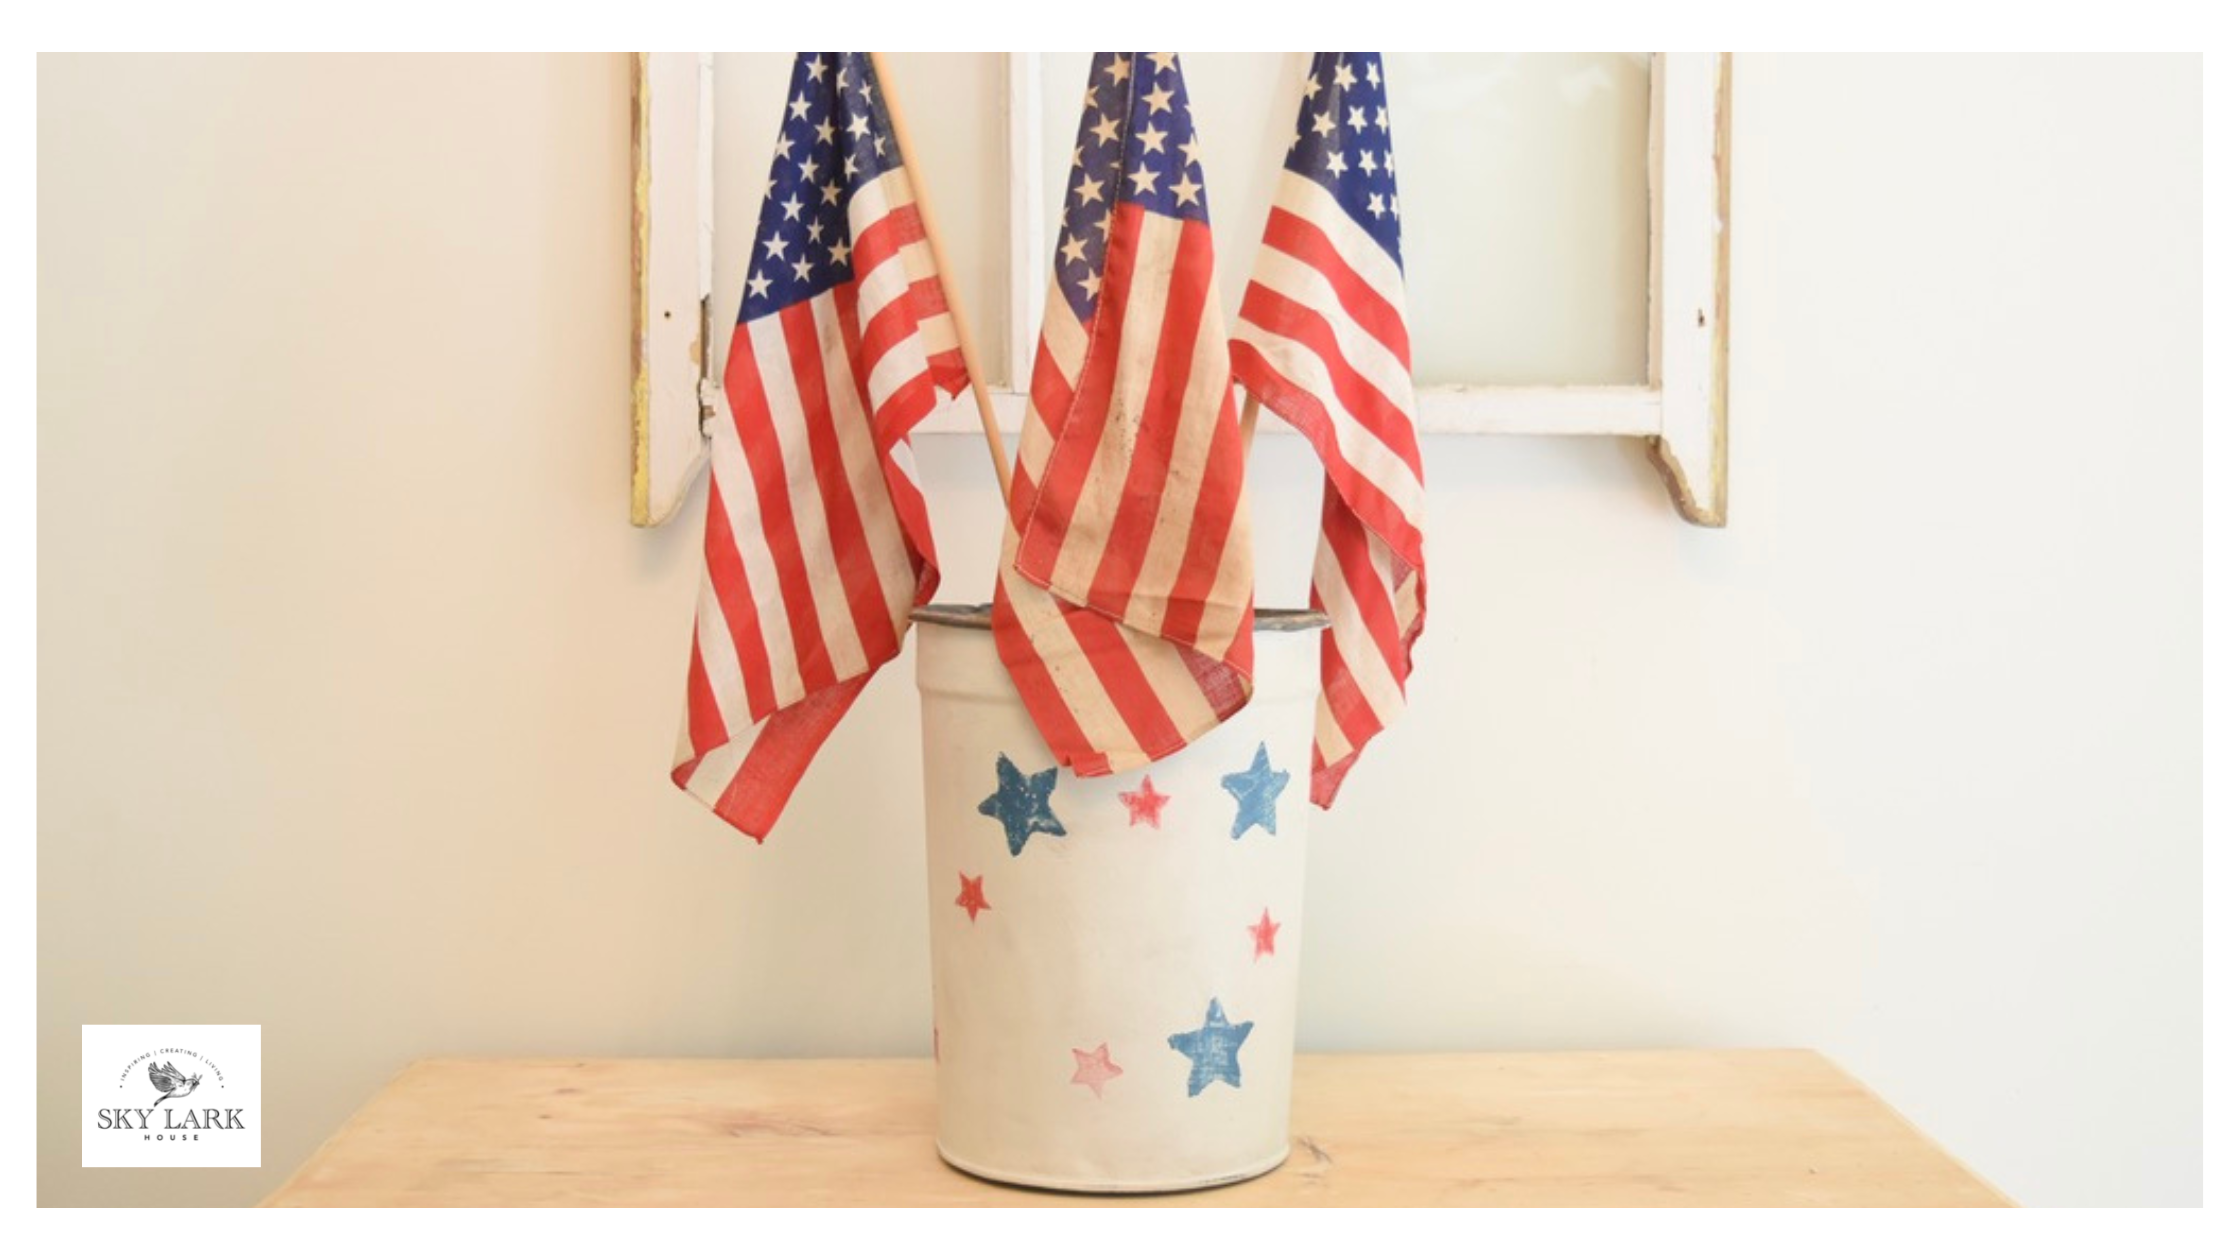
Once you have sealed your painted buckets - you can use them any way you choose. I filled mine with some vintage flags and set them on a sideboard.
Here are some other ideas for ways to use these buckets:
As cache pots to hold some flowers.
Fill them with ice to keep your beverages cold when you are outside eating.
Fill them with sand and use them to hold sparklers for the 4th of July.
If you have a pool, they can be used to stash sunscreen, sunglasses, a bottle of water, and a book/magazine.
As a hostess gift filled with ingredients for summer sandwiches.

However you decide to use your patriotic galvanized tin bucket, I hope you enjoy the process of making them!
Thank you for stopping by the blog today. If you’d like to see more projects using MMS MilkPaint™, come visit me on my website! Just click the image below to start exploring!