MMS MilkPaint™ Holiday Candlesticks
Meet Kathy Young From “The Upstream Home”
We have invited the most clever crafters, masters of interior design, star bloggers and style experts to the pages of our blog.
This week, we’re so happy that Kathy Young of “The Upstream Home” is here to share a quick and easy holiday project. To learn more about Kathy and how she fell in love with MMS MilkPaint™, check out her bio at the end of this post, or visit her website.
Now it’s time to get our craft on - take it away, Kathy!
An Easy Project For Beginners
Hi everyone, I’m Kathy Young! I have a simple and unassuming tutorial for you today that is very beginner-friendly. If you are looking to give Miss Mustard Seed’s® Milk Paint a try, this project is a great place to begin!
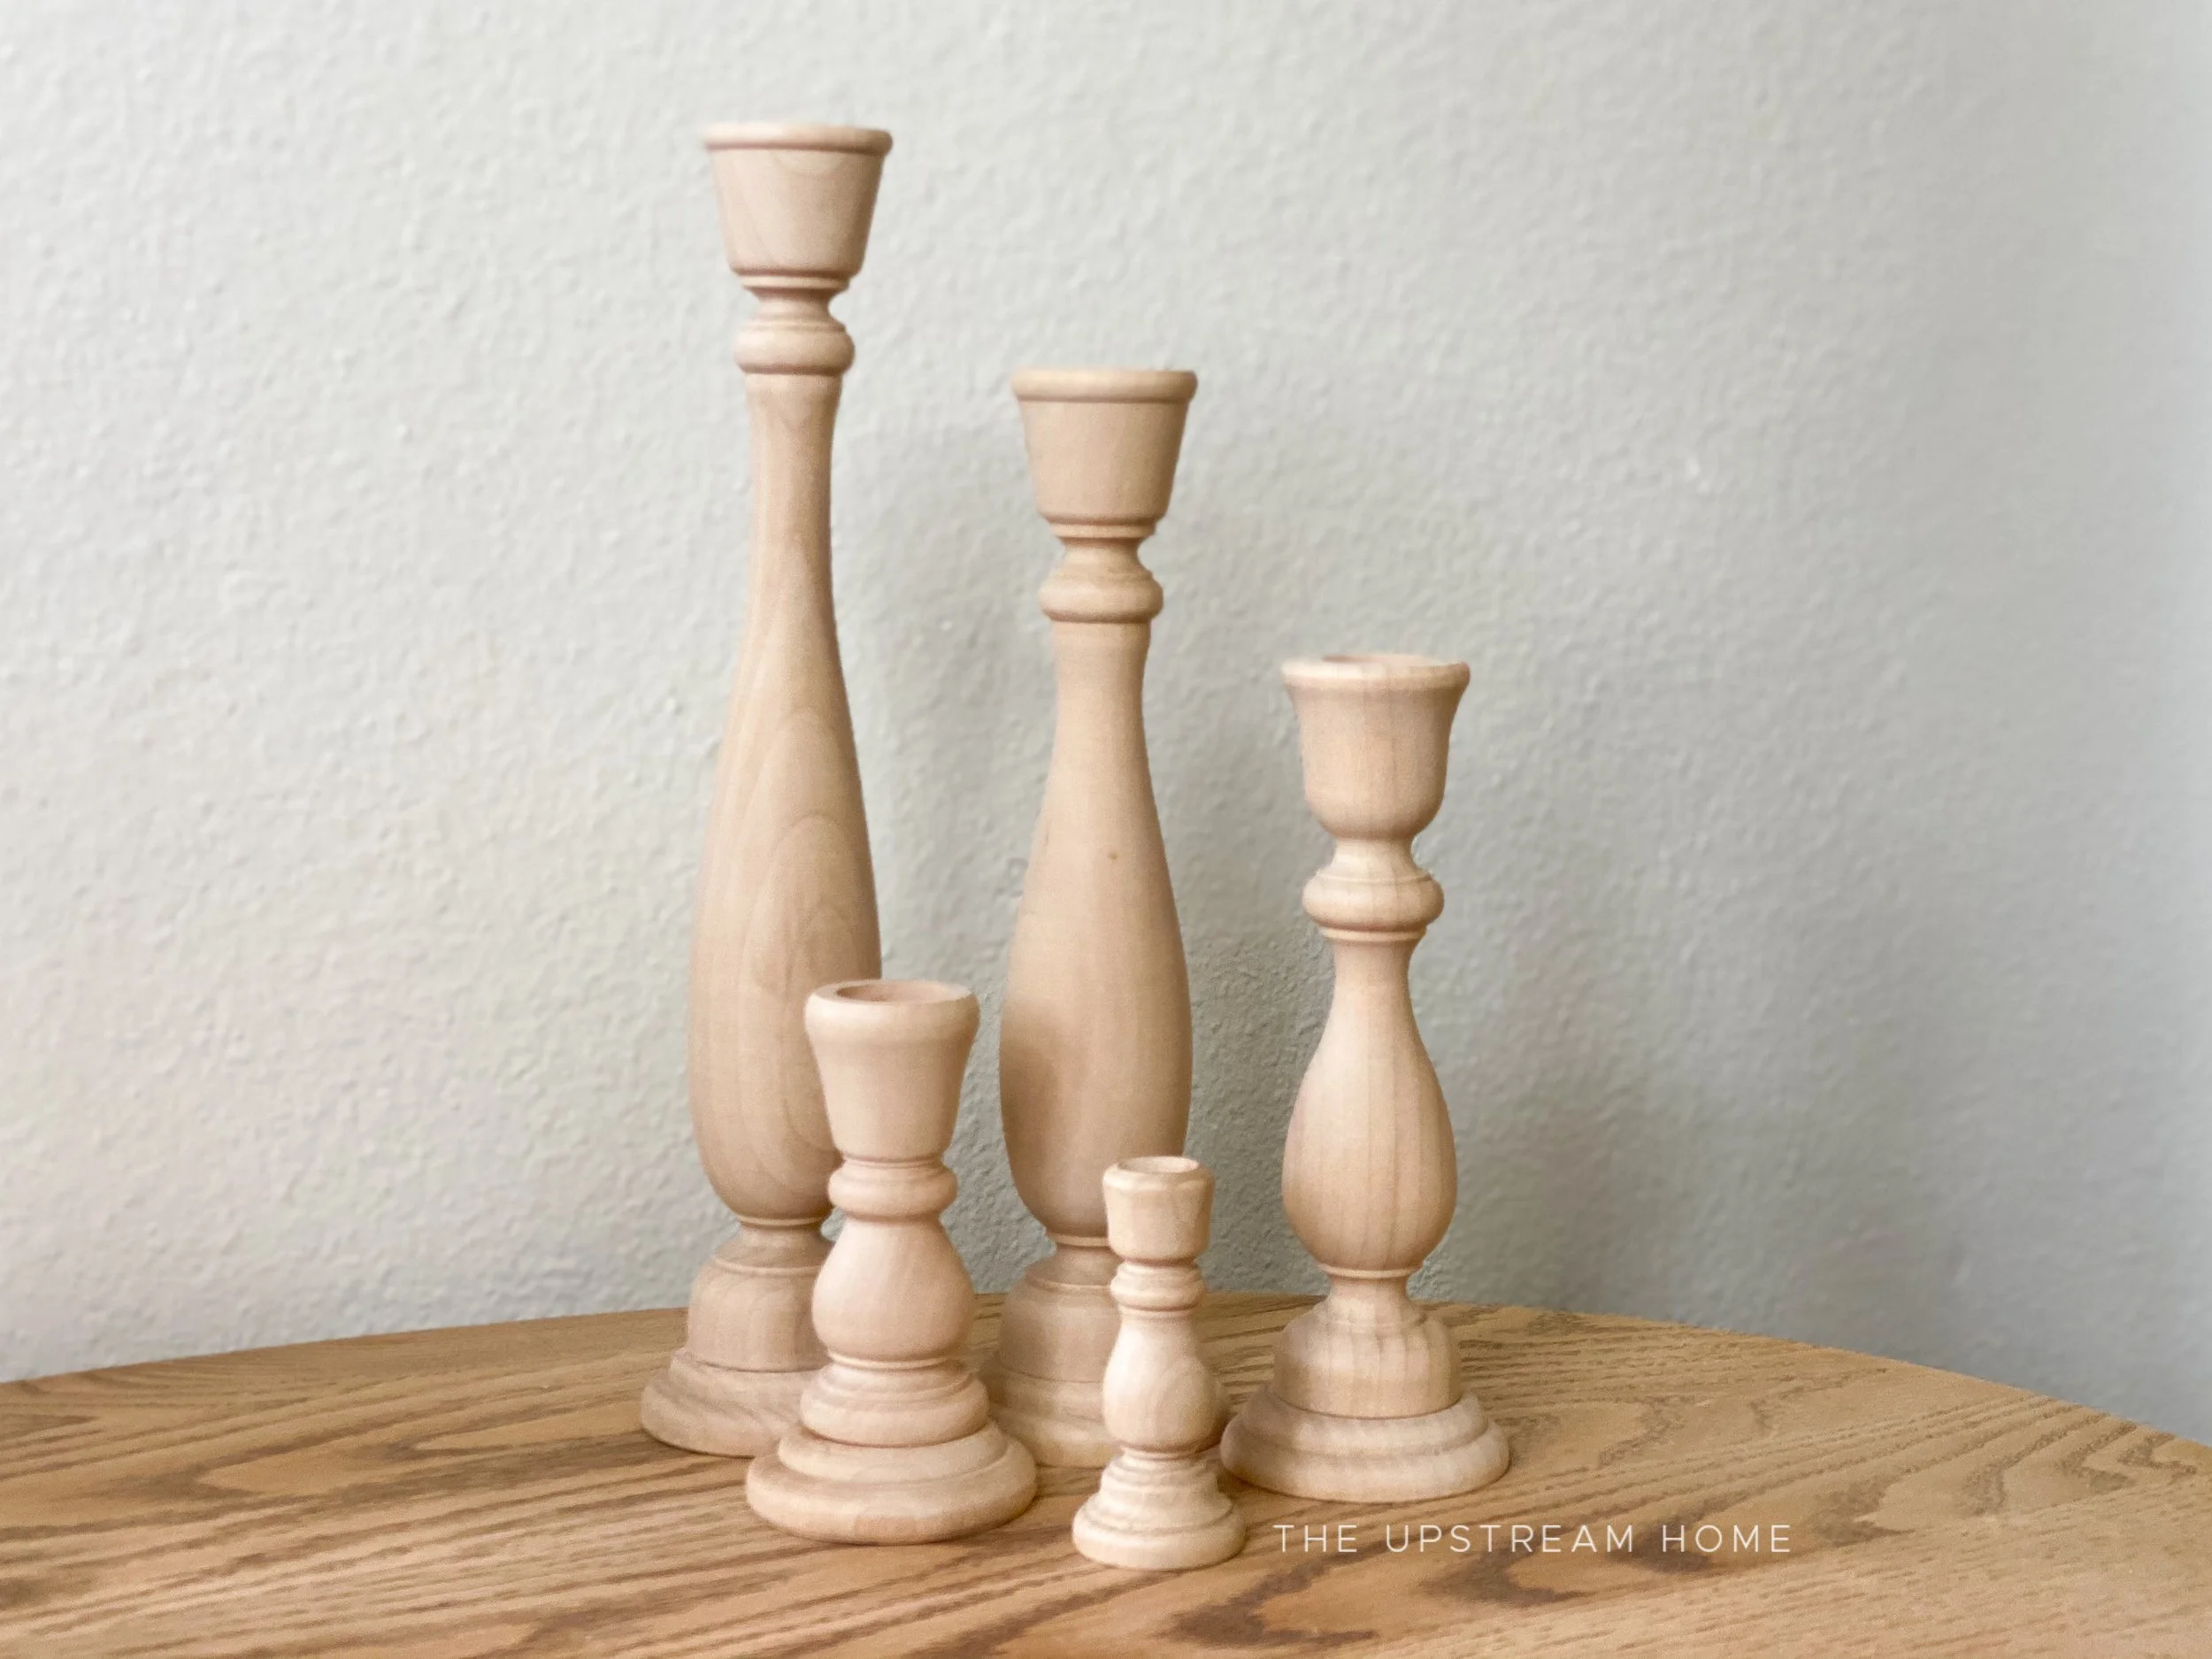
As decorating the table for Christmas is just around the corner, I thought it would be fun to create a one-of-a-kind centerpiece for the holidays. With the use of 5 different size candlesticks, Ironstone MilkPaint™, and Lavender Scented Furniture Wax, this project takes on a modern farmhouse look and feel.
I have also created a video for you to enjoy, which is at the end of this written tutorial. If you’d like to watch that first, feel free to scroll down to the bottom of this post.
Now let’s transform these simple wood candlesticks into a commanding centerpiece!
Supplies Needed For MilkPaint™ Holiday Candlesticks
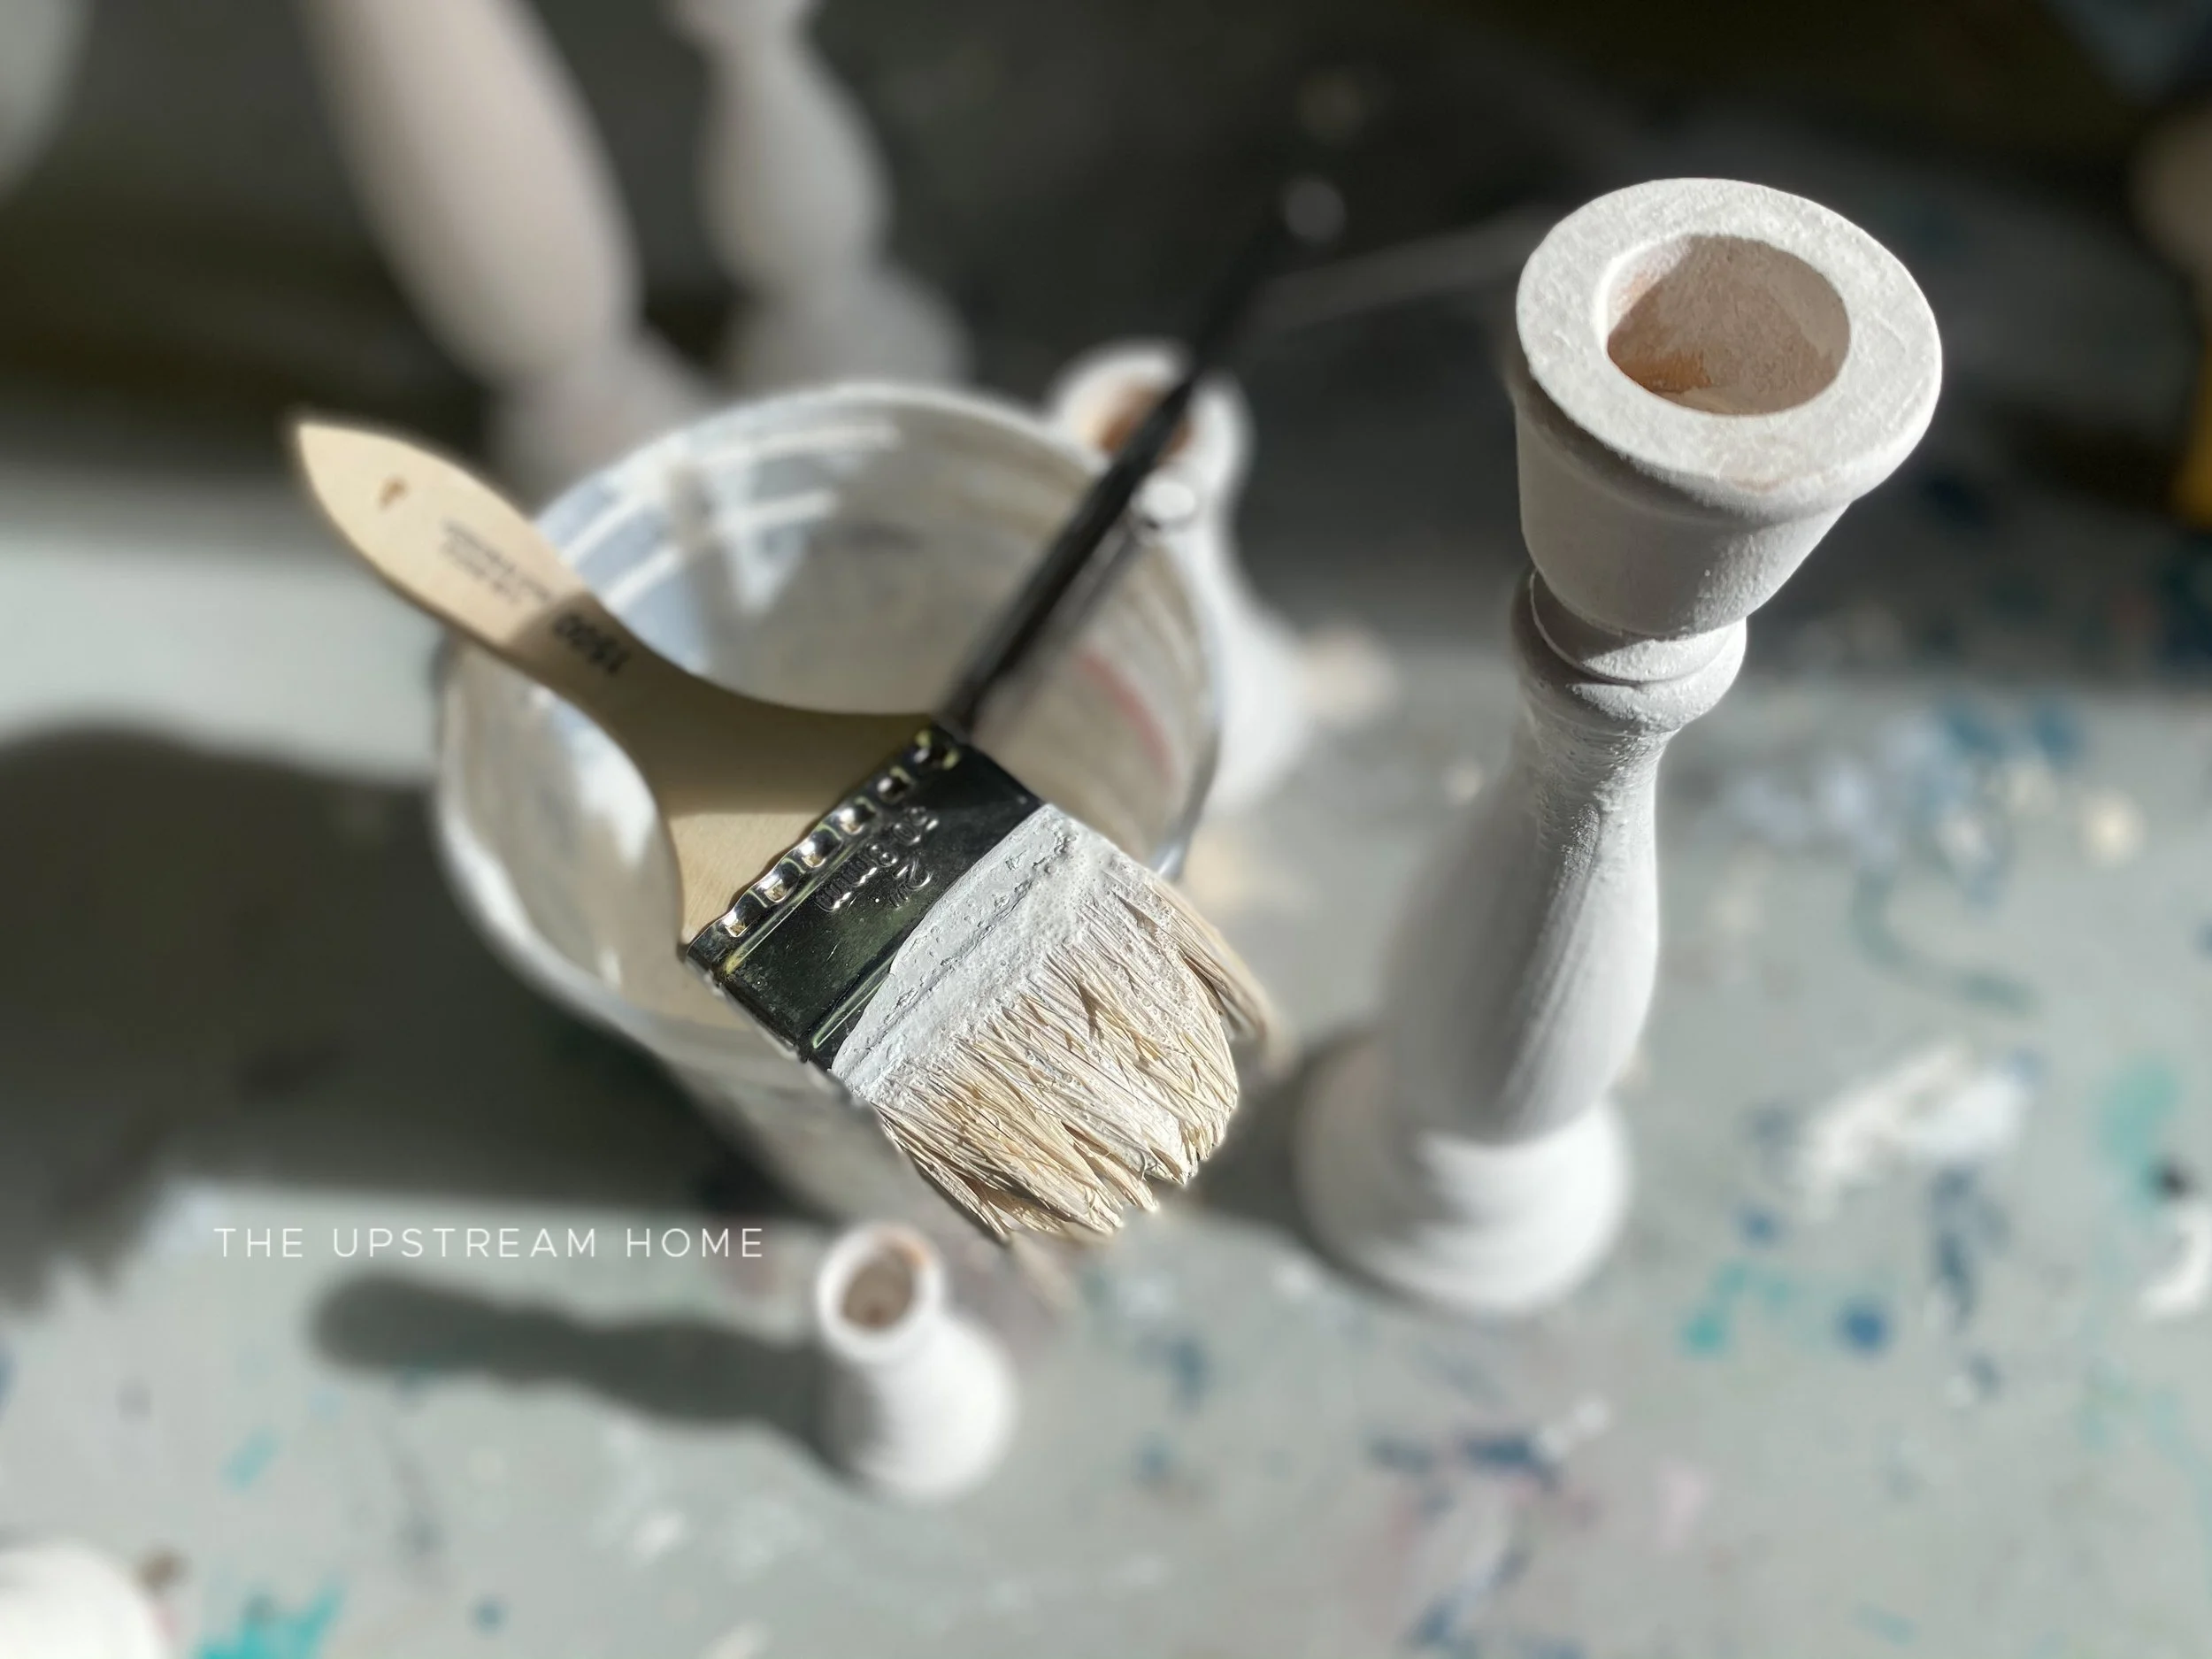
2 inch chip brush
Small pointed artist’s brush
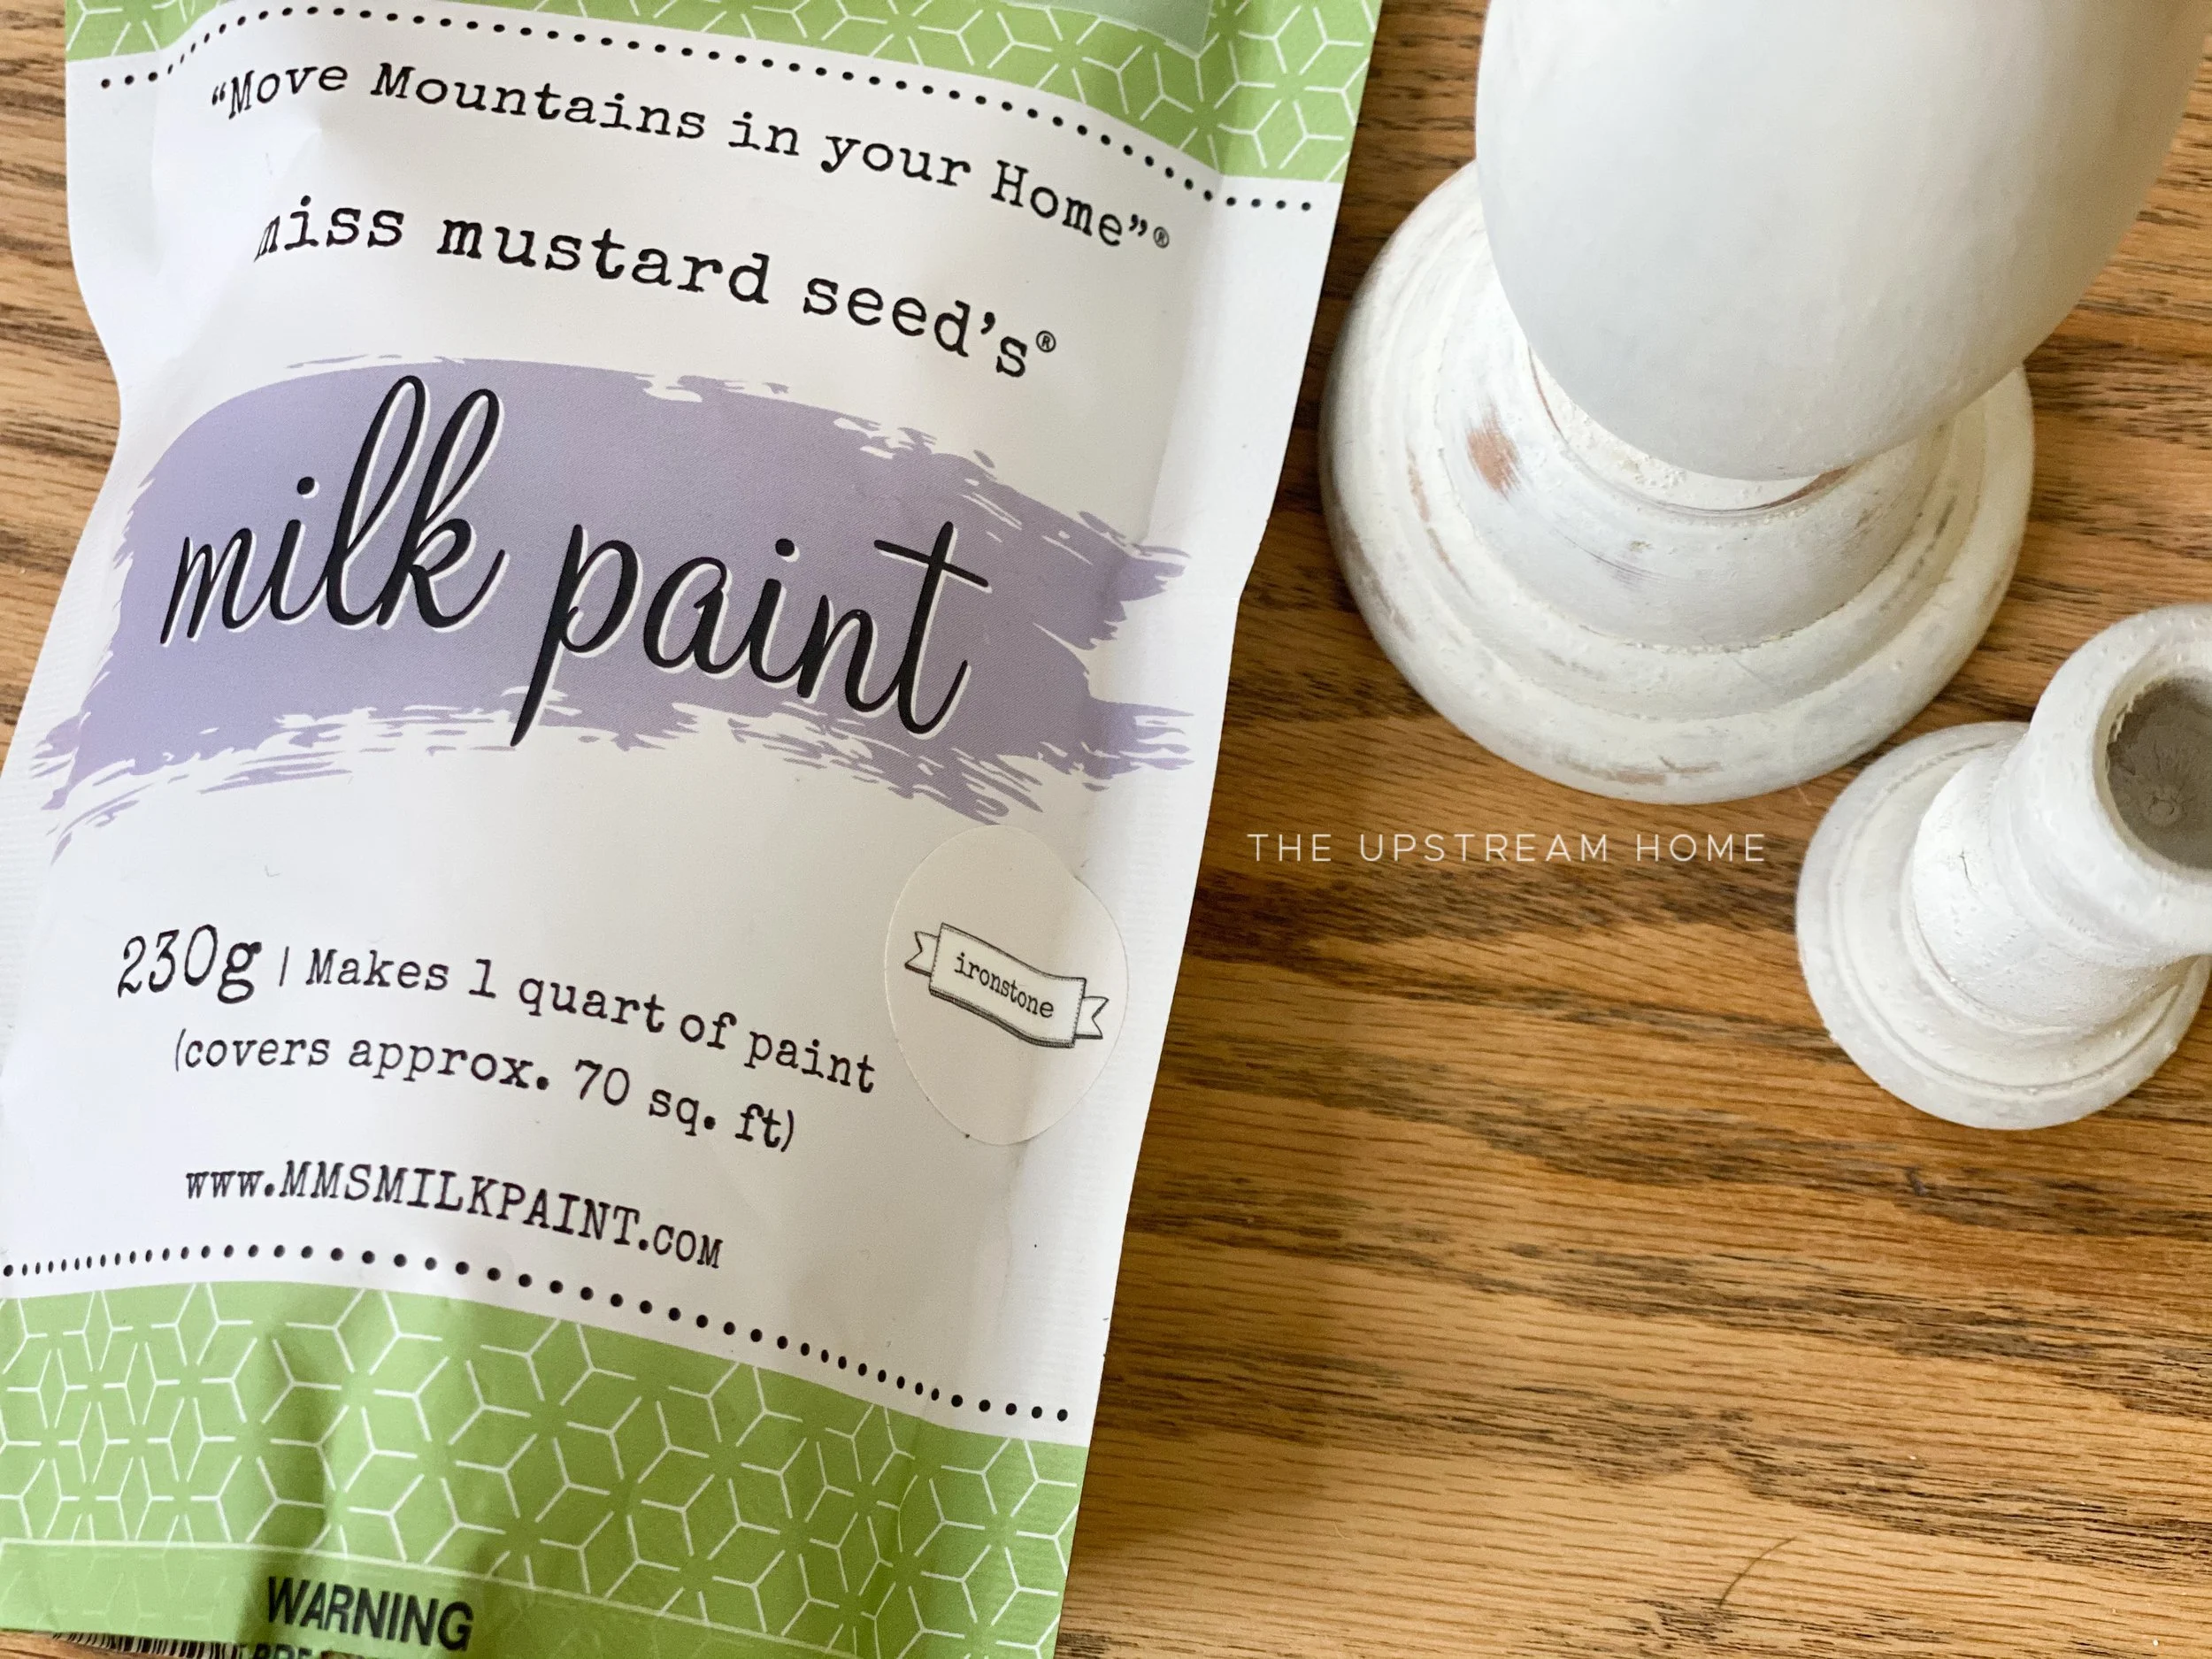
Miss Mustard Seed’s® Milk Paint in Ironstone
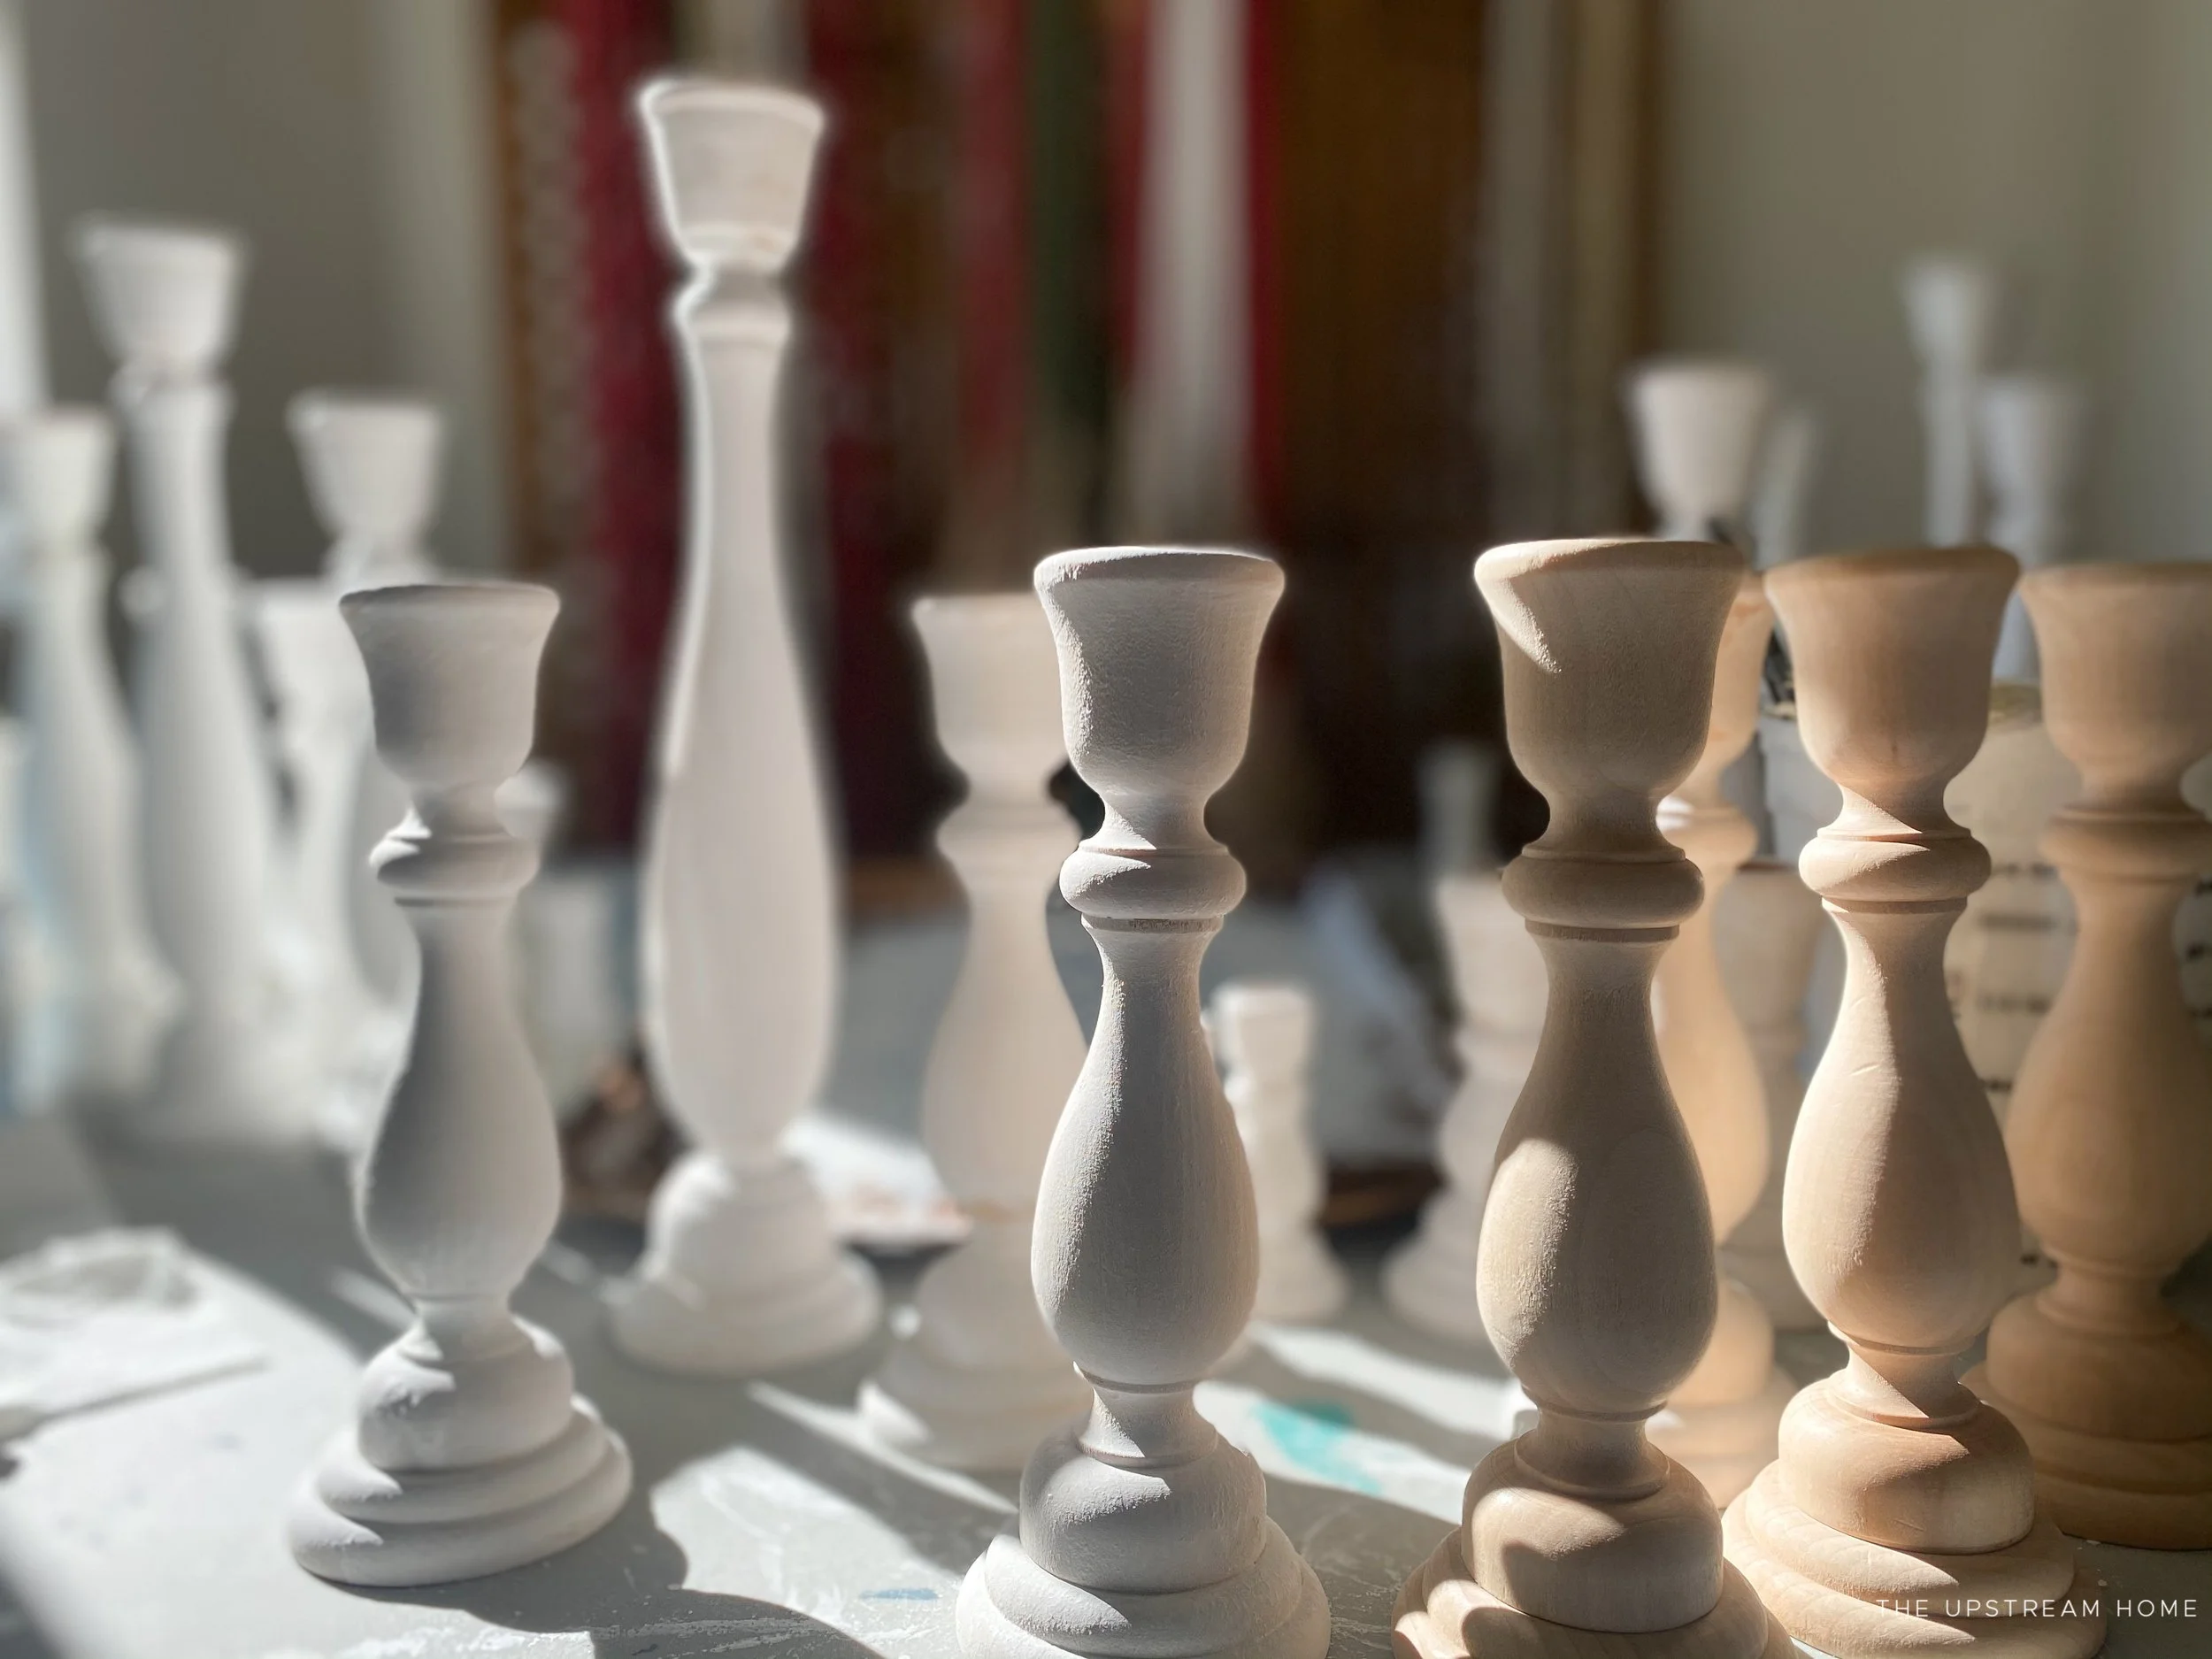
5 wooden candlesticks of varying height. (You can find these in your local craft store or online)
180 grit sandpaper
Lavender Scented Furniture Wax (You can also use our clear MilkWax™ or natural MilkWax-Eco™)
Mixing Ironstone MilkPaint™
To get started, you’ll need to mix up a batch of Ironstone MilkPaint™. If you’re only painting a few candlesticks, ¼ cup of paint and ¼ cup of water will do the trick. After all, a little bit of milk paint goes a long way!
To learn all of the different techniques for mixing MMS MilkPaint™, watch this quick video.
When you watch my candlestick centerpiece video tutorial, you will notice that I mixed a cup of milk paint and a cup of water. This was because I will be painting all kinds of goodies with this batch of paint, not just the candlesticks.
Painting The Candlesticks With Ironstone MMS MilkPaint™
Using a 2 inch chip brush, start painting the candlesticks at the bottom and work your way up to the top. I found this direction was easiest for handling the candlestick while the paint was wet. For the very top where you would insert the candlestick, I recommend grabbing a pointed artist brush. This will allow you to carefully and quickly paint the smaller indented area.
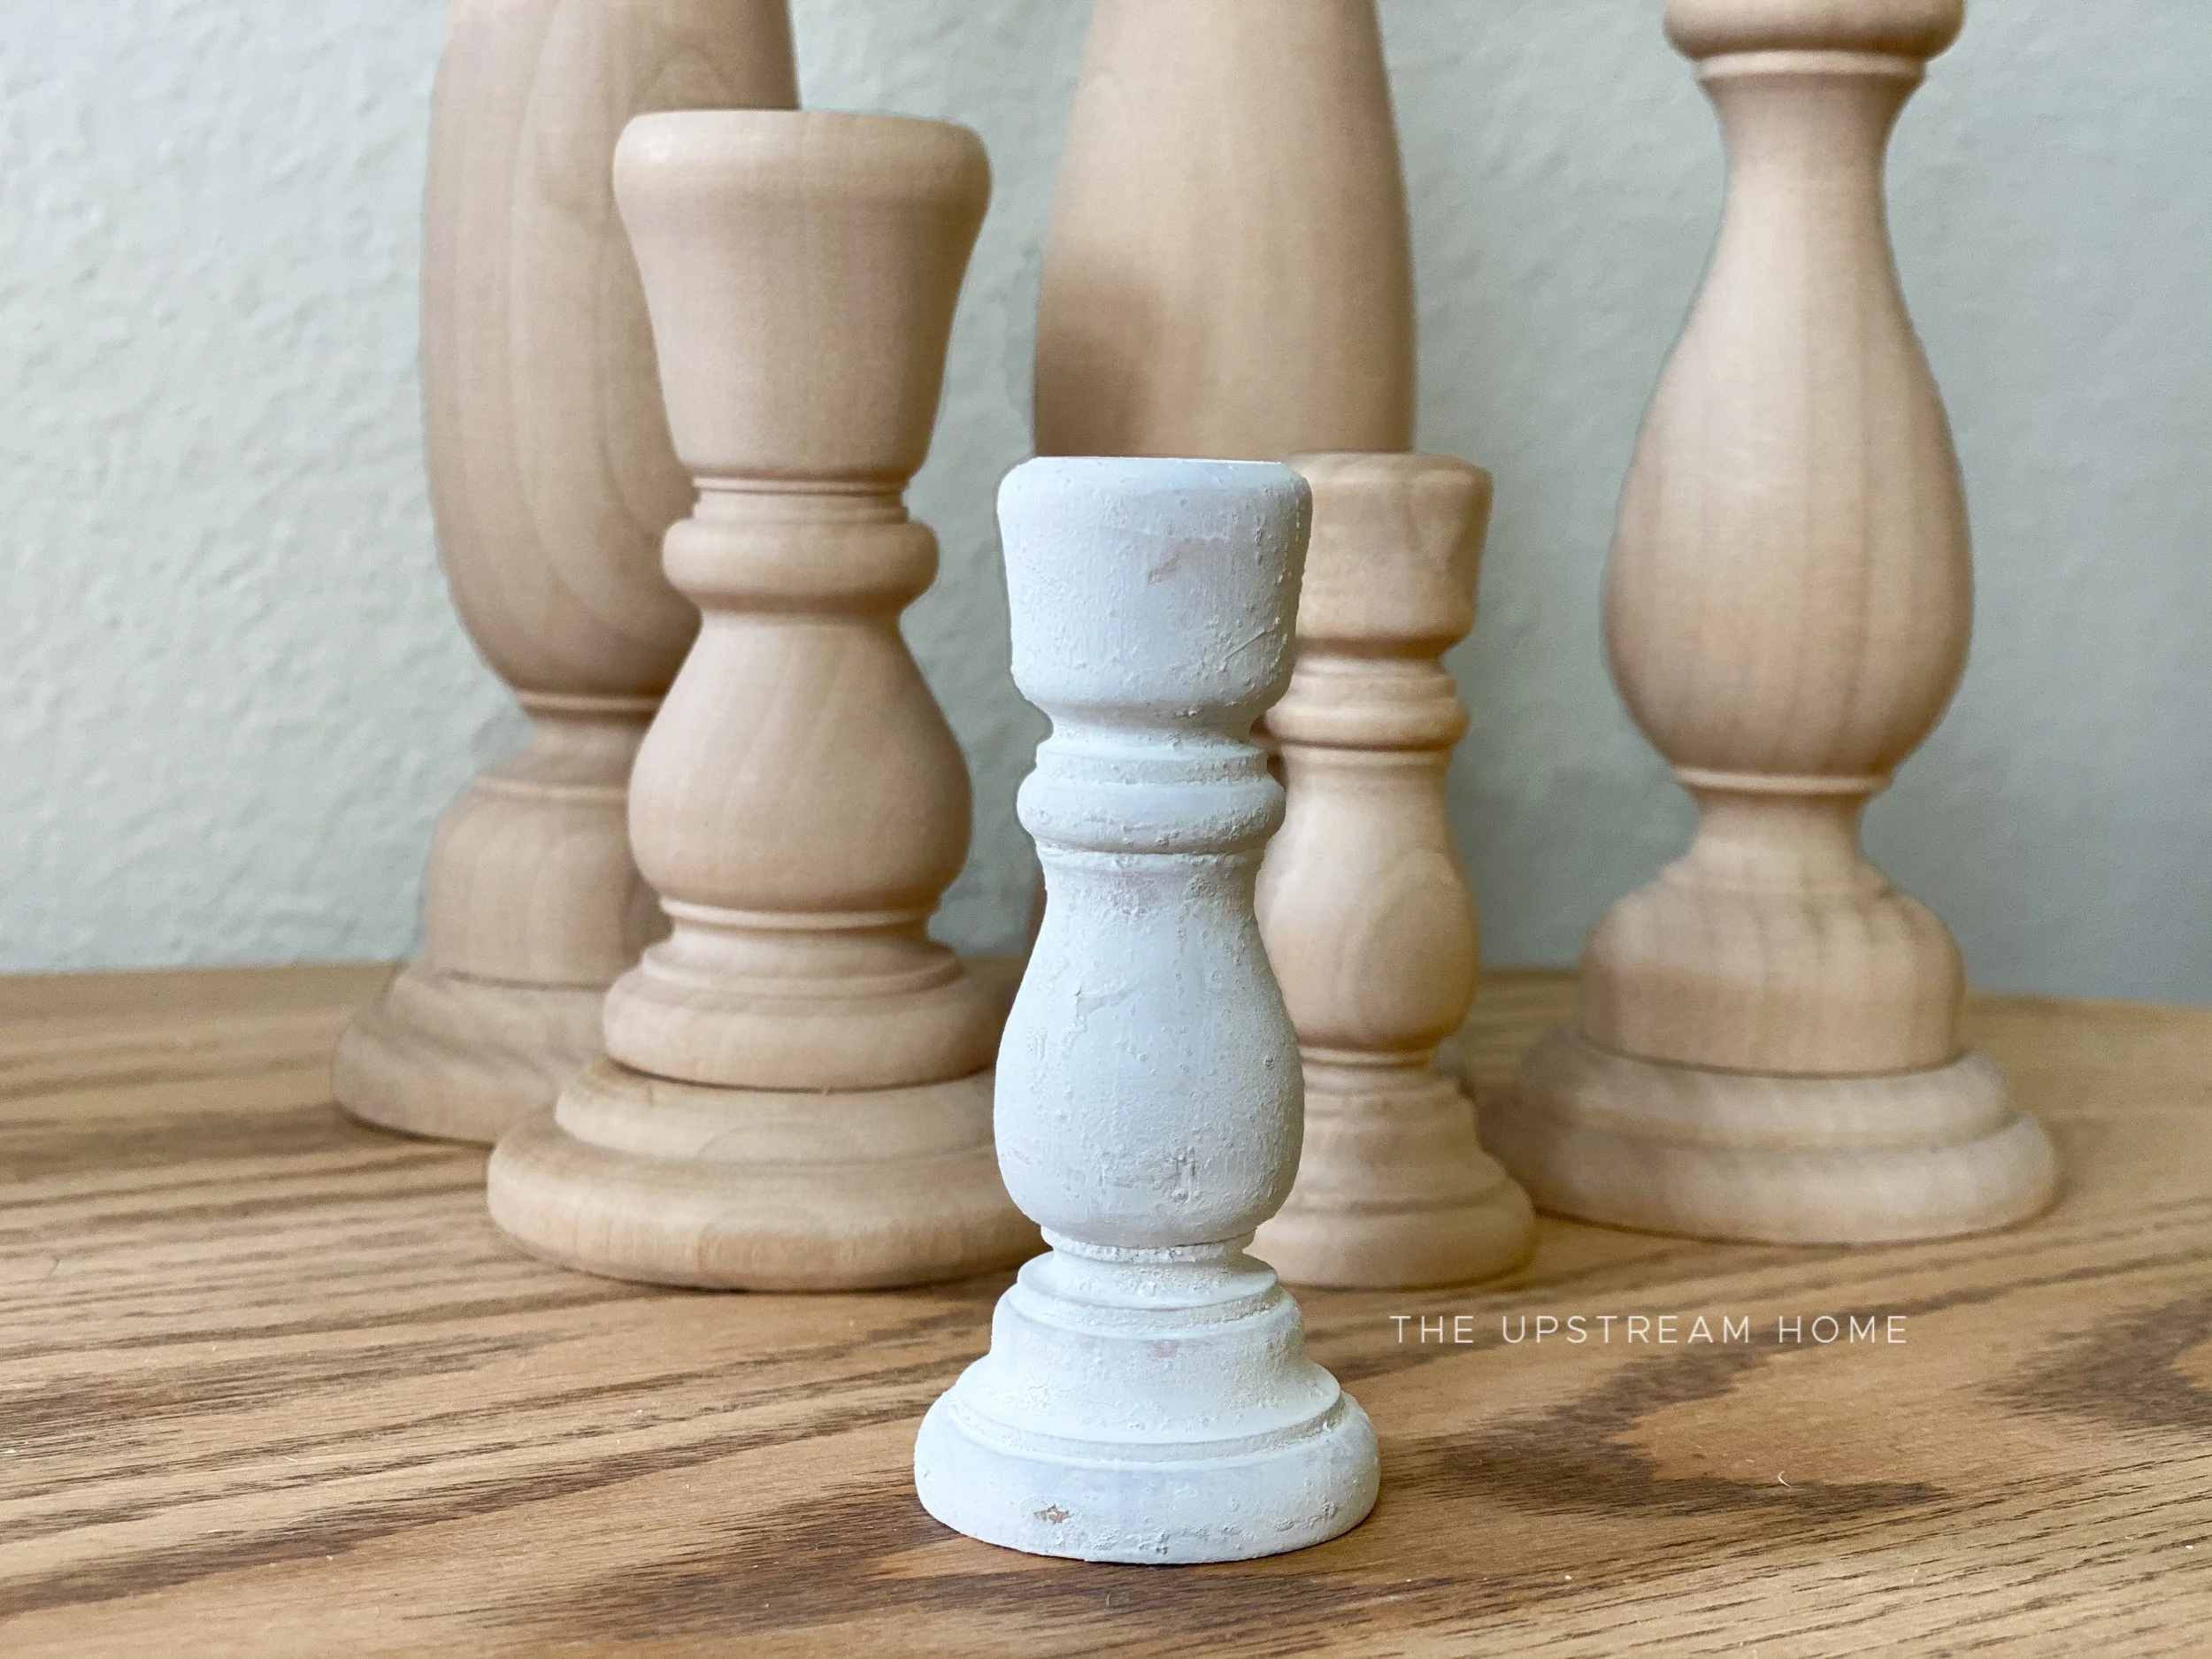
With the Ironstone paint, I preferred a heavier coverage, so I decided to apply two coats. Depending on the look you’re going for, and what color you are using, one coat may do the trick!
One of the things I love about this project is that you could choose a bold accent color and make one-of-a-kind decor that compliments your home. Tricycle and Boxwood would be natural picks for the holiday season. If you love Christmas Blue, give French Enamel a try!
With the wide variety of Miss Mustard Seed’s Milk Paint colors available, the possibilities truly are endless!
Sanding The Holiday Candlesticks
I appreciate that Miss Mustard Seed’s® Milk Paint dries quickly, allowing the project to move right along.
Once you find that the paint is dry, grab 180-220 grit sandpaper and lightly sand the candlesticks. A quick sand will knock down any grit while maintaining the overall textured look. You will find that MMS MilkPaint™ becomes quite smooth with the slightest sanding!
Remove any paint dust from the candlesticks using a dry cloth or shop-vac.
If you want a more rustic look, skip the sanding and embrace the natural texture of Miss Mustard Seed’s® Milk Paint!
Waxing the Wooden Candlesticks
You’re now ready to wax the candlesticks. I wanted to maintain the bright white look of Ironstone, so I chose a clear wax. If you’re looking for something special, the Lavender Scented Furniture Wax smells lovely!
Whether you use a wax brush, or my go-to choice (a clean “retired” sock), lightly rub the wax on. Then, wipe away any excess. (Tip: If you use a sock, wear a latex glove underneath so your hands don’t get waxy.)
If your wax feels tacky to the touch, continue to buff the excess away. It should feel buttery smooth once you’re finished!
Arrange A Centerpiece
Now it’s time to use these wooden candlesticks to create a table centerpiece that speaks to you.
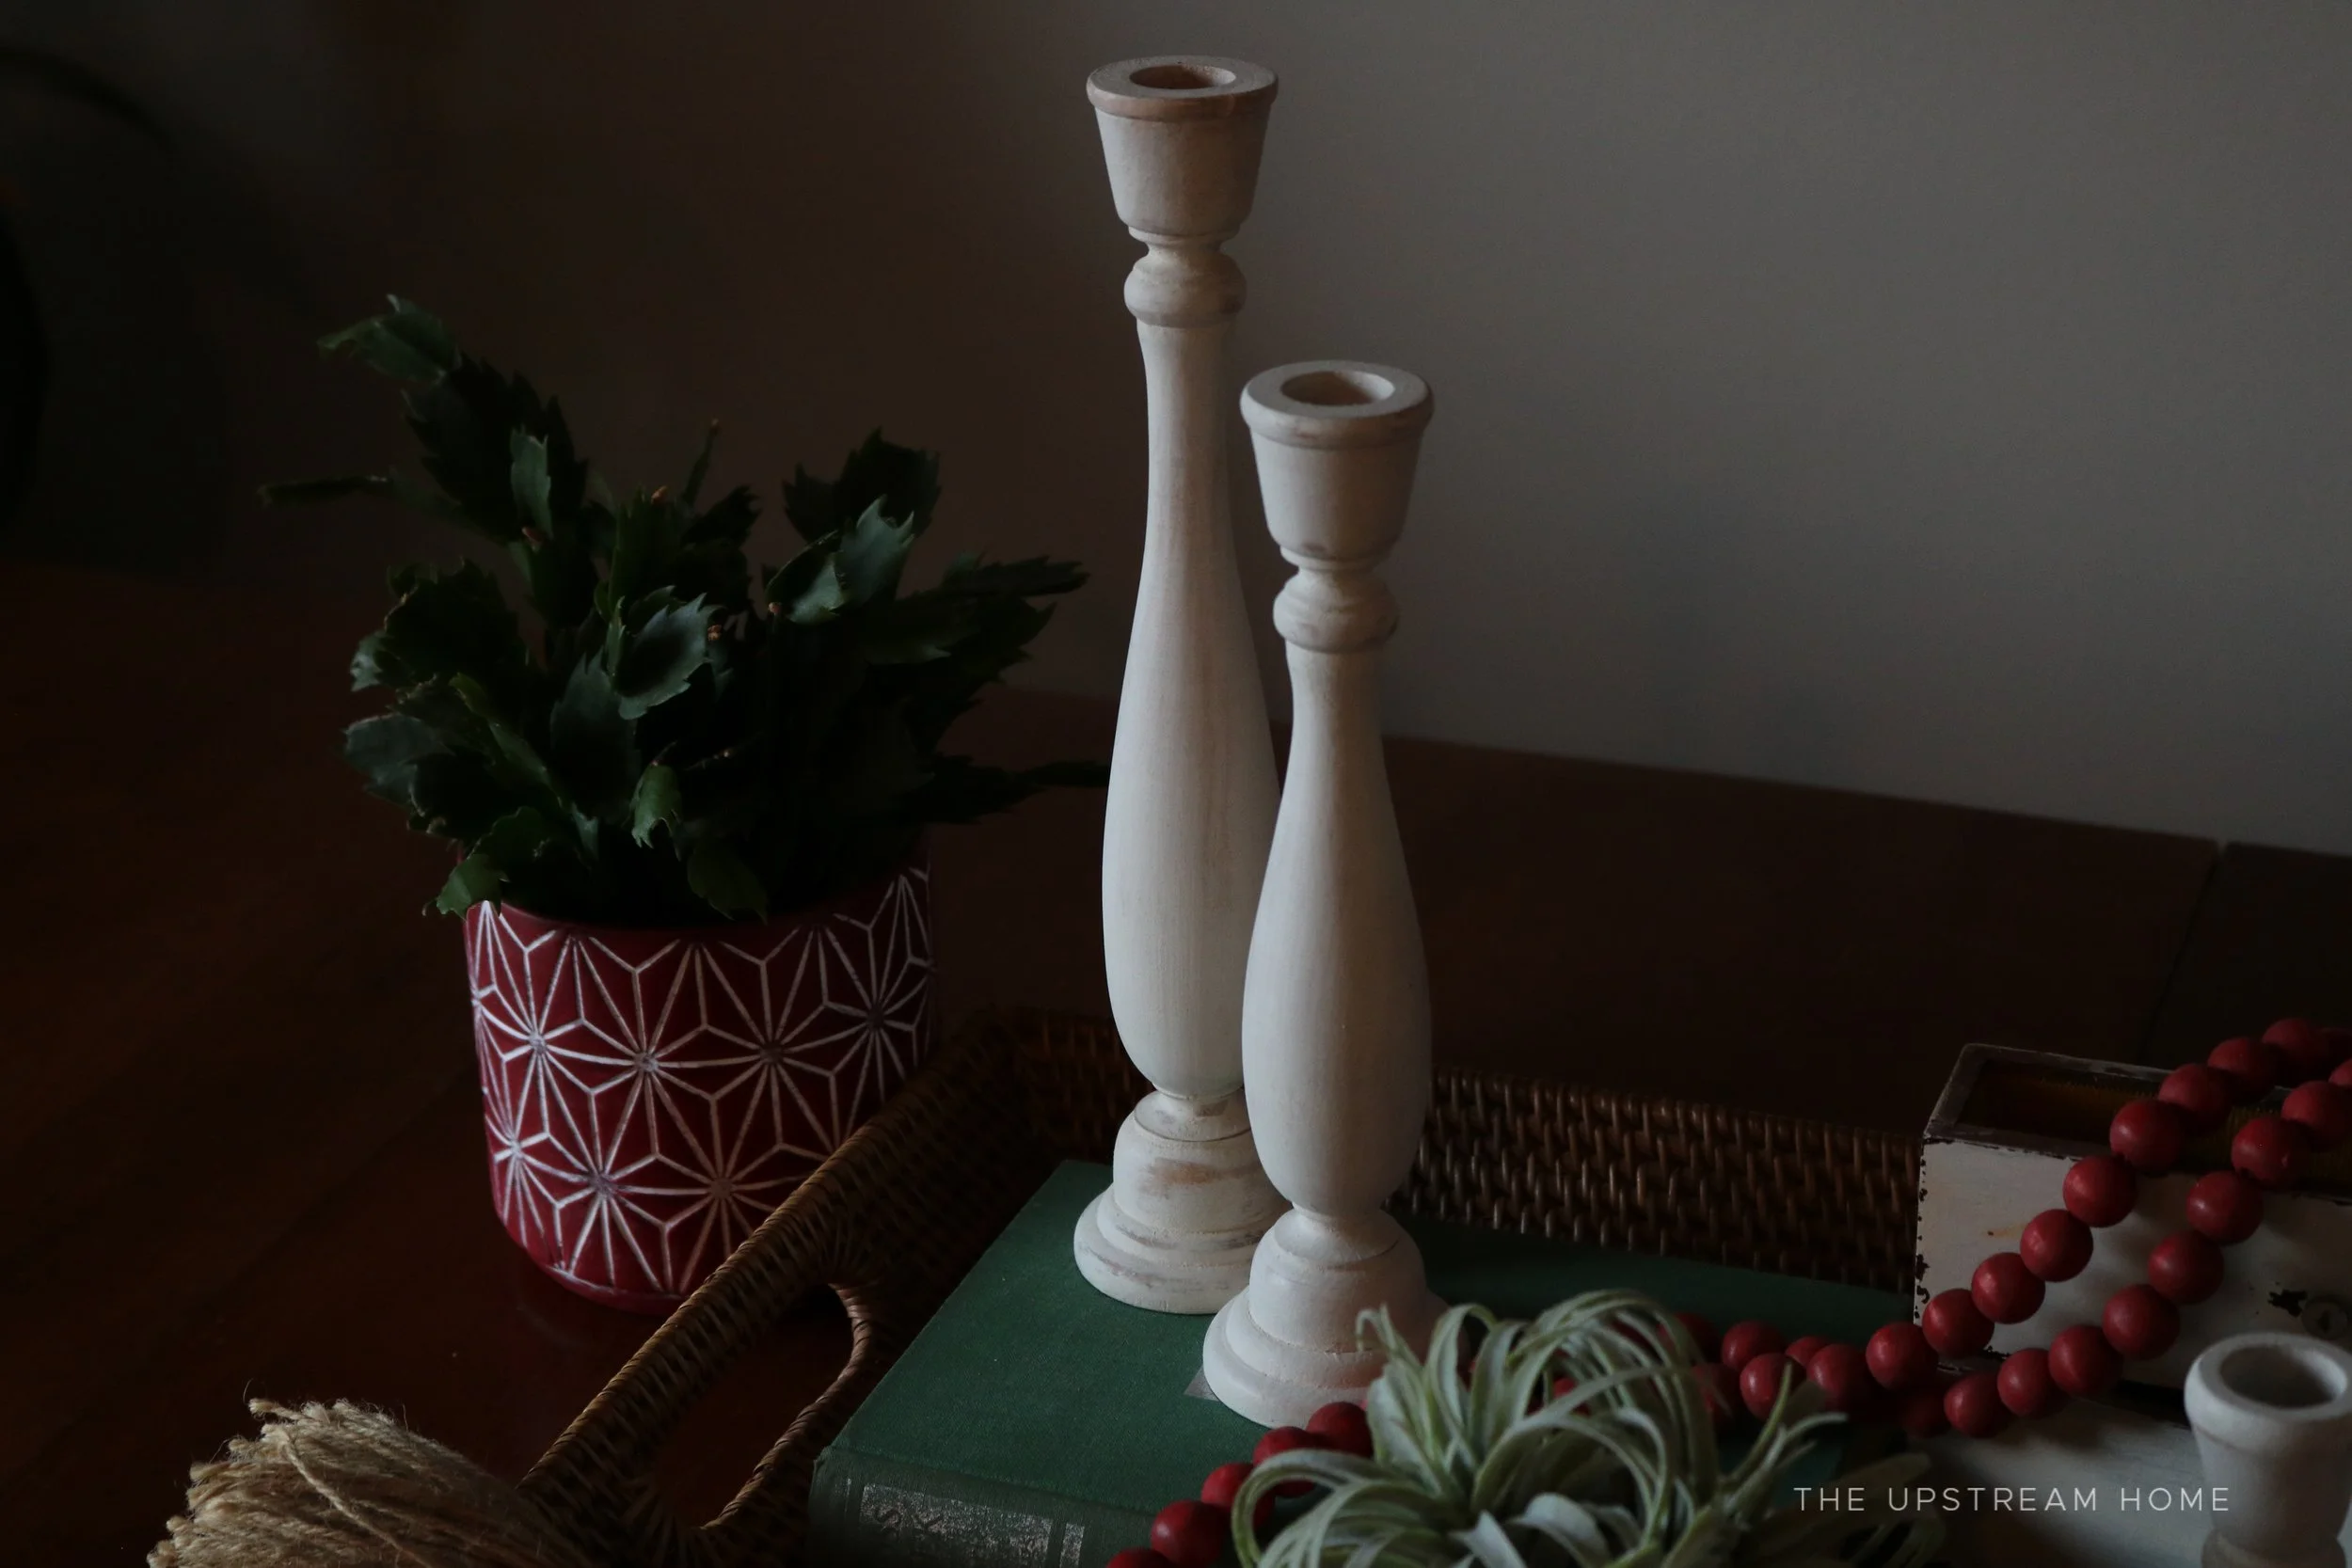
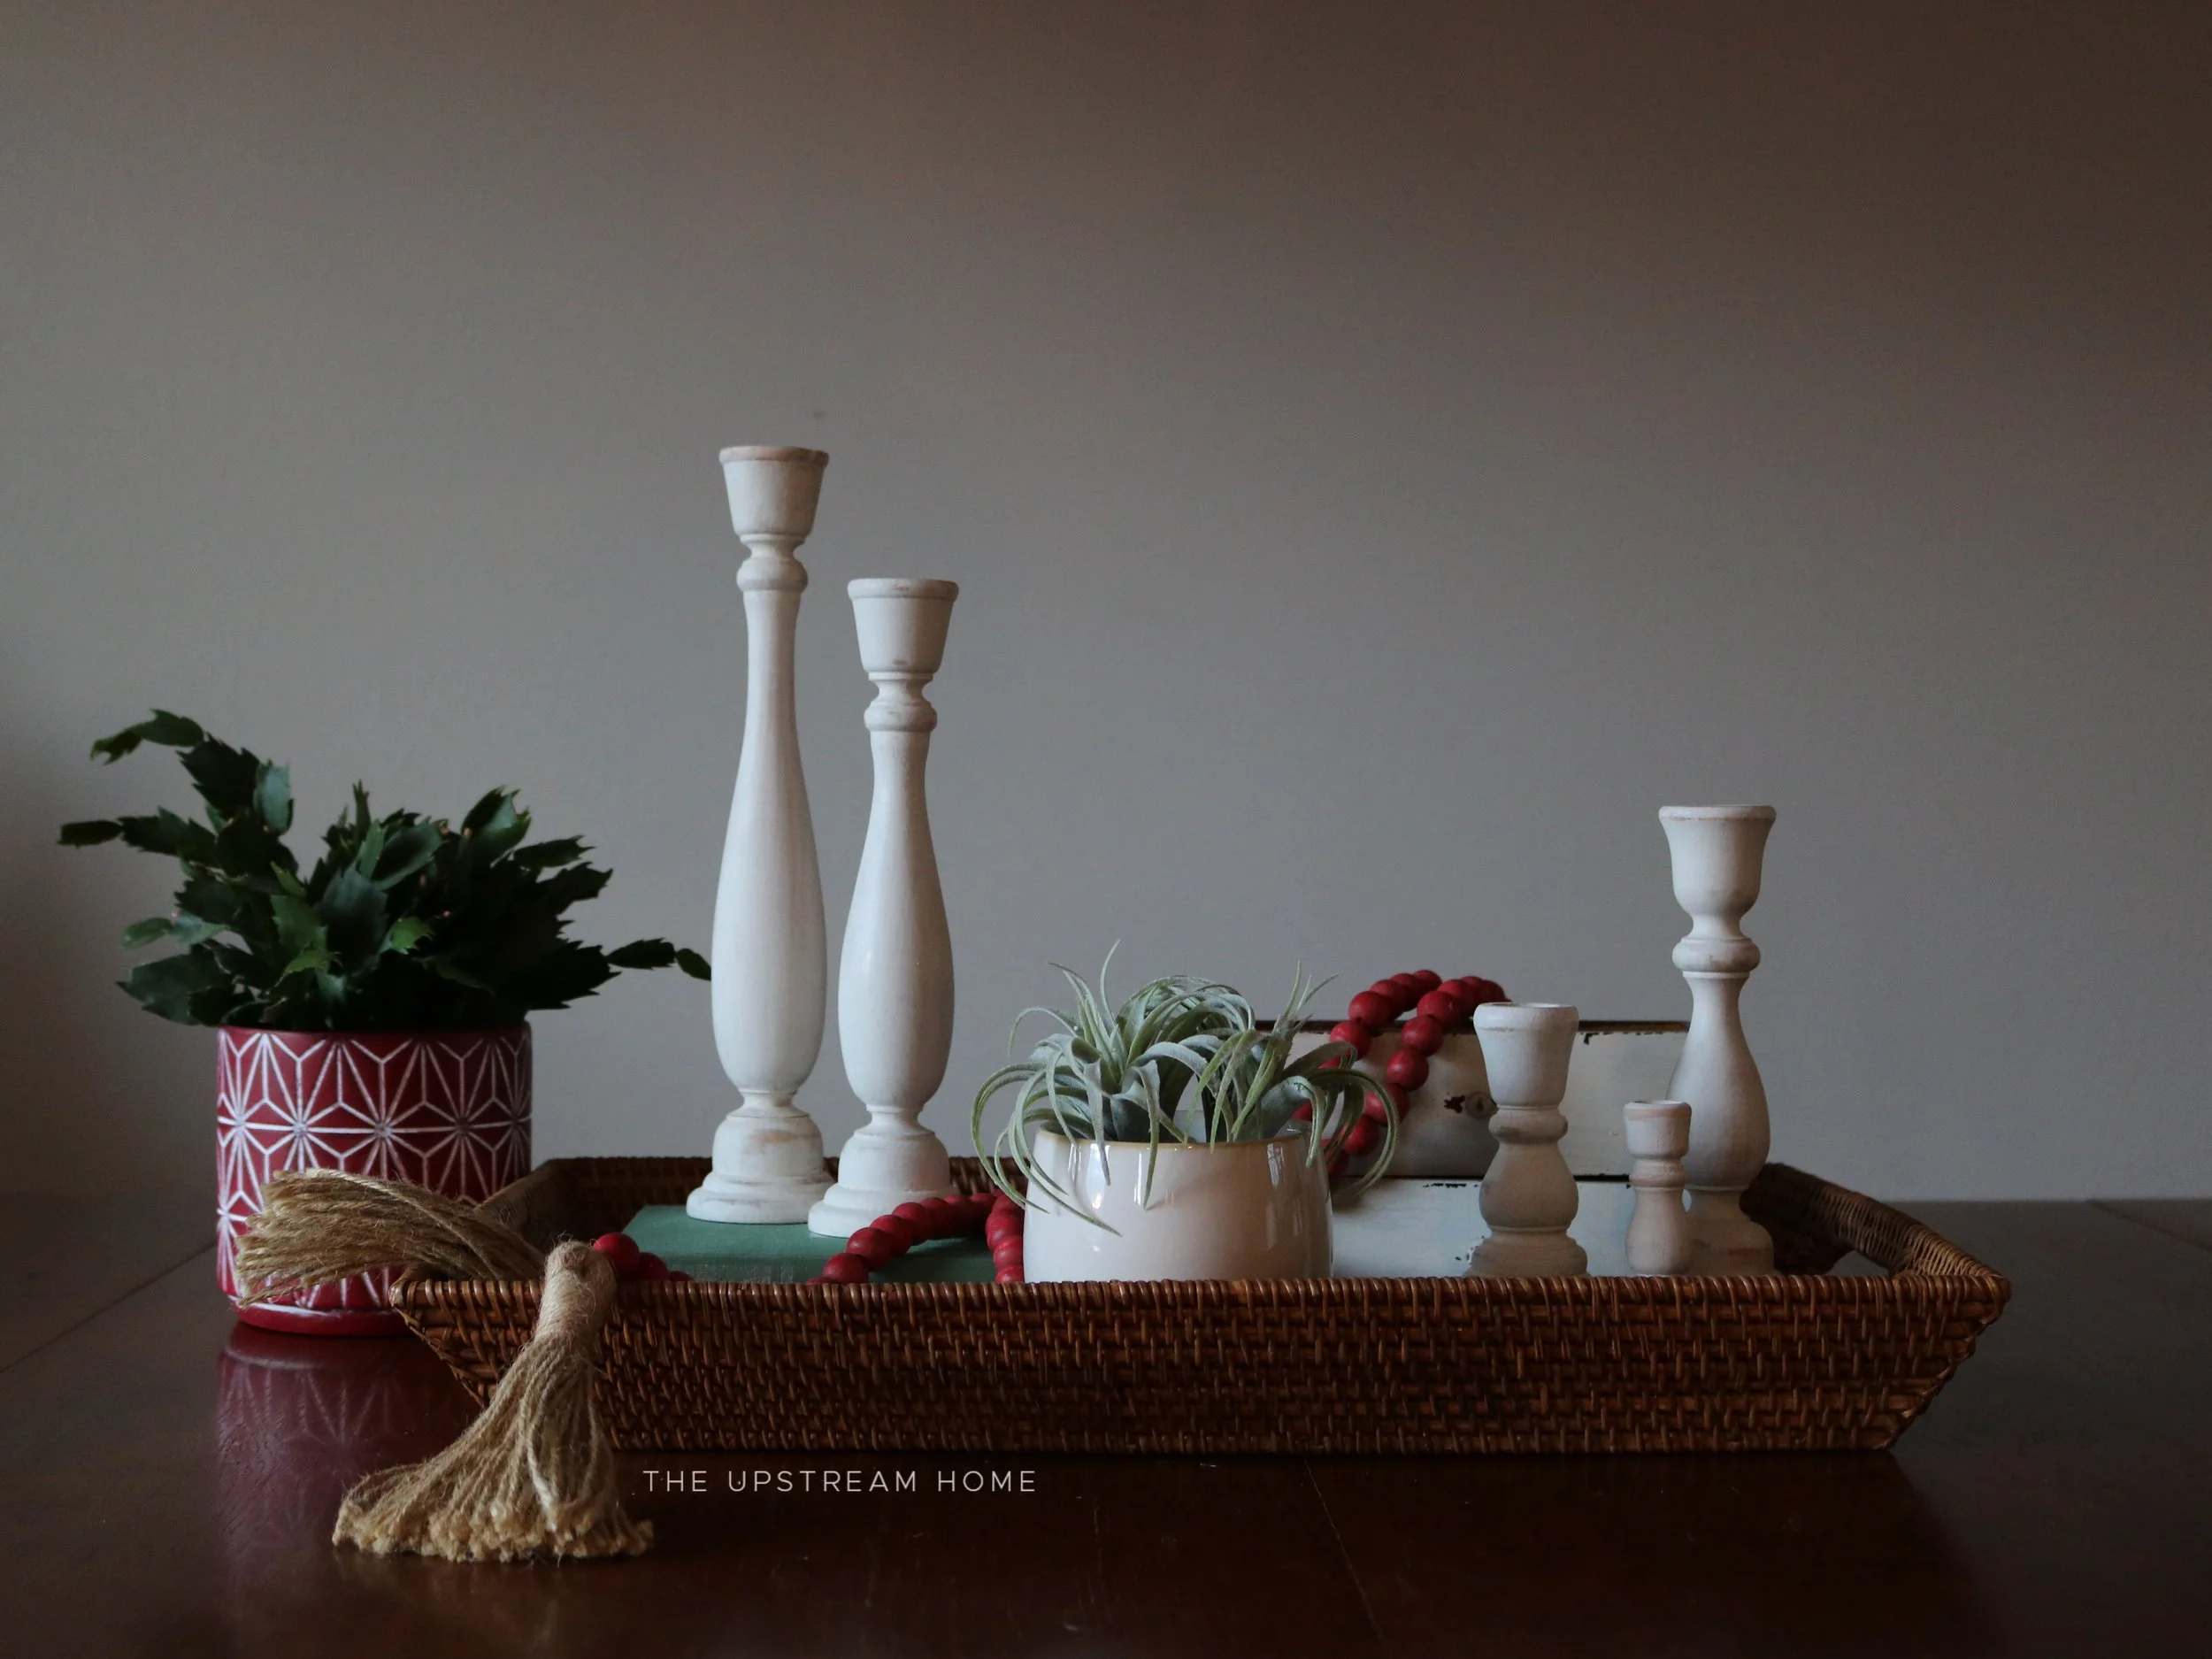
This is my arrangement:
I built my centerpiece in a woven serving tray. The texture is a lovely touch, and the handles on each side make it portable! Air plants and a Christmas cactus were placed in ceramic containers with varying patterns and colors. To add height, I stacked some of the taller candlesticks on a pile of books.
The strand of red beaded garland was painstakingly painted in Tricycle MMS MilkPaint™, and I wove it through the middle of the centerpiece. Red and green elements give this arrangement that traditional Christmas feel. The succulents, ceramic vessels and wooden candlesticks make it more modern farmhouse - a look I absolutely love!
Holiday Candlestick Video Tutorial
For those visual learners out there, you can watch my tutorial in action by clicking the video below.
Share Your Candlestick Centerpieces With Us!
Now it’s your turn to make a wooden candlestick centerpiece for your home! Will you use a traditional paint color combo like red and green? Or will you go bold and brilliant?
Whatever motif you choose, make sure you share your creations with us on social media! We love seeing how you’re moving mountains in your homes!

