How To Stencil A Burlap Bag With Miss Mustard Seed’s® MilkPaint™
Lately, I have been crushing on burlap market totes or beach bags with cute little sayings. I just love them and wanted to make my own using Miss Mustard Seed’s® Milk Paint! So I grabbed some stencils, paint, and a brush and got to work.
How to Stencil a Burlap Bag with Miss Mustard Seed's® MilkPaint™
Hello, I'm Kelly from thetatteredpew.com, and I can't wait to share this darling stenciling project with you here on the MMS MilkPaint™ blog today! If you have read my other MMS MilkPaint™ projects before like my mini painted charcuterie boards, then you know that I LOVE using this amazing paint to jazz up small items and give them new life.
Always keeping it simple, budget-friendly, and classy of course!
Well, this is one of those DIYs that you can do in less than 30 minutes and will result in a personalized handmade project that looks high-end. And there are endless uses for these stenciled totes too!
So let's get started!
Step 1: Gather Your Supplies
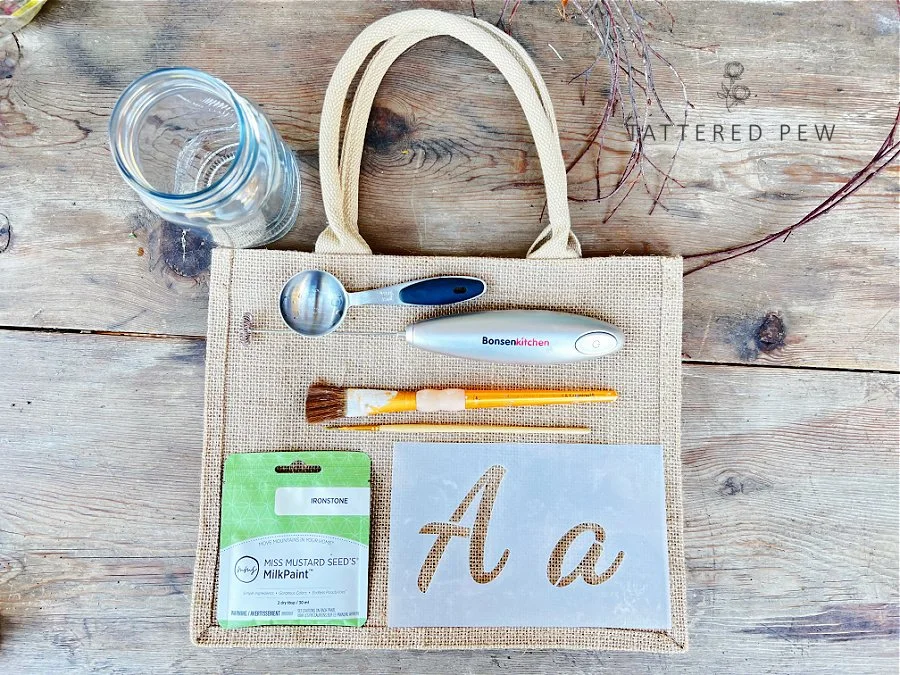
Here is what you will need for this stenciled burlap bag project.
● MMS MilkPaint™ in the color Ironstone (one sample size packet is the perfect amount)
● Stencil brush
● Burlap tote bag
● Alphabet stencils
● Paper towels
● Clean and flat workspace
Pro Tip: Make sure you check the dimensions on your burlap bag before ordering so you can make sure to purchase the correct size for your needs. I purchased mine from Amazon and they have SO many options!
Step 2: Mix Up Your Paint
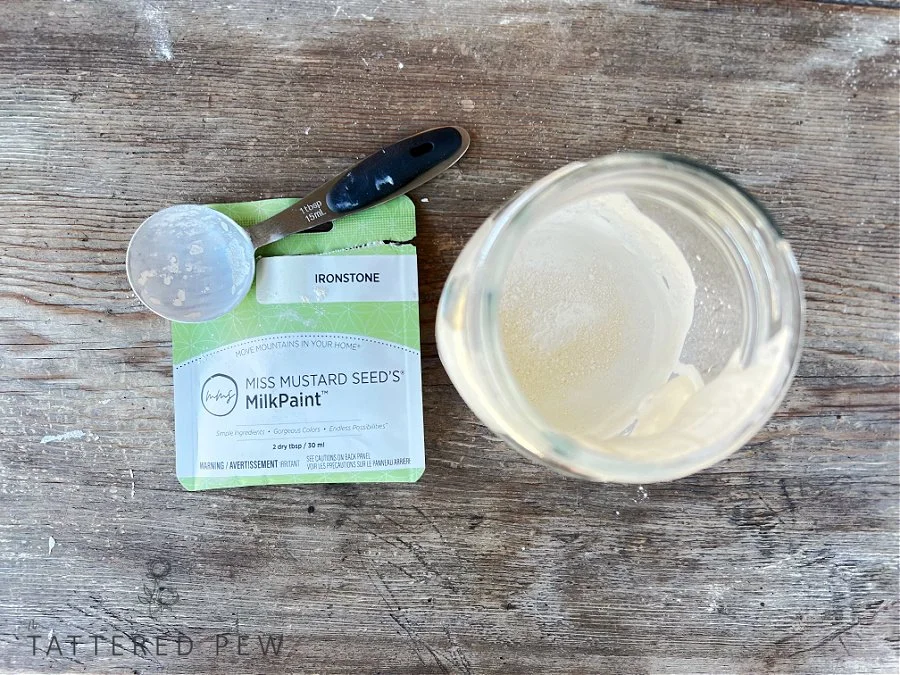
The first thing I always recommend doing before starting any project using MMS MilkPaint™ is to mix up your paint. This gives the paint time to settle as well as gives you time to prep for the project.
For this stenciling project, not a lot of paint is necessary. So, I used a sample packet of Ironstone, which is 2 dry tbsps. or 30 ml of paint. I mixed equal parts paint with equal parts water. For stenciling, it is good to have nice thick paint, so less water or equal parts gave me the consistency I needed. As you would guess burlap can soak that paint up quickly!
Step 3: Prepare Your Surface And Your Saying
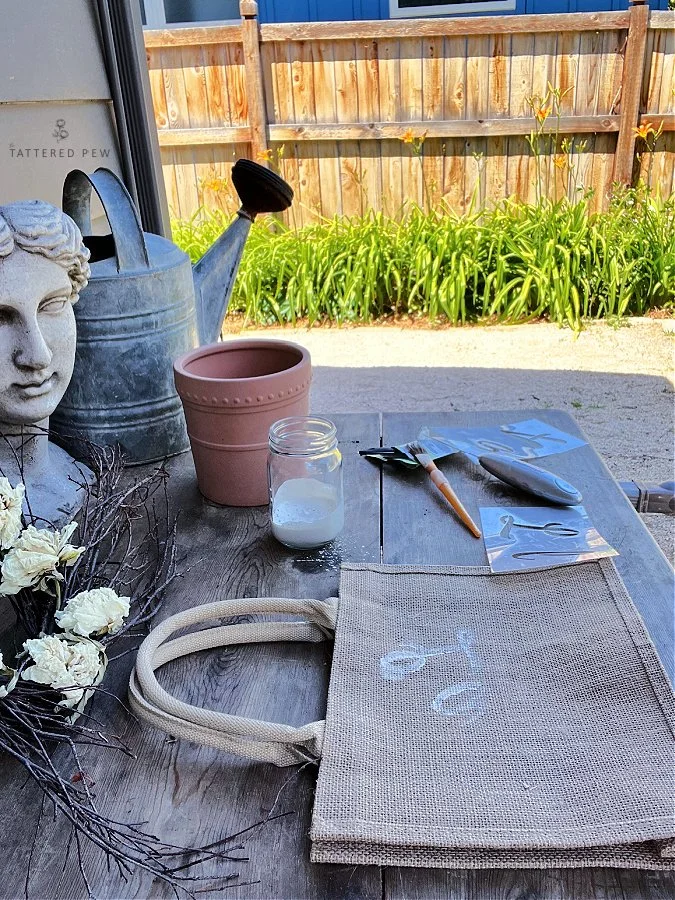
Find yourself a nice flat service for this stenciling project and lay out all of your materials for easy access.
Once you have everything ready to go you will want to figure out what saying you want to be stenciled on your burlap bag. This step is important because personalizing your tote with a word or saying is what will make it special.
We are heading to the beach soon as a family so I was in a beachy mood and figured I could use my bag on our trip. However, I didn't want my bag to say the same thing that I have seen on countless other beach bags. So, I started brainstorming ideas with my mom and she suggested I use a French word.
I loved this idea and how personalized and classy it felt!
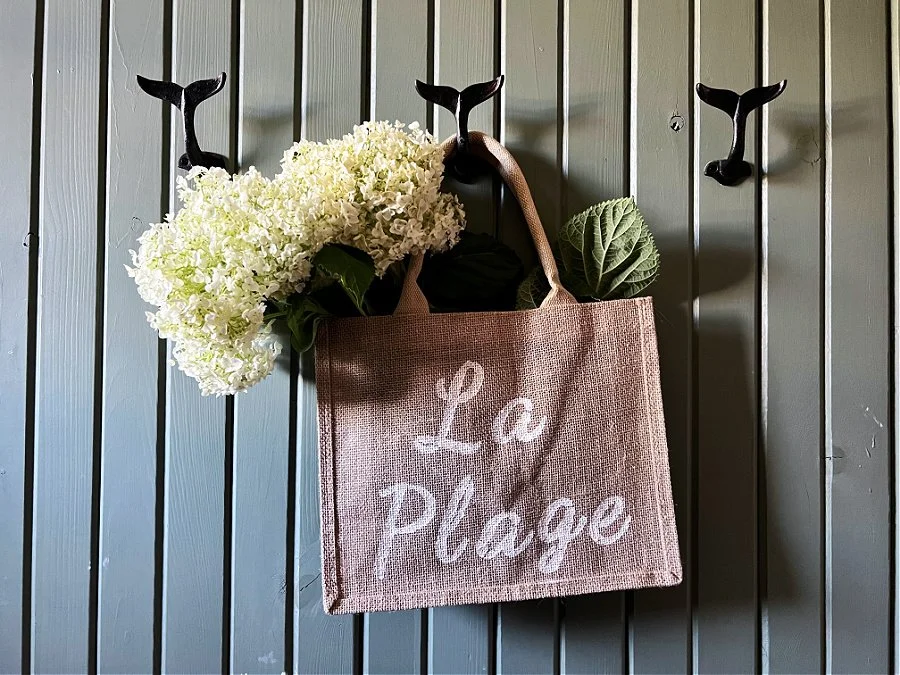
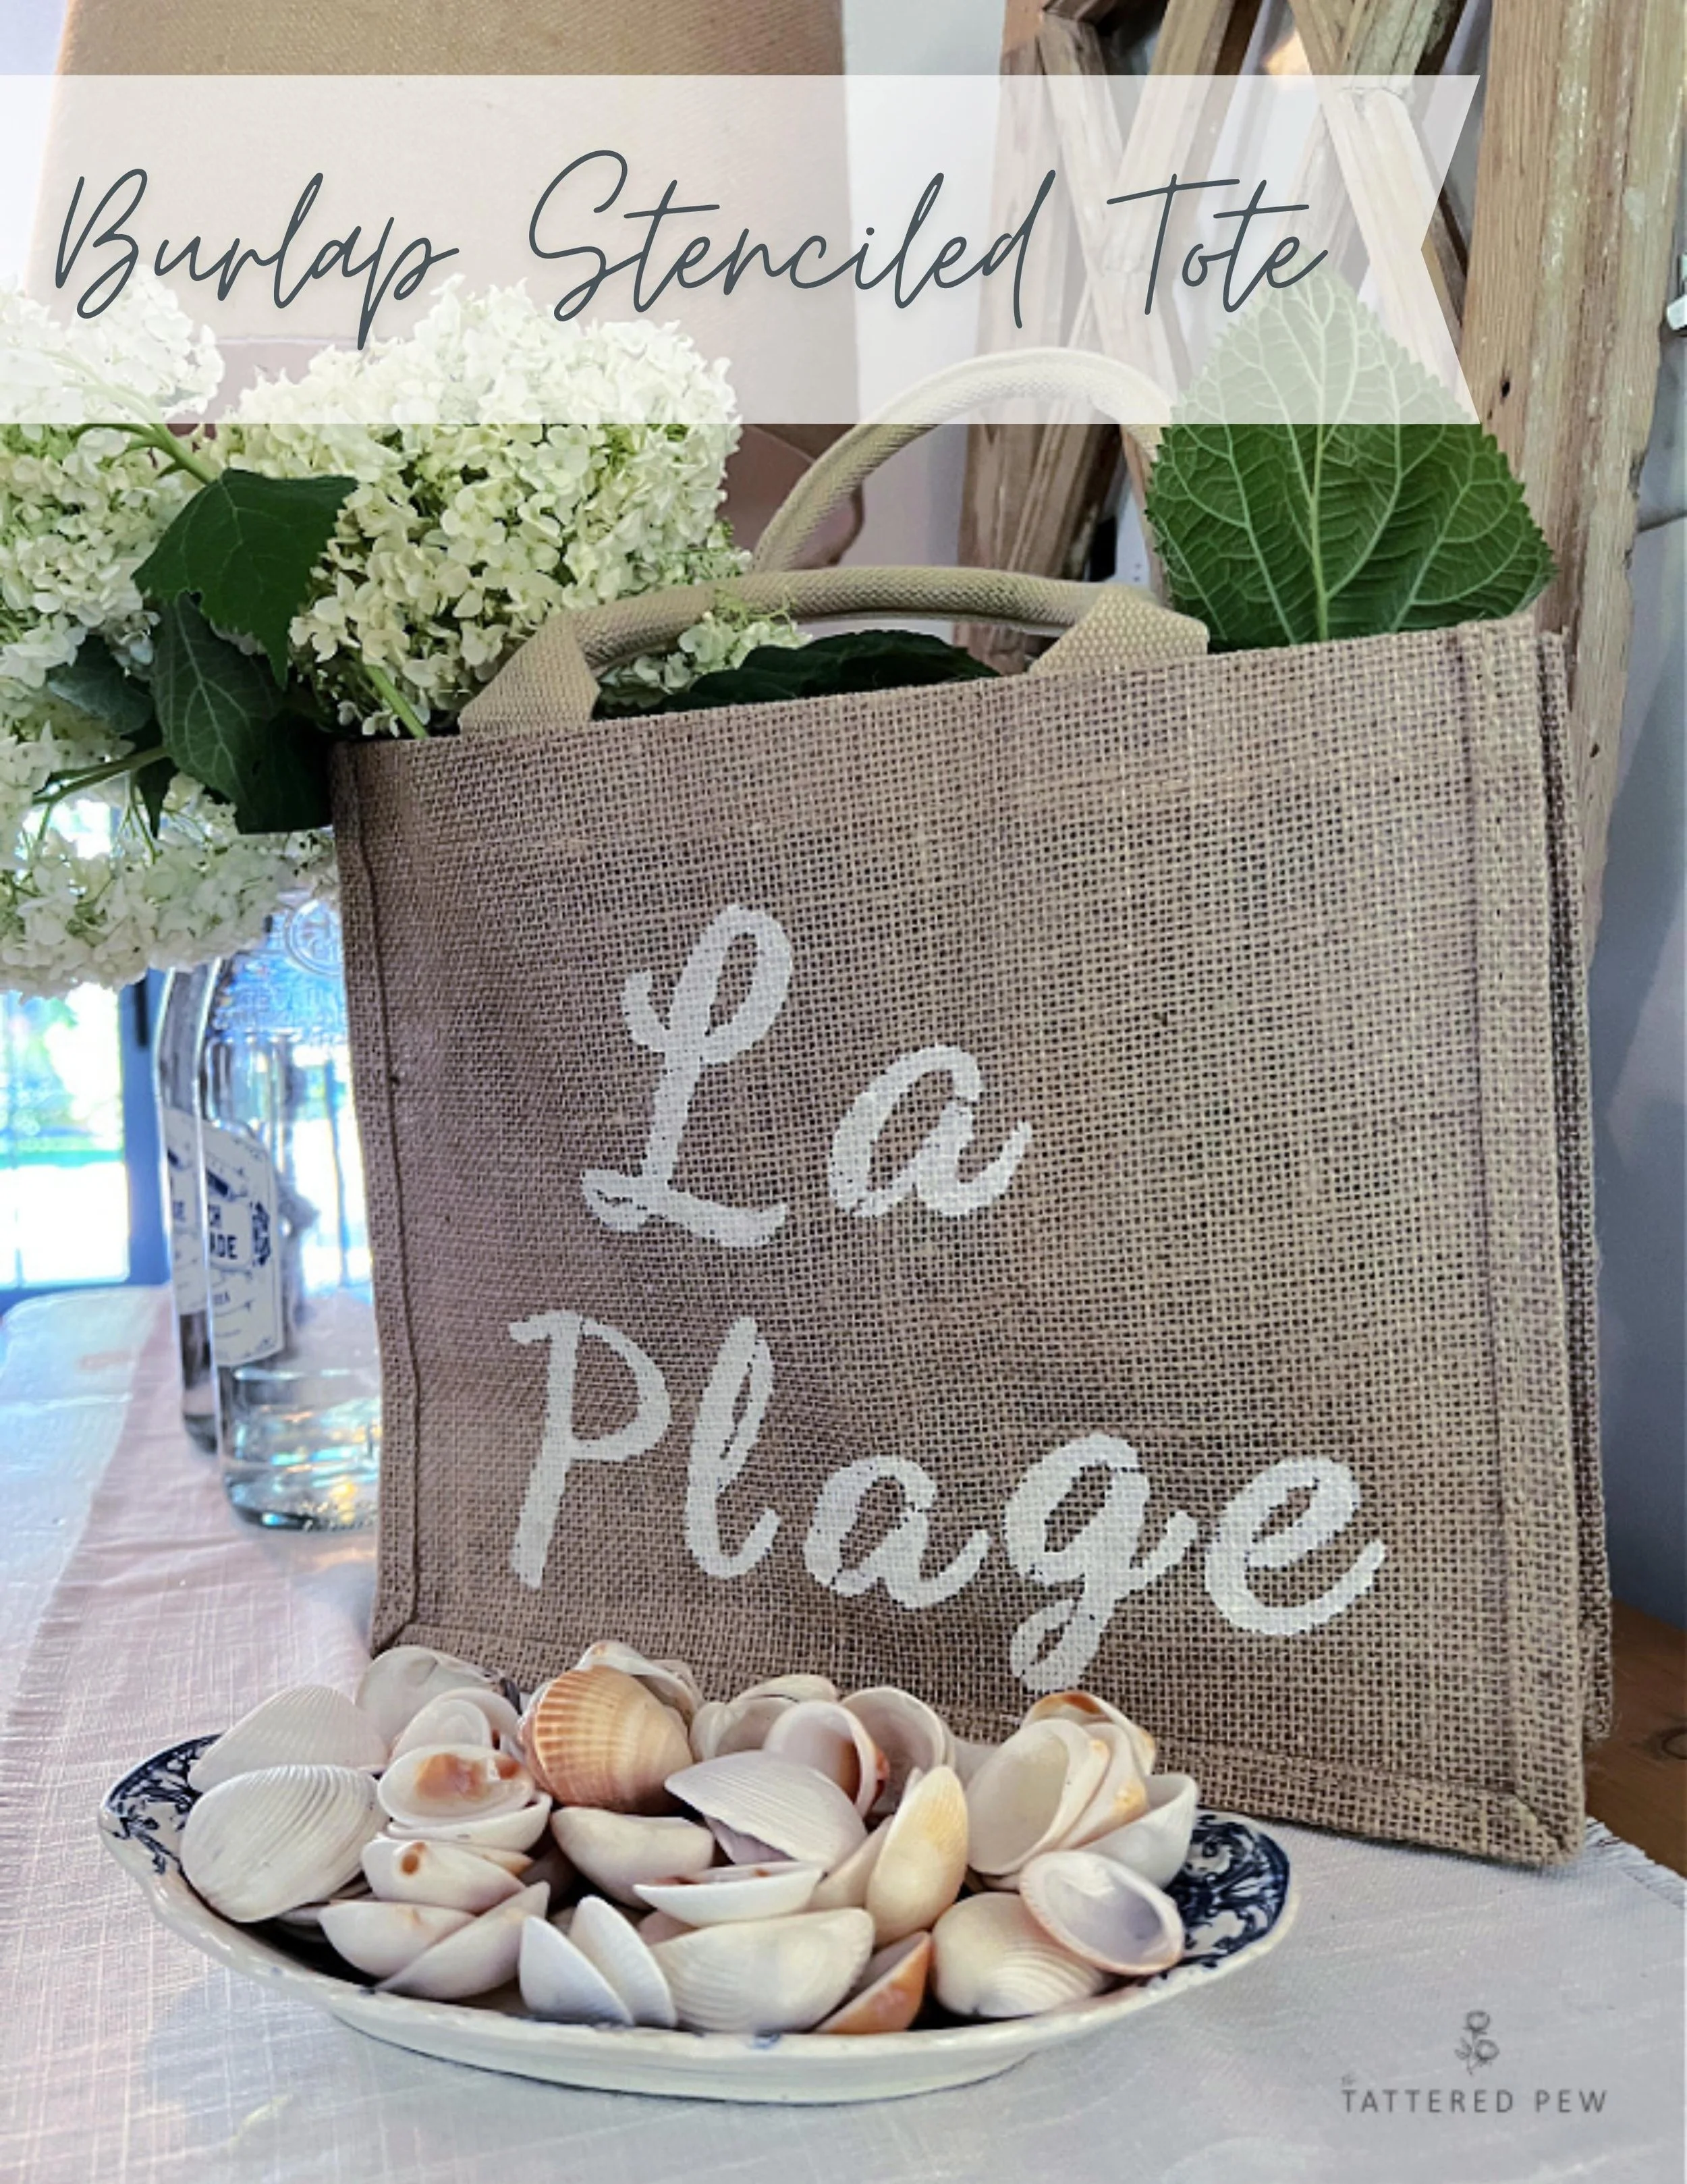
So, I went with La plage which means “the beach” in French. Just saying it makes me smile.
Step 4: Line Up Your Stencil
Now for the fun part! Once you have your saying figured out that you want to stencil on your bag, I suggest laying the stencils out directly on the bag as a dry run for your spacing. Then make sure to lay them out near your project so they are easy to grab.
My burlap bag had a wonderful seam at the top and bottom which allowed me to push my stencils directly up against it to make sure my letters were lined up straight. If your bag doesn't have this, then I would suggest using some painter's tape to create a straight line to keep your stencils lined up as you go.
Step 5: One Letter At A Time
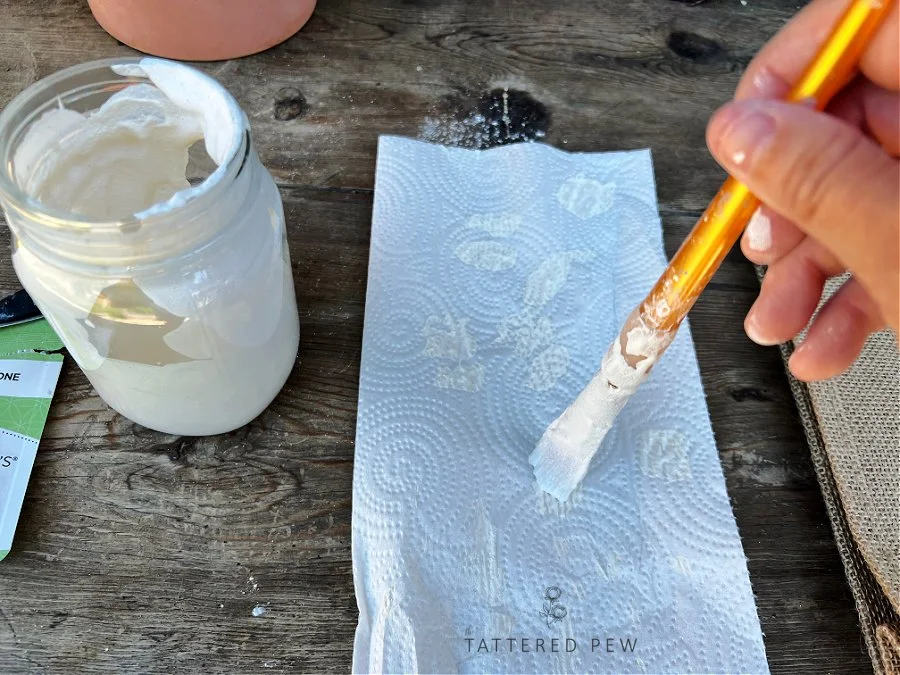
Begin stenciling one letter at a time onto your bag. Make sure your brush has ample paint but take care to blot it on a paper towel first before applying to your burlap, so it is not too much. If you have too much paint it can sometimes bleed through or squeeze under the stencil and ruin the look you are trying to achieve.
Trust me, it happened to me, and I learned the hard way. The paper towel blotting really helped!
TIP: Before you start to stencil you will want to check the inside of your burlap bag to see if it is lined. If it is not, you will want to add some paper towels inside and directly under where you will be stenciling so the MMS MilkPaint™ will not bleed through.
When using a stencil brush and stencil you will want to use an up and down motion almost as if tapping the brush onto your surface. There is no brushing when it comes to stenciling as this will also cause bleeding through. Continue tapping the inside of your stencil until you are happy with the coverage of your paint with each individual stencil.
I love the creamy color of Ironstone and how it contrasts beautifully against the burlap!
Step 6: Slow And Steady
Continue to add your letters, taking care to line them up as you add each new letter in your saying. Also, make sure to wash the paint from any of the letter stencils you may be repeating in your word. You don't want to accidentally have random paint marks on your bag from a stencil you already used!
This paint does dry quickly, and I had no issue with laying my stencils on top of letters I had already painted. But I was outside so this might have helped speed up the process. Just take care to make sure you aren't ruining the letters you have already stenciled onto your burlap bag. Slow and steady wins the race!
Miss Mustard Seed’s® MilkPaint™ really is the best paint to use when it comes to stenciling on burlap. It's thick which offers perfect coverage and has a beautiful long-lasting color!
Remember, a little paint goes a long way! I was able to finish my word on the front of the burlap bag and still have plenty of my sample size paint left over for another project. The best part is that it saves so well in the refrigerator!
Once you have your full word or words stenciled on, let your bag dry and enjoy it!
Ways To Enjoy Your Stenciled Burlap Bag
Hopefully this quick and simple tutorial on how to stencil a burlap bag with MMS MilkPaint™ gave you the confidence and inspiration to make your own personalized bag!
Before
After
There are endless ways to enjoy this darling little burlap bag and here are just a few:
● As a gift bag.
● For the pool or beach
● As a purse.
● Wedding totes for bridesmaids.
● Party favor bags.
● Decor around your home with faux or fresh flowers.
● Bathroom accessory on a hook for a pretty way to hide things.
How would you use your bag and what word, or words would you stencil on it?


