Autumn Leaves with MMS Milk Paint
Here in upstate New York, we are at the peak of autumn. The leaves on all the deciduous trees are in various shades of yellow, orange, and red. It’s a beautiful time of year to be outside and enjoy those few remaining warm fall days. In about four weeks, we will be celebrating Thanksgiving, and the glorious color from the leaves will be gone. It’s only a matter of time before a stiff wind blows through the region knocking the leaves from the trees.
It is the autumn season and the upcoming holiday that inspired this most recent MMS milk paint project. In this post, I will walk you through the steps to create your own autumn leaves using MMS milk paint.
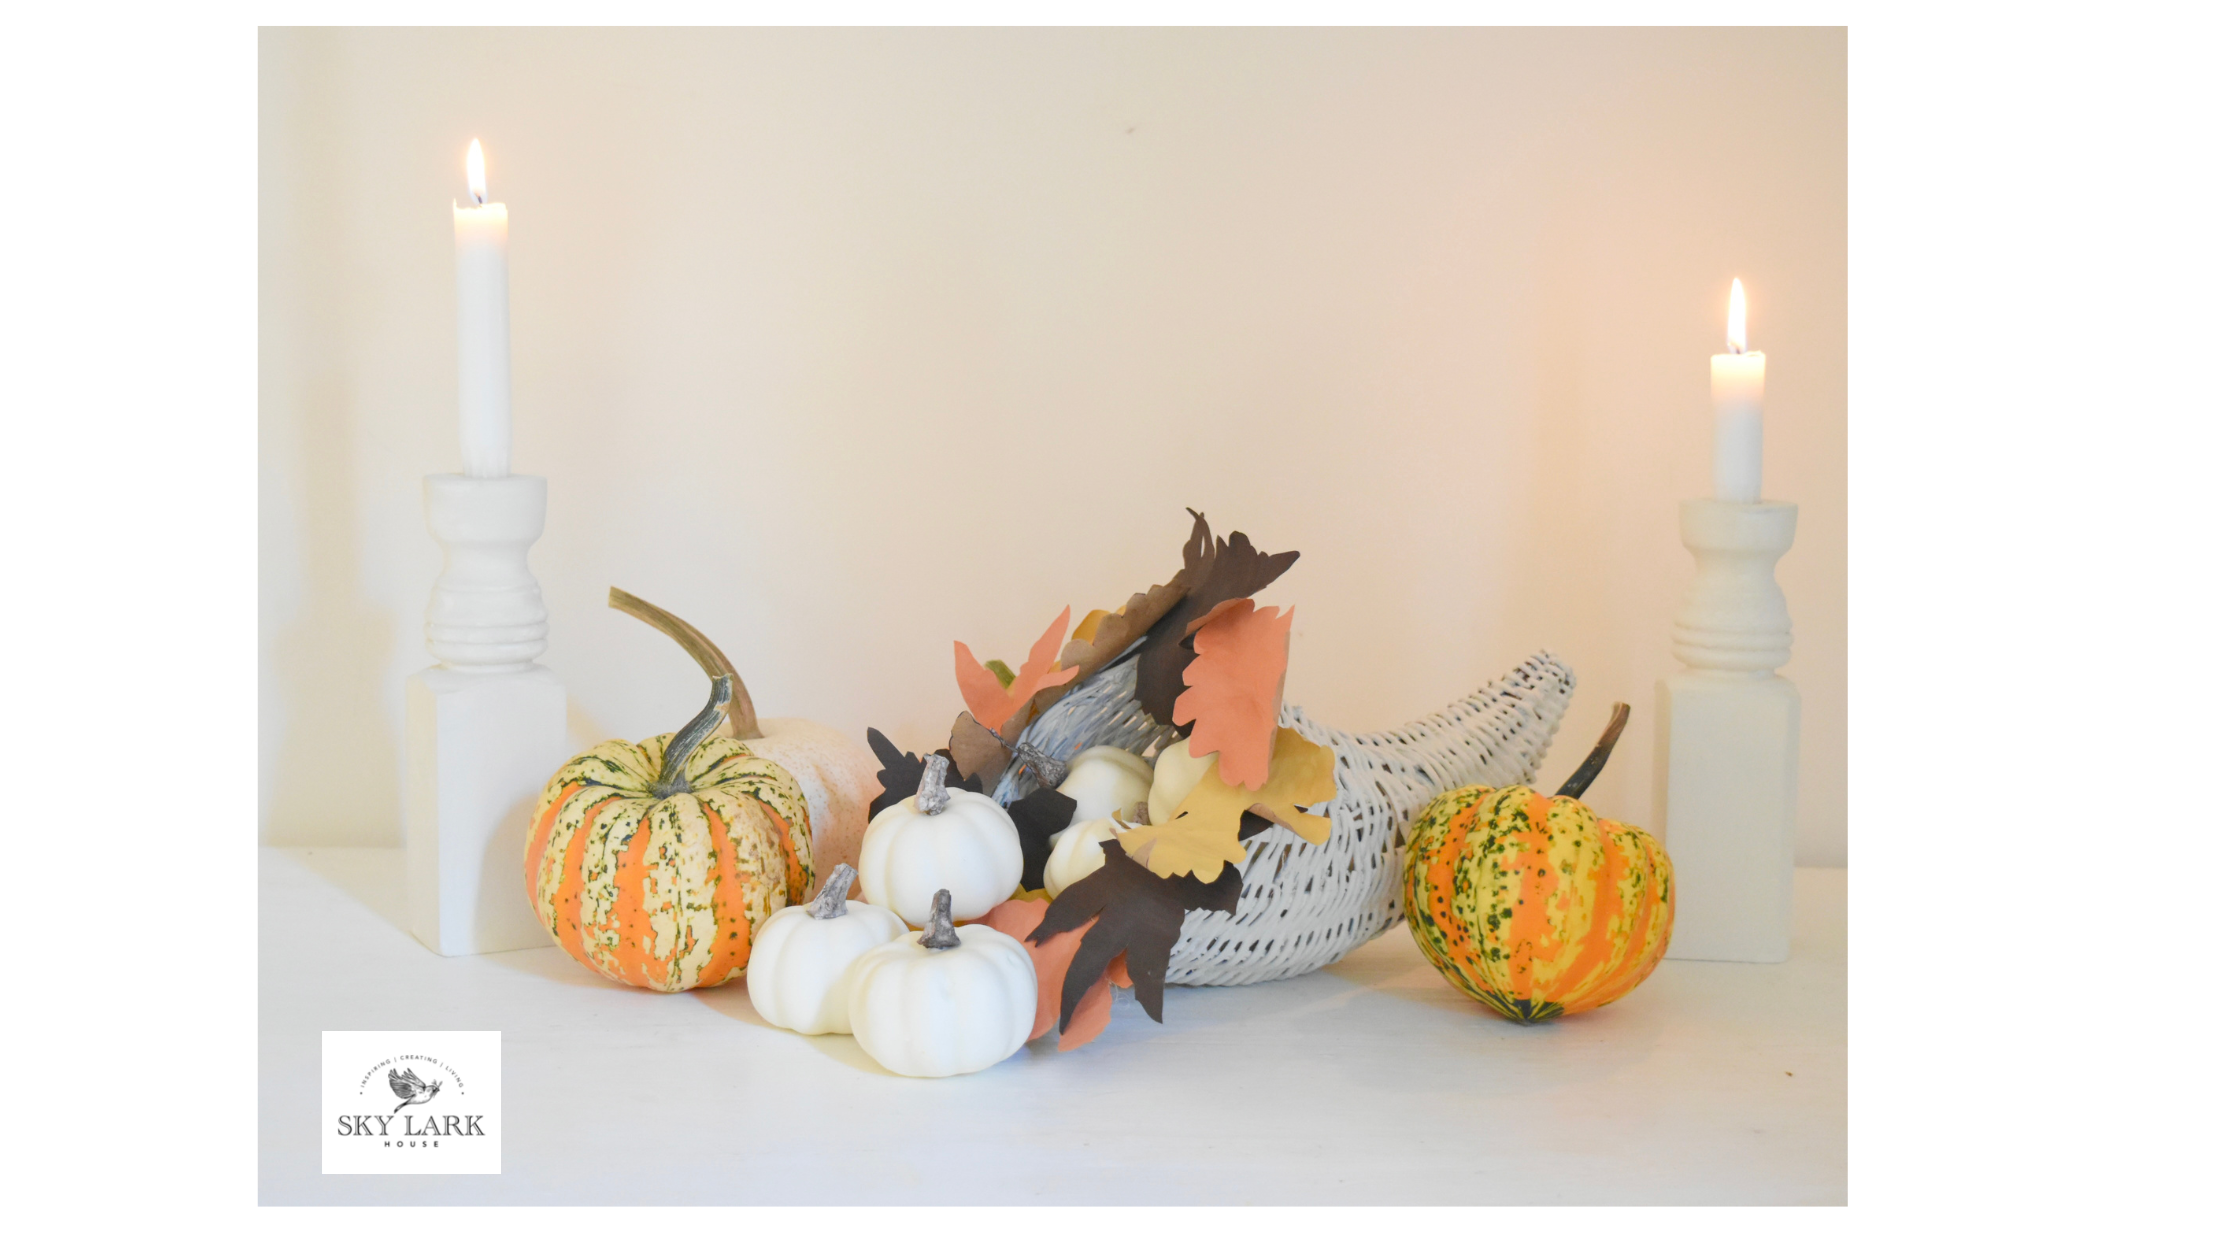
These leaves are fun to use in a variety of ways. I used them to adorn the outside of a cornucopia. However, they can be used for place settings during Thanksgiving. If you write your guest's name on the leaf, you can place it on a plate or napkin. You can also create a garland out of these leaves or simply sprinkle them down the center of your table. Those are just a few ways you can incorporate these leaves into your decor.
So with that, let’s get started on creating this fun little project.
Making Autumn Leaves with MMS MilkPaint™
Supplies
As with any project, the first thing we will need to do is gather our supplies. These supplies are all available online or at your local craft store.
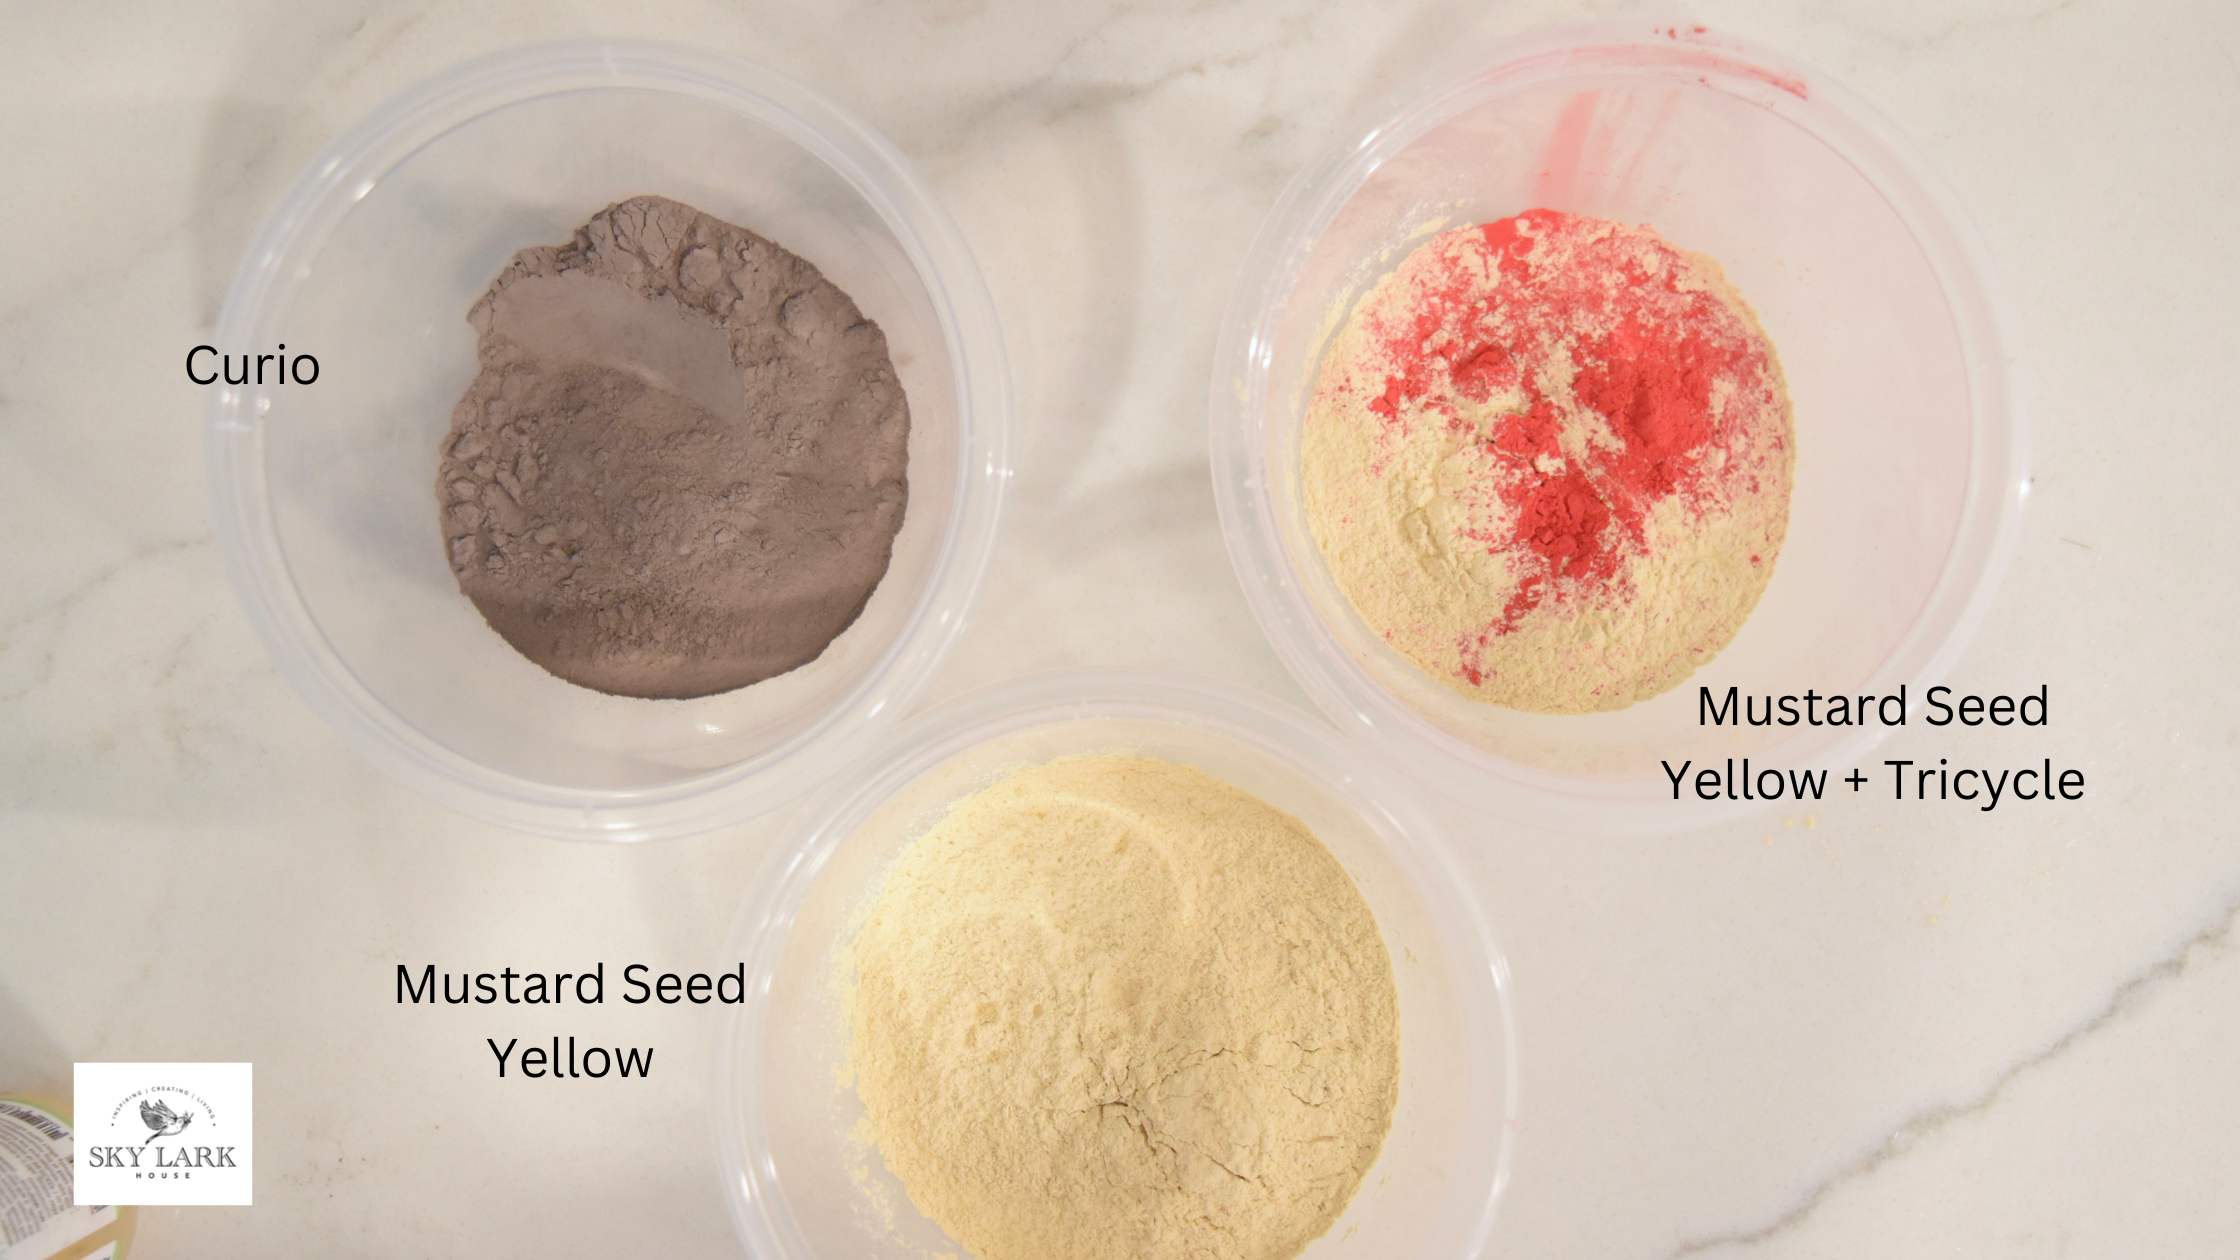
MMS MilkPaint™ in the colors Curio, Mustard Seed Yellow, and a teaspoon of Tricycle. You will need approximately ¼ cup of Curio, ¼ of Mustard Seed Yellow, and ¼ of Mustard Seed Yellow with a teaspoon of Tricycle added to it.
MMS MilkMix-EZ™ Anti-Foaming Agent
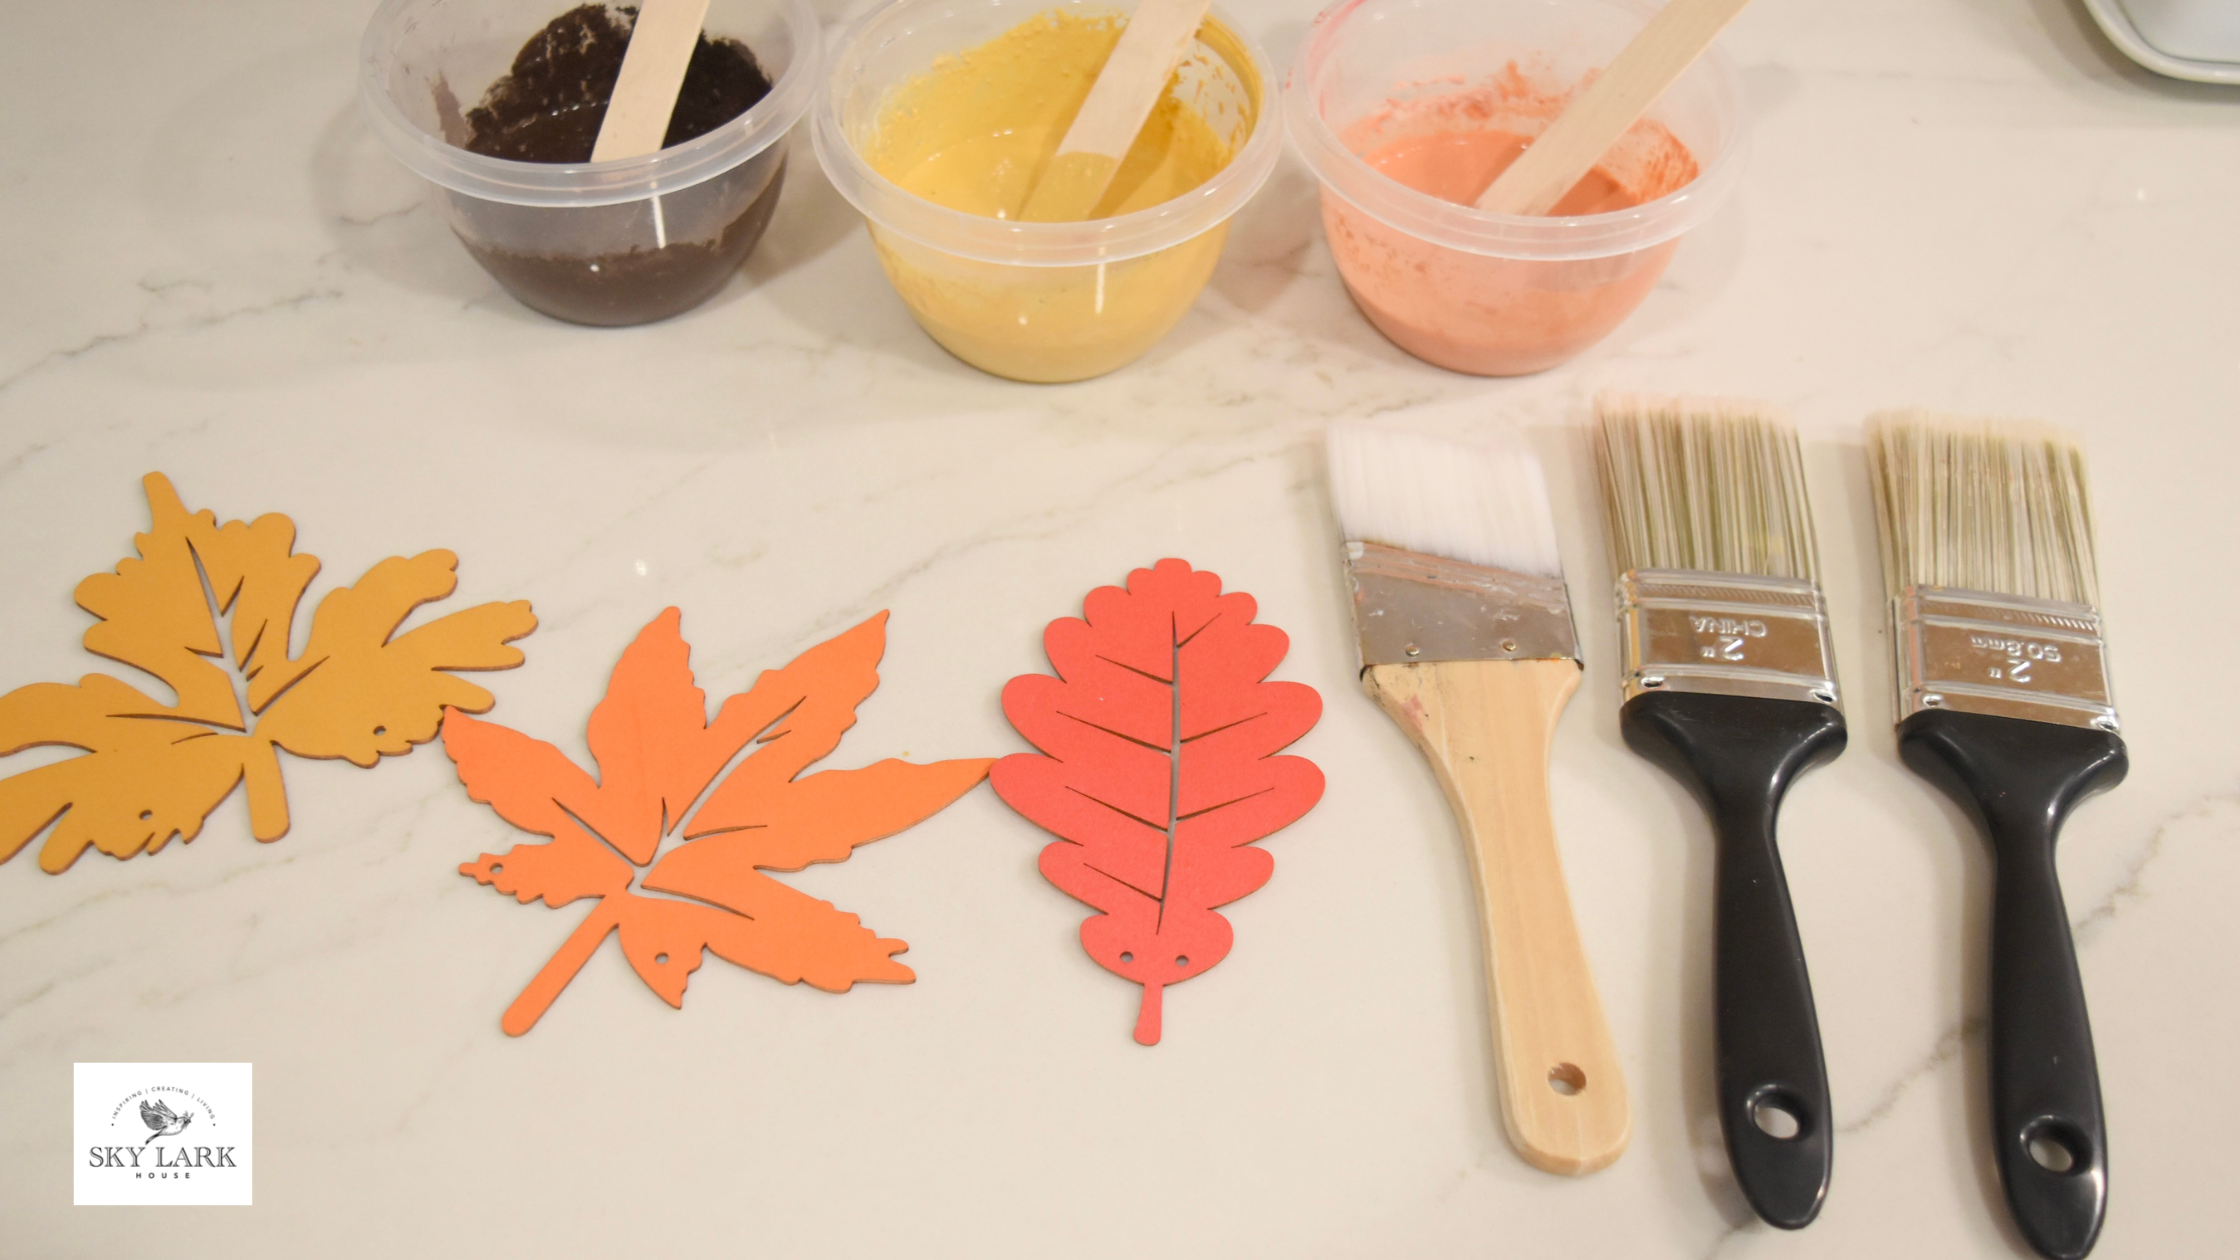
3 2” wide paint brushes
Kraft paper
Wooden leaves to use as templates
Scissors
Pen
Hot glue gun and glue sticks
Mix your Paint
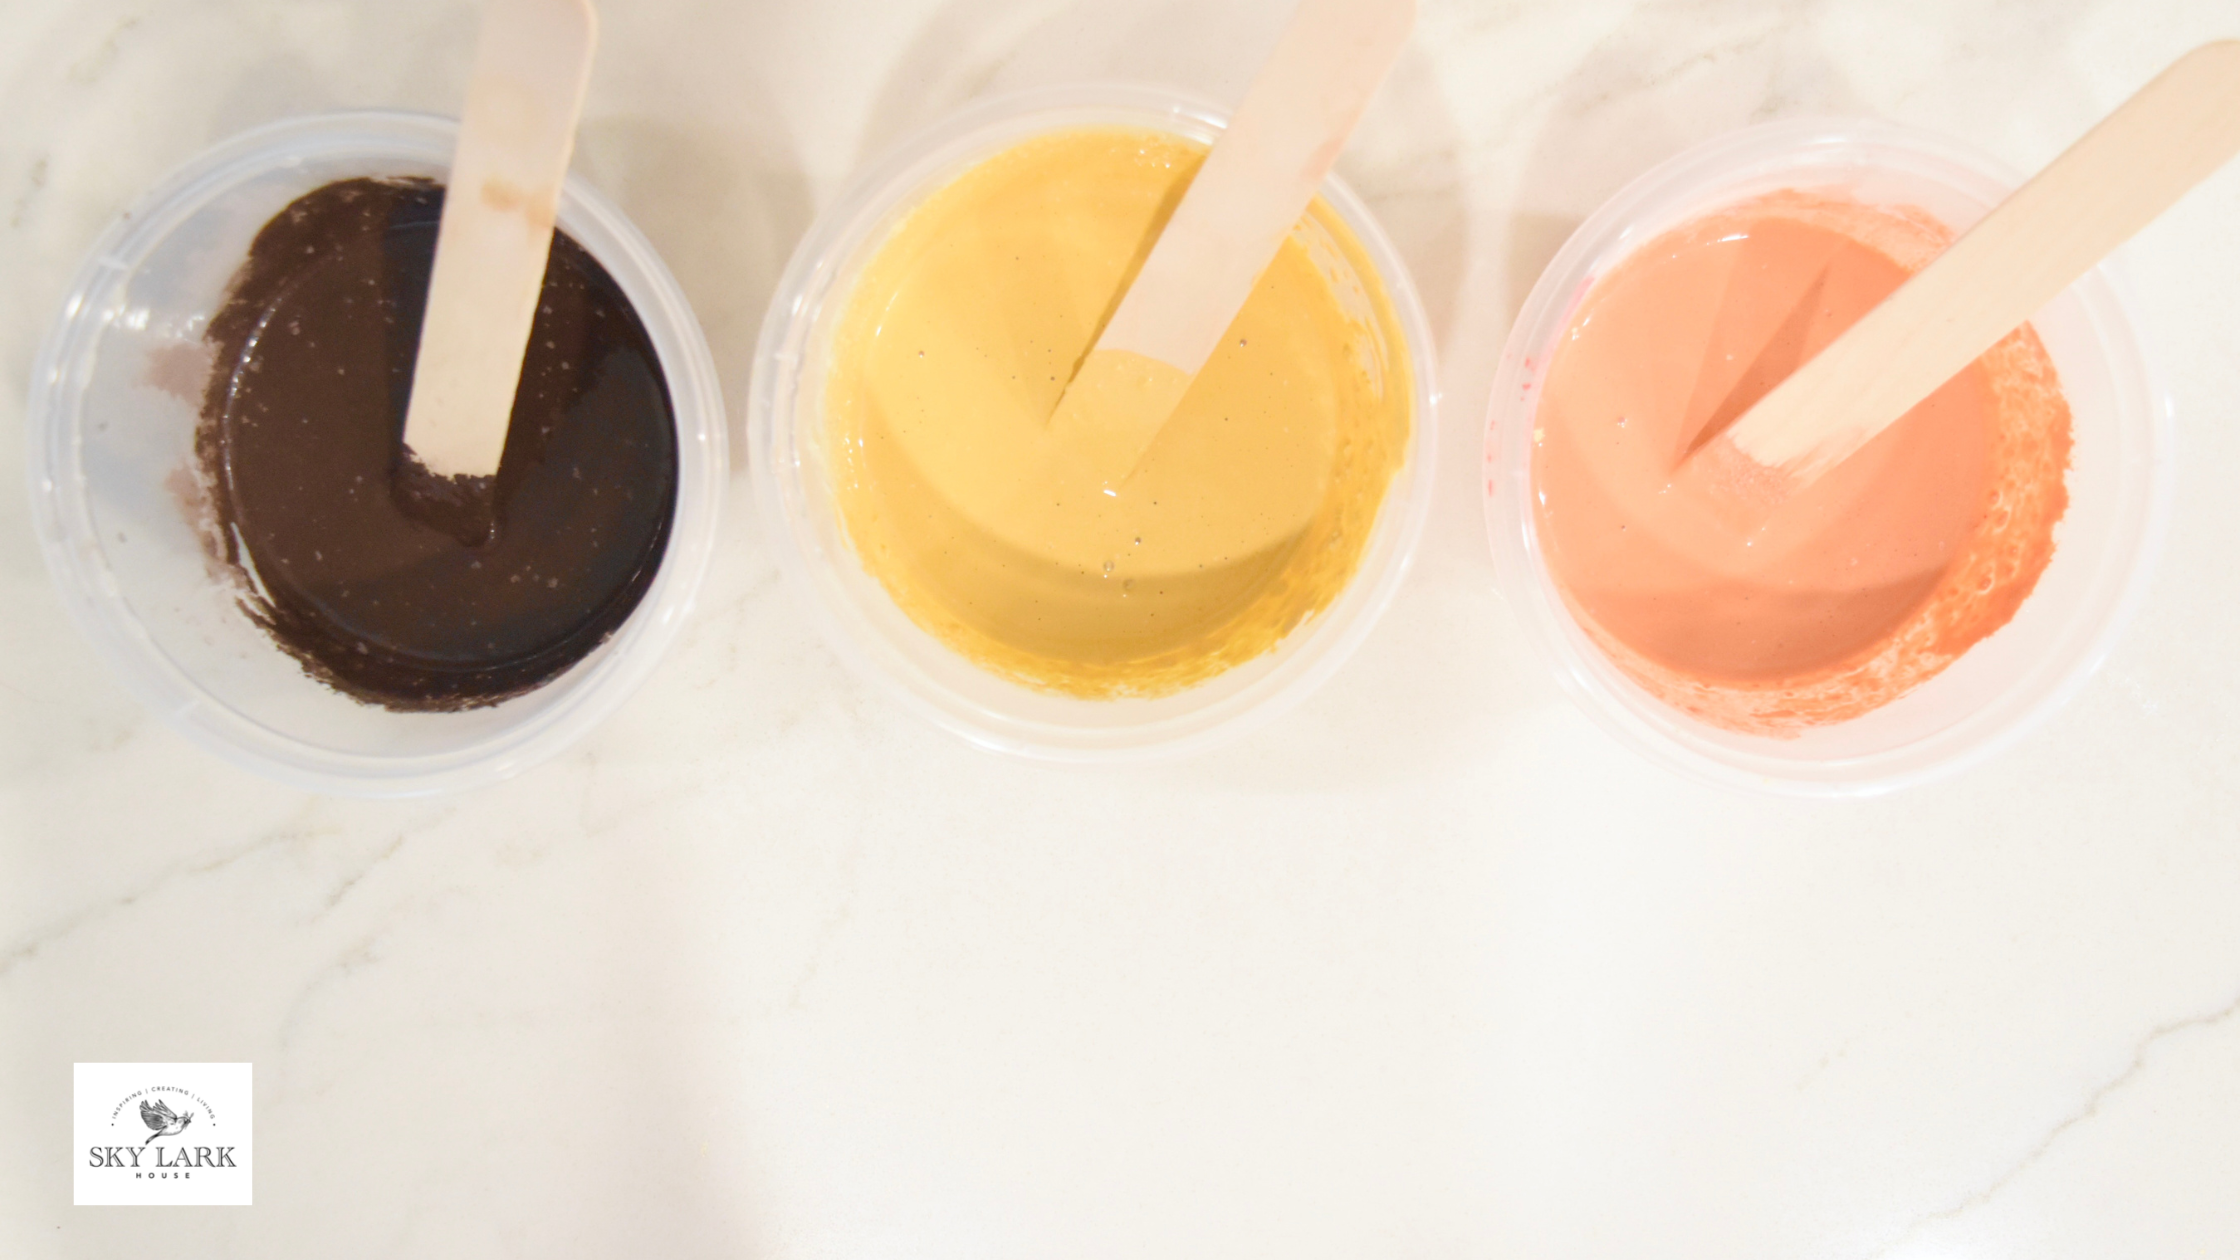
You are going to mix up the paint so that you have three containers with different colors - a brown, a warm yellow, and an orange. Each of these colors will eventually be used to create your autumn leaves.
Add ¼ cup of powdered Curio to a small container and then add four drops of MilkMix-EZ™. Repeat this for Mustard Seed yellow in its own container. In the third container, add ¼ of powdered Mustard Seed Yellow, a teaspoon of Tricycle, and 4 drops of MilkMix-EZ™.
You are going to need one paintbrush for each paint color.
Now is a good time to gather the leaf templates that you want to use. I used a variety of wooden leaf templates for this project. However, you can choose to stick with one template.
Paint Kraft Paper
When your paint is mixed, you can roll out your kraft paper and tape it down to your work surface. As a general rule, you want to cut off about 3.5 feet of kraft paper. Using a paintbrush for each paint color, you want to paint a 12” square on the kraft paper.
You can see from the photo above how the paint was applied to the kraft paper. Once all three squares have been painted, you will need to wait for the paint to dry. It takes about 30 minutes for the paint to dry; however, you can help it dry faster if you use a blow dryer.
Once the paint has dried, cut out your painted squares and set them aside.
Make the Leaves
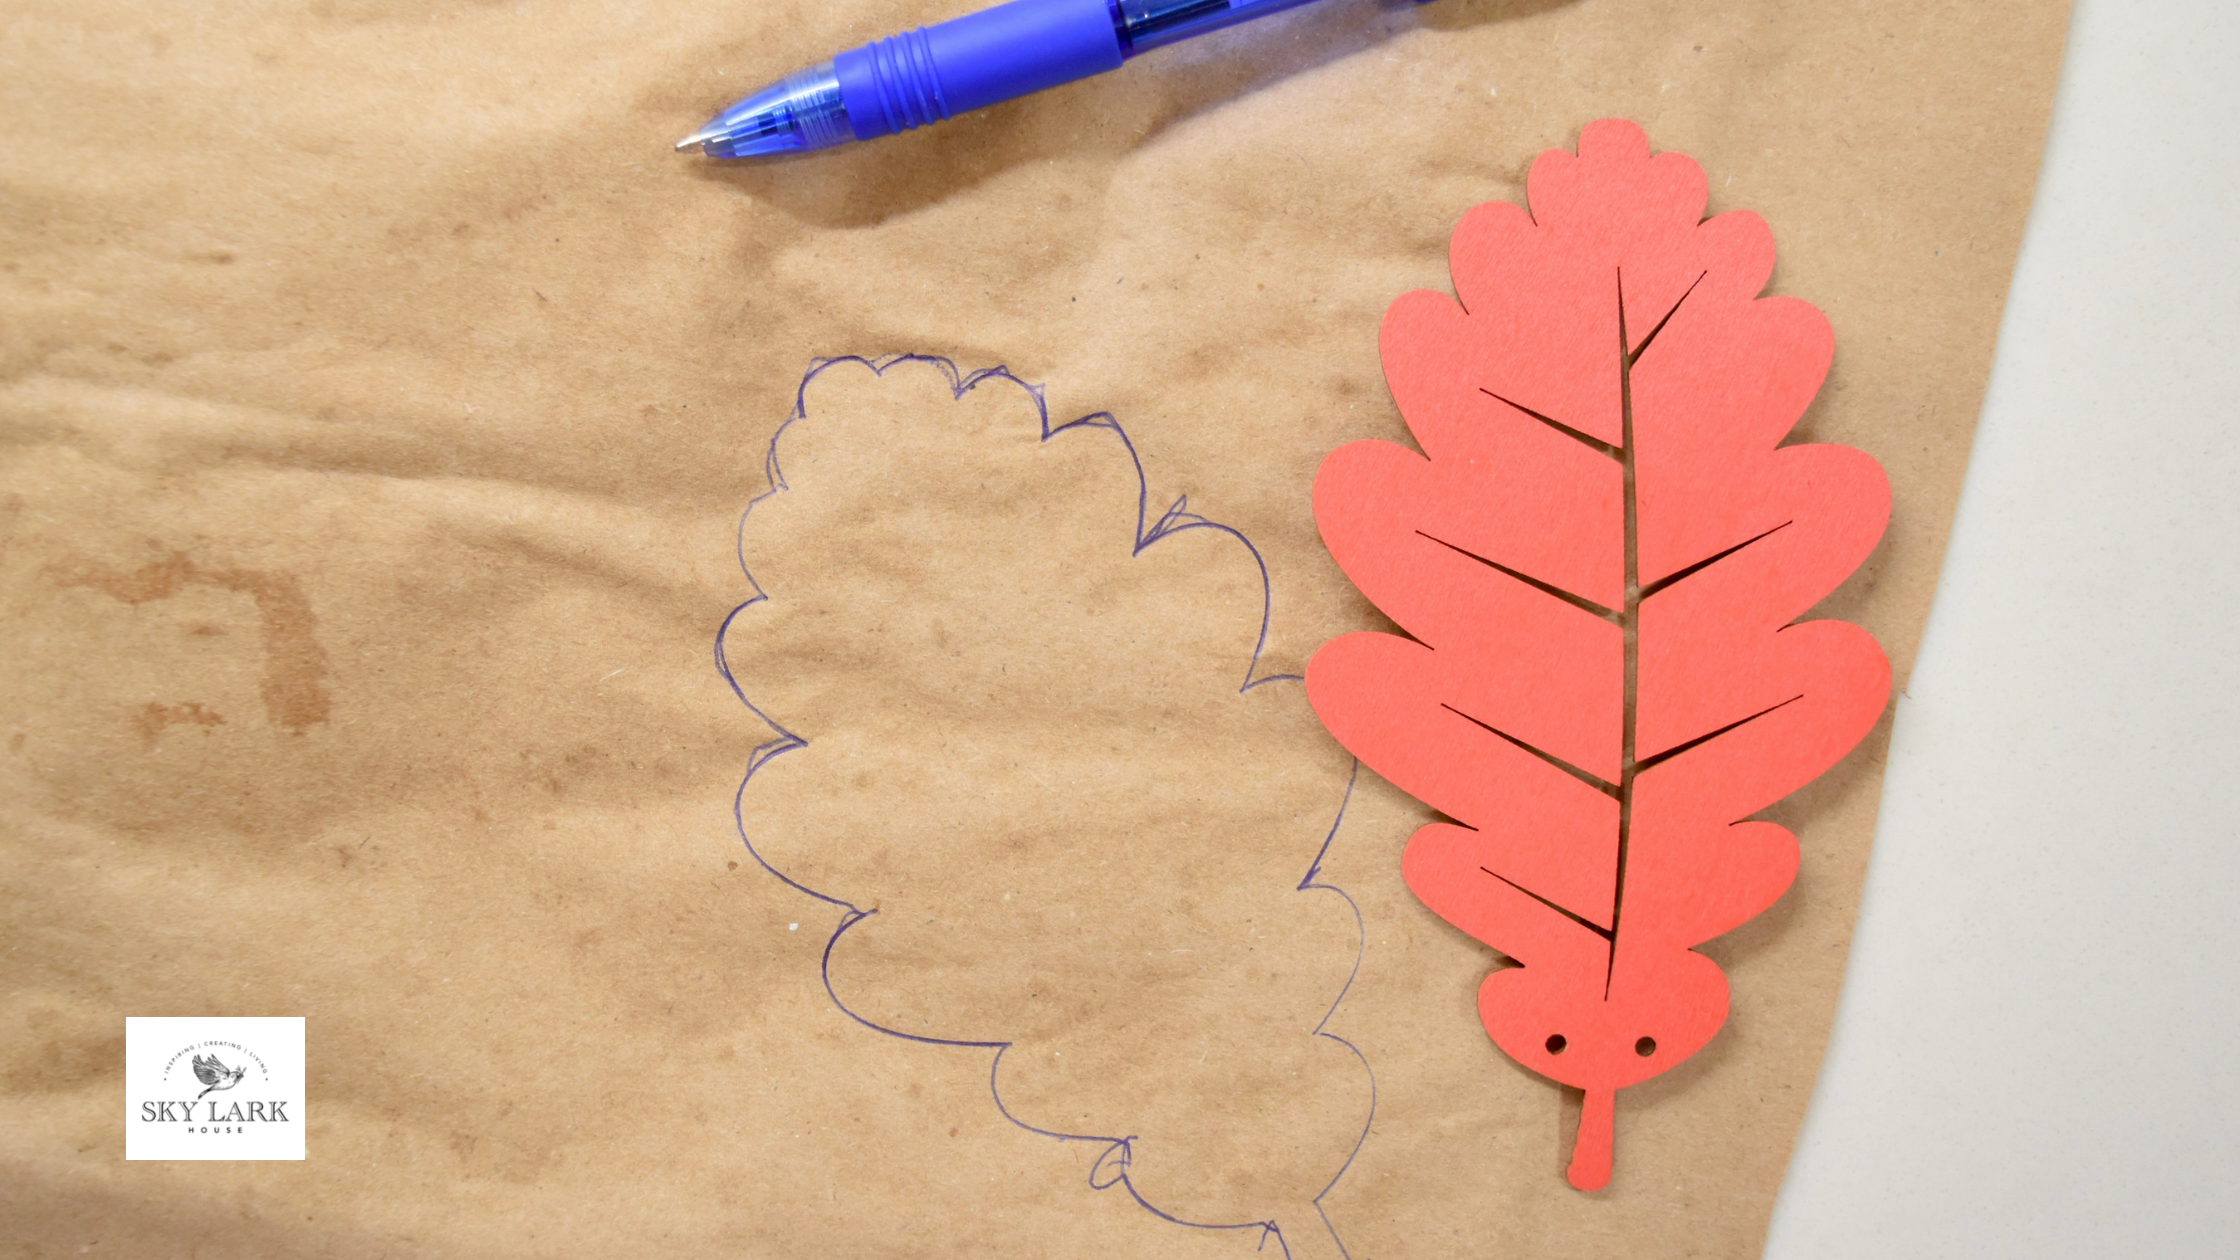
Using the backside of your painted paper and a wooden leaf template, trace the outline of the leaf onto the kraft paper.
Then using your scissors, cut out the leaf. Repeat this process for all your leaf templates on the different colors of painted kraft paper.
For this particular project, I cut out nine leaves to attach to the cornucopia. If you are planning to use the leaves as place settings, then you will only need one leaf for each guest. In short, cut out as many leaves as you need for your project.
Just a quick note, because MMS milk paint is non-toxic and made from all-natural materials, it is entirely safe to use these leaves on your napkins or plates. One of the best features of this paint is that it is environmentally friendly.
Attach Leaves to Cornucopia
I wanted to attach the leaves to a cornucopia. You can purchase cornucopia baskets online or at your local craft store. I thought this would make a fun centerpiece for the Thanksgiving holiday, especially if it were filled with small pumpkins and gourds.
Plug in your hot glue gun and wait for it to heat up. Then organize your leaves in the pattern you want to attach them to the cornucopia. I alternated the brown, orange, and yellow colored leaves. However, you could also group all your yellow leaves together, all your orange leaves together, and all your brown leaves together.
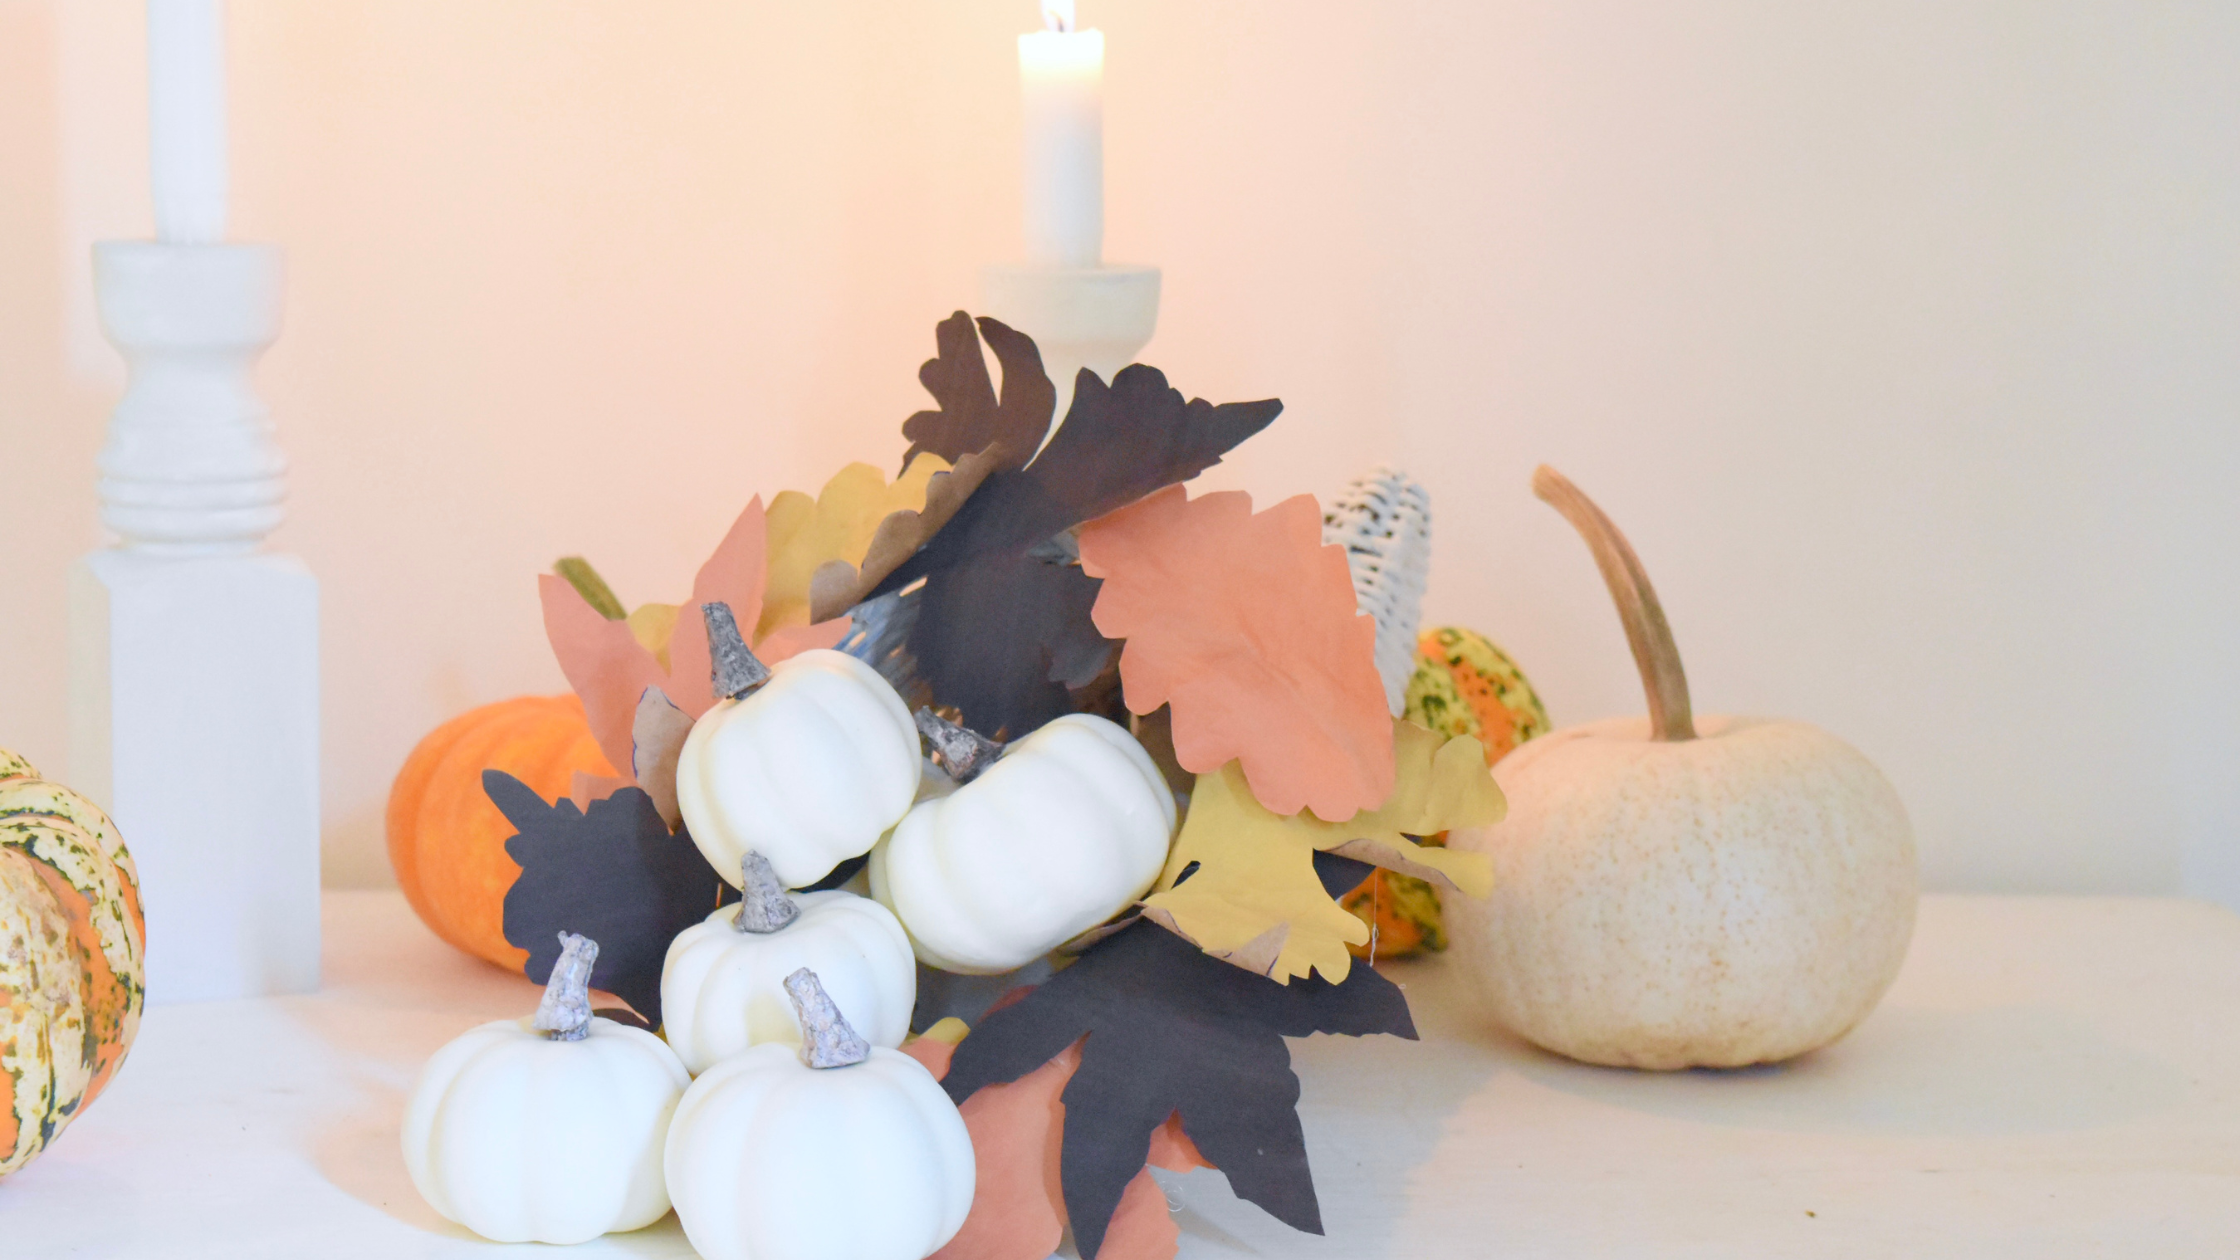
Once you have determined the order of your leaves, you can attach them using the hot glue gun. I love the way these leaves naturally curl - just as the leaves from a tree would.
Enjoy your MMS MilkPaint™ Autumn Leaves
Congratulations! You have just created autumn leaves using MMS MilkPaint™. This is a fun and easy project and is a great way to customize your Thanksgiving table.
You may have noticed the candles on either side of the cornucopia. Those were also an MMS MilkPaint™ project, and you can read about how to transform table legs into candlestick holders. Again, you can customize these candlestick holders using MMS milk paint. These candlestick holders were painted in the color linen.
Here is one final photo showing the autumn leaves.
I hope you are enjoying these final days of autumn. Here in the northeast, I try to make the most of these final warm days because I know winter is just around the corner. Be sure to check this blog for more fun ideas and projects using MMS milk paint.


